This task shows you how to set options to use the second XML format type proposed in DMU Space Analysis product. Refer to Important Warnings for more information.
Customizing Second XML Format Type Options
-
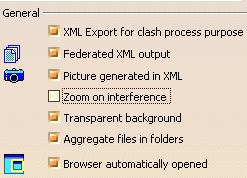
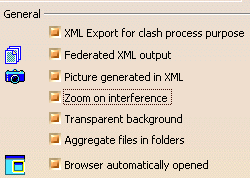
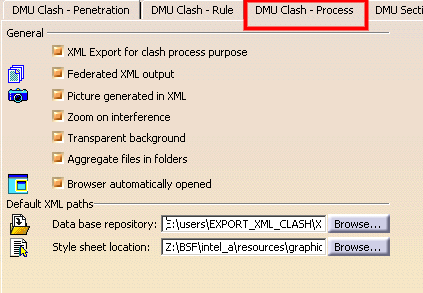
Select the XML Export for clash process purpose check box in the DMU Clash - Process tab page (Tools > Options > Digital Mockup > DMU Space Analysis).
-
In the Data base repository filed, select an absolute path, for instance
(E:\users\Export_XML_Clash\XML) -
In the Style sheet location path, select an absolute path
(E:\BXX\intel_a\resources\graphic\
UnifiedStyleSheet_2.xsland notUnifiedStyleSheet.xsl)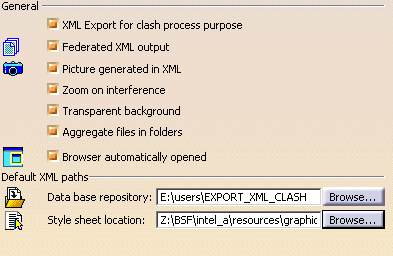
You can choose to export clash results and geometry to:
-
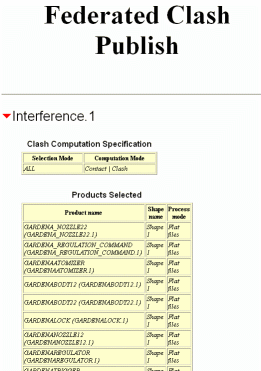
One XML file per conflict plus one header file summarizing results (Federated XML output checkbox selected.
 This is the default option),
Or, -
A single large XML file containing all conflicts generated (Federated XML output check box)

-
To have your browser open automatically showing the exported results, ensure your browser is already open on your desktop.
-
Note that on Unix, the Browser automatically opened option is not available, refer to Recommendations
-
Important: In the graphic directory located at E:\BXX\intel_a\resources\graphic, there is two other style sheets (
clash.xslandUnifiedStyleSheet.xsl) which must not be used when the XML Export for clash process purpose check box is selected. UseUnifiedStyleSheet_2.xsldedicated to the second XML. - On the contrary,
clash.xslis the style sheet to be exclusively used, when the XML Export for clash process purpose check box is cleared.
-
-
Click Export As
 in the Check Clash dialog box.
 -
Click OK in the Save As dialog box, XML is correctly created.

Using DLNames
If you set the DLName document environment (Tools > Options > General > Document) as your current environment, clicking Export As will open the DLName dialog box instead of the usual Export As dialog box.
The DLName document environment lets you restrict the access to specific folders referenced by logical names referred to as DLNames. Each folder is assigned a logical name. In this mode, you can only access documents in folders referenced by DLNames.
Visualizing Clash Results
There are different ways to visualize clash results depending on the settings set in Tools >Options
Please find below the various setting combinations and associated results
| There
are different ways to visualize clash results depending on the
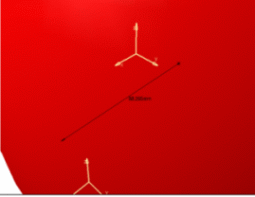
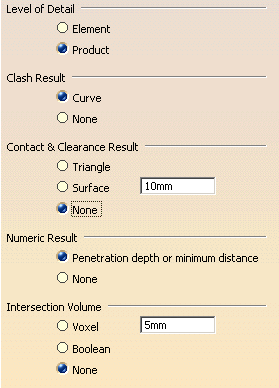
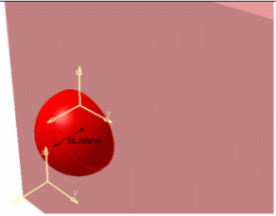
settings set in Tools >Options Please find below the various setting combinations (DMU Clash, DMU Clash - Process and DMU Clash - Detailed Computation tabs) and the associated results.
|
||||||||||||||||||||||||||||||||||||||||
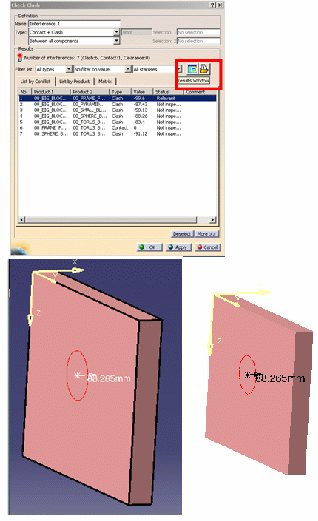
If you do not like the default viewpoint, you can modify it through the Result window:
 |
Filtering Clash Results
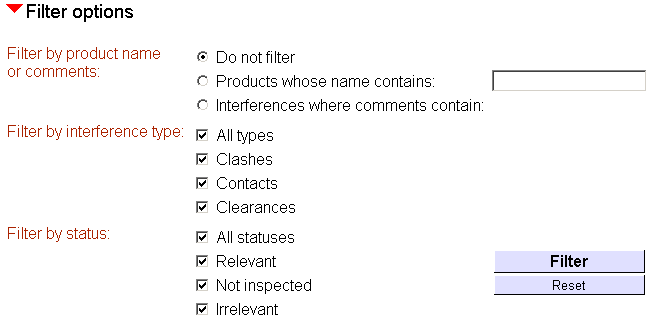
If you choose to export clash results to a single large XML file (Federated XML output check box cleared), you can sort the display of computation results in the file. A Filter options entry under Computation Result lets you do so.
-
Click Filter options to expand and show the form
-
Set filter options
-
Click Filter.

Note that when Second XML Format Type (export for clash process purposes) is set, filters are embedded in the style sheet so that you can filter you clash results directly in the exported XML file (you do not filter clash results before the export).
This only works when Federated XML output check box is cleared.
XML Grammar
Federated XML Output
|
|
|
|
Exporting Clash Results - Example
-
Set XML export options in the DMU Clash - Process tab page (Tools > Options > Digital Mockup > DMU Space Analysis).
-
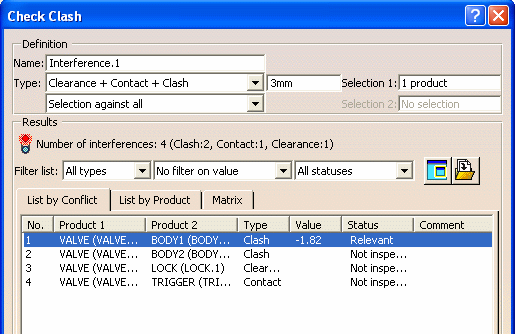
Select Insert > Clash from the menu bar or click Clash
 in the DMU Space Analysis toolbar to run a check of type Clearance (3mm) + Contact + Clash between the
valve and all the other products in the document (Selection against all).
The Check Clash dialog box expands to show the results of the initial computation.
-
Browse through results using dialog box commands and/or the Results viewer.
-
Click Export As
 in the Check Clash dialog box.
 The Save As dialog box appears. It is set to export results and geometry in XML format to the database repository identified in your settings.
-
Click OK in the Save As dialog box when done.
A dialog box informs you of the success of the operation. All the necessary files and images are created in corresponding folders.
 By default (Federated XML output), one header XML file summarizing
clash results and as many XML files as conflicts are generated in the
single
database folder or repository.


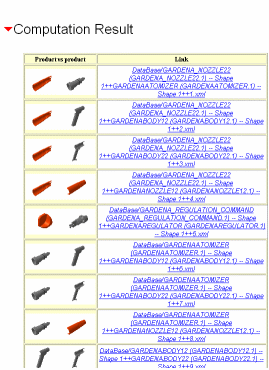
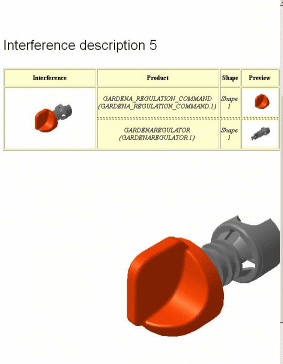
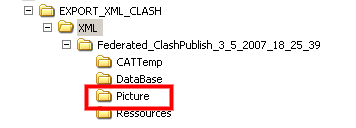
One PNG (Portable Network Graphics) image per conflict and two small images, each showing one of the products in conflict, are also generated and stored in a dedicated picture folder:
-
Open your browser and read the summary in the header XML file.
-
Select an interference (computation result table) to jump to the file giving information about the conflict of interest.
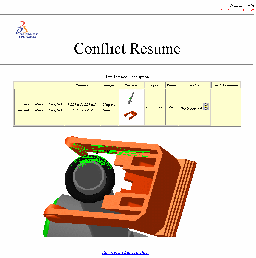
Notes: -
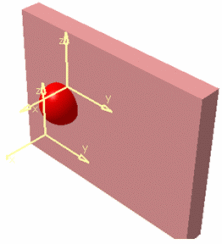
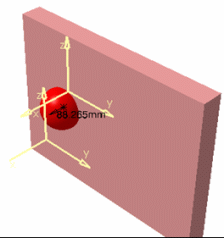
The viewpoints set when visualizing the interferences in the Results window (not the Preview) are saved and exported along with the clash results. If no viewpoint is set, there is an automatic zoom on the interference.
-
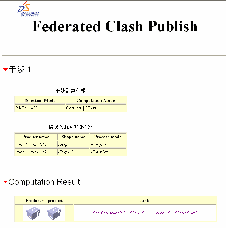
Example of Japanese XML file:
-
-
Click OK in the Check Clash dialog box to exit when done.
Exporting Clash Results Using Second XML - Products from ENOVIA V5 database
Exporting Clash Results Using Second XML - Products from ENOVIA V5 database is supported.
|
|
for more detailed information about read Exporting Clash Results Using First XML - Products from ENOVIA V5 database |
![]()
