This task shows you how to set options to use the first XML
format type proposed in DMU Space Analysis product and how to
Refer to
Important Warnings for
more information.
Customizing First XML Format Type Options
-
Clear the XML Export for clash process purpose check box in the DMU Clash - Process tab page (Tools > Options > Digital Mockup > DMU Space Analysis).
-
In the Data base repository filed, select an absolute path, for instance
(E:\users\Export_XML_Clash\XML) -
In the Style sheet location path, select an absolute path
(E:\BXX\intel_a\resources\graphic\clash.xsl)
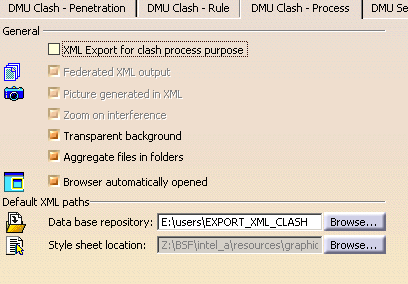

-
Important: In the graphic directory located at E:\BXX\intel_a\resources\graphic, there are two other style sheets (
UnifiedStyleSheet.xslandUnifiedStyleSheet_2.xsl) which must not be used when the XML Export for clash process purpose check box is cleared. Useclash.xsldedicated to the first XML. -
On the contrary,
UnifiedStyleSheet_2.xslis the style sheet to be exclusively used, when the XML Export for clash process purpose check box is selected.
-
Click Export As
 in the Check Clash dialog box.
 -
Click OK in the Save As dialog box, XML is correctly created.
Filtering Clash Results
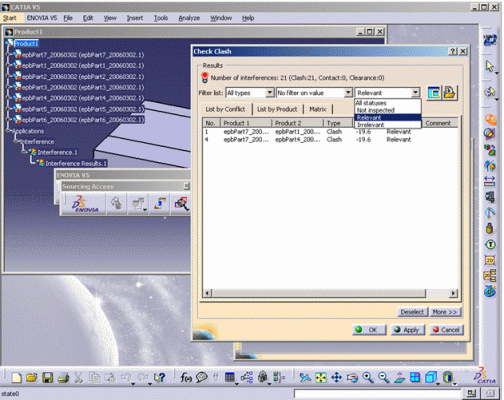
Any filters applied to the results in the dialog box are taken into account so you can use the filters to export only pertinent results:
 |
Exporting Clash Results Using First XML - Example
-
Clear the XML Export for clash process purpose check box in the DMU Clash - Process tab page (Tools > Options > Digital Mockup > DMU Space Analysis).
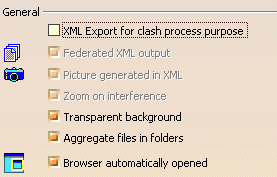
-
Run your check and browse the results.
-
Click Export As
 in the Check Clash dialog box
The Save As dialog box is displayed.
-
Set Type to XML (default type)
-
Identify the folder in which you want to save the file.
-
Enter a file name.
-
Click Save to publish the results
-
-
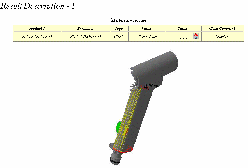
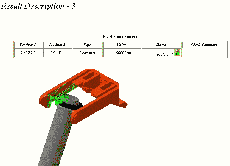
Open your browser and read the results.
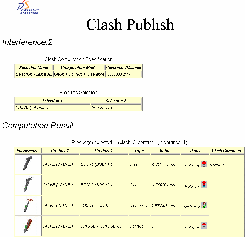
Click the interference (computation result table) in the browser to jump to the part of the page displaying the selected interference and appropriate results.
Notes:
-
The viewpoints set when visualizing the interferences in the Results window are saved and exported along with the clash results. Viewpoints are not those in the Preview window.
-
Any filters applied to the results in the dialog box are taken into account so you can use the filters to export only pertinent results.
-
Using the Tools > Options..., Digital Mockup command (DMU Space Analysis > DMU Clash Process tab), you can:
-
Specify the default location of the XML file
-
Indicate the style sheet used, and
-
Have the browser open automatically.
To have your browser open automatically showing the exported results, ensure your browser is already open on your desktop.
-
Exporting Clash Results Using First XML - Products from ENOVIA V5 database
Exporting Clash Results Using First XML - Products from ENOVIA V5 database is supported.
|
|
for more detailed information about read Exporting Clash Results Using First XML - Products from ENOVIA V5 database |
![]()