 |
This task describes how to use
the Print Batch in order to print documents without running
Version 5.
These documents may be Version 5 files (such as .CATProduct, .CATPart
documents, etc.), raster files (bmp, tiff, etc.), vector files (CGM,
HPGL, HPGL2) and Version 4 models. |
| |
This scenario explains
how to:
|
| |
Provided that you have
a graphic board (on Windows) or an X server (on UNIX), the rendering
style (i.e. "Shading", "Shading with Edges", etc.) can be taken into
account when printing in batch mode. To do so, you need to set the
following variable as shown below:
set PRINT_BATCH_WITH_GRAPHIC_CARD=1
(on Windows)
or
export PRINT_BATCH_WITH_GRAPHIC_CARD=1
(on UNIX).
|
| |
Accessing the
batch interface from the command line
|
 |
-
Open an MS-DOS Window.
-
Access the following folder:
C:\Program Files\Dassault Systemes\Bn\intel_a\code\bin
(on Windows)or
/usr/DassaultSystemes/Bn/OS_a/code/command/
(on UNIX)
(where n is the current release number) |
-
Enter the command:
CATUTIL
               -Name PrintBatch
(on Windows)
or
./catstart -run "CATUTIL -Name PrintBatch"
(on UNIX)
The Print Batch opens (click the thumbnail to
enlarge the picture): |
 |
|
|
 |
| |
Accessing the
batch interface from the Batch Monitor
|
| |
You can also access the print batch
interface using the Batch Monitor in a Version 5 session. In
that case, some additional options are available to you. |
 |
-
Access the Batch Monitor interface, either
from
the command line, or
from a
Version 5 session.
|
The Batch Monitor opens: |
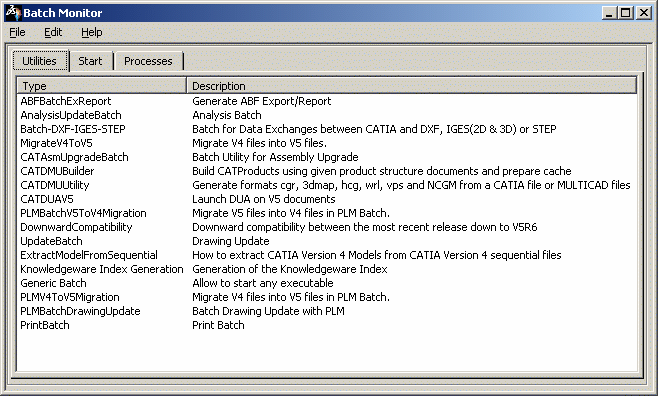 |
-
Double-click PrintBatch from the list.
| The PrintBatch opens (click the thumbnail to
enlarge the picture): |
 |
| When accessing the
PrintBatch from the Batch Monitor, some additional options
are available: |
Remote mode
You can choose to run
the batch locally, or on a remote computer by selecting the appropriate
option:
-
Run Local: default option. When selected,
the batch is run in local on your local computer
-
Run Remote: select this option then indicate
the name of the remote computer on which the batch will be run. The
remote computer uses the printers set up on your local computer.
Note that:
-
when using Windows printers, you can run the batch in
remote mode on Windows computers only
-
when using 3DPLM printers, you can run the batch in
remote mode either on UNIX or on Windows computers.
For more information, refer to
Running Batches in Remote Mode. |
Licensing
You also have the ability to
select a license by clicking
Licensing Setup.... |
Getting contextual help
The batch-specific online documentation can be accessed
directly from the PrintBatch interface by clicking
 in the top-right corner (on
Windows) or Help (on UNIX). in the top-right corner (on
Windows) or Help (on UNIX). |
|
|
 |
|
 |
| |
Defining the batch
parameters
|
| |
In this scenario, we assume that the batch
interface has been accessed from the Batch Monitor the batch
parameters to define are identical when you access the batch from
the command line. |
 |
-
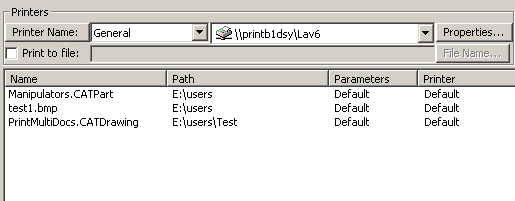
Select a printer using the list displayed next to
Printer Name. This list lets you filter the list of printers
displayed to the right. You can choose either:
-
General: default mode. All the
printers you have set up are displayed in the printer list to
the right
-
a printer group you defined in the
Printers tab. In that case, only the printers included in
the selected group are displayed in the printer list.
|
| You can also select the Print to file
check box and enter the name of a file.
Refer to Printing to a File for
more information. |
-
To set up your printer, click Properties...
to open the printer properties dialog box. The look of the dialog box
changes according to the driver. Modify the desired parameters then
click OK to validate.
| If the driver is provided by Dassault Systèmes,
clicking Properties... displays the Printer Properties
dialog box described in Adding a Printer. |
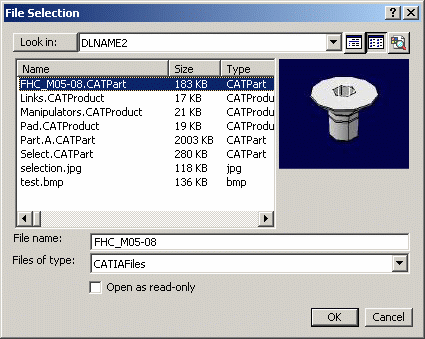
-
Click the Add a document
 button then navigate to the files you want to print then click Open to validate.
-
Click Default Printing Parameters to define the parameters used by
default for all printed documents in the Printing Parameters
dialog box:
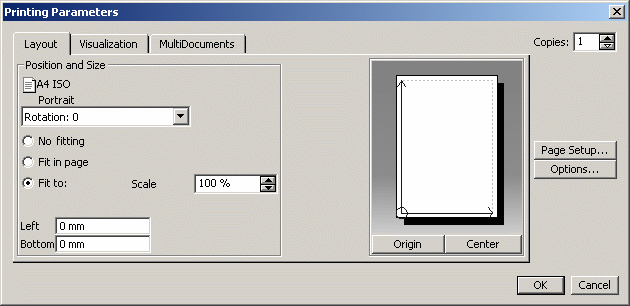 |
| The Layout tab lets you define the
page orientation, the image size and position, etc. and is
identical to the
tab available in the
Print
dialog box. |
-
Click Page Setup... to open the
Page
Setup dialog box. However, if you select the Use image format
option, note that the behavior is different when printing in
batch mode:
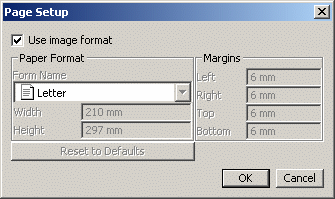
- If you print a document other than a .CATDrawing or
.model document, selecting the Use image format
option displays the printer's default paper format:
|
|
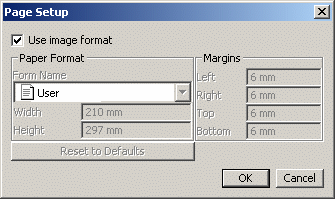
- If you print a .CATDrawing or .model document,
selecting the Use image format
option displays User in the Form Name
box (with a warning for the dimensions) if the
format is not supported by the printer:
|
|
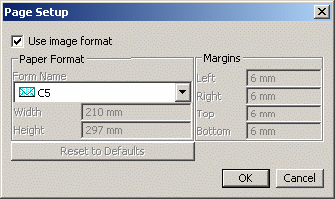
Or, displays the appropriate format with the
corresponding dimensions if the format is supported
by the printer:
|
|
- If you print in a document other than a Version
5 document, selecting the Use image format
option displays the printer's default paper format
in the Form Name box:
|

|
- If you are in
Default Printing Parameters, selecting the
Use
image format
option always displays the printer's default paper
format because no document is associated with these
parameters.
|
-
Click Options... to access the
Options dialog box.
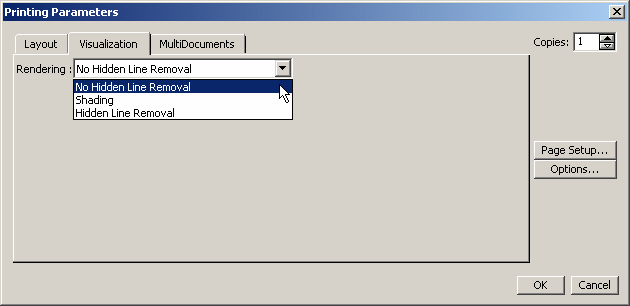
| The Printing Parameters dialog box
also enables you to define the visualization mode used for
printing by selecting the desired mode from a list in the Visualization tab: |
 |
|
|
If you are printing .CATDrawing documents, you can
access the Multi-Documents tab:
|
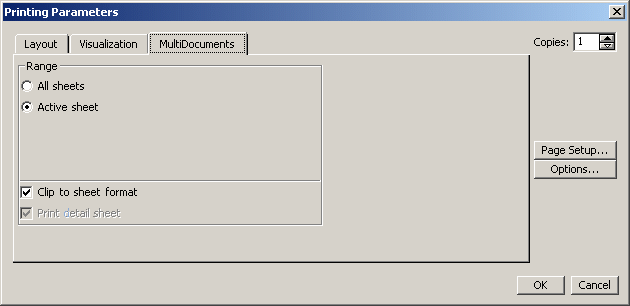 |
- In the Range area, indicate whether you want to print
All sheets or only the Active sheet by
selecting the appropriate option
- Select the Clip to sheet format check box if you
want the drawing representation to be clipped to the sheet
format
- Select the Print detail sheet check box if you
intend to print sheets of type "detail".
|
-
If you want to use parameters which are different from
the default ones for a specific file, right-click the file from the
list then select Parameters... to open the Parameters
dialog box:
 |
This dialog box enables
you to apply parameters other than the default one proposed by
selecting another printer, another orientation and so on.
Printing Parameters gives you access to the
above-detailed Printing
Parameters dialog box except for the Visualization
and MultiDocuments tabs which gives you access to more
parameters: |
| In the Visualization
tab, you can click Layer Filter... to open the
Visualization Filters dialog box which lets you edit
or create visualization filters: |
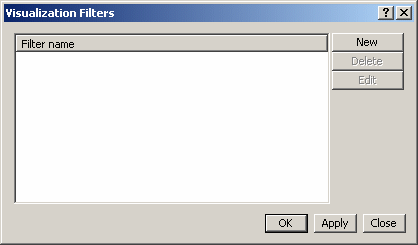 |
The default current
filter "All visible" is applied automatically: it lets you see
all the contents of the document. This filter cannot be deleted.
Refer to
Using Visualization Filters
for detailed information. |
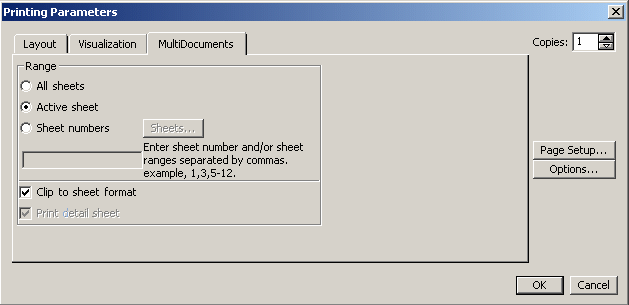 |
When printing .CATDrawing
documents, you can print a given number/range of sheets by
clicking Sheet Numbers then:
- enter the corresponding sheet numbers in the field below
- click Sheets... to open the Image Selection
dialog box which lets you select the sheets to be
printed.
|
You can now use the
MultiDocuments tab to print the drafting of Version 4
models.
To do so, select Sheet Numbers then enter the numbers
of the workspaces to be printed in the box below.
You can also click
Sheets... then select the desired
workspaces in the Image Selection dialog box: |
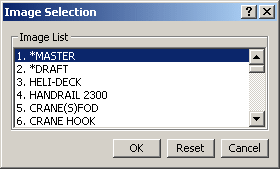 |
| By default, all the
documents are selected but you can deselect the documents you do
not want to print by clicking their name in the list. Reset
lets you re-select all the elements displayed, if needed. Click
OK to validate your selection and close the window. |
| When the parameters have
been modified, the status of the customized file changes from
"Default" to "Customized" in the Parameter column and
the printer name (if different from the default printer) is displayed
in the Printer column. |
 |
- You can reset
the customized parameters to the default parameters by
right-clicking the desired file from the list then selecting Reset Parameters. In that case, the status of the file
changes from Customized to Default
- You can preview the files to be printed by
right-clicking a file from the list then selecting Preview. However,
note that you will not be able to use zooming commands for
.CATDrawing, .CATProduct and .CATPart documents.
|
-
If you want the corresponding .CATScript file to be
saved in a specific location, click CATScript Generation....
A CATScript window displaying the content of the CATScript file: click
Save As... then indicate the name and location of the file
before clicking Save to validate.
By default, the .CATScript file is saved in a temporary folder.
-
Click Run to print the selected documents
then Cancel to close the PrintBatch window.
|
Running a batch
printing using PrintBatch generates
an XML file named "BatchParameters" suffixed with the hour at
which the batch was run (for instance,
"BatchParameters_14.41.25.xml" to indicate that the batch was
run at 14.21.25 PM) and saved in a temporary
folder by default. To save this file under another name and in
another location, click Save (or Print Batch Parameters
Saving... if you accessed the PrintBatch from
the command line)
The generated XML file
can be edited manually. Refer to Editing the XML file for more information. |
-
To display information on the batch execution, access the
Processes tab in the Batch
Monitor window (click the thumbnail below to enlarge the picture):
-
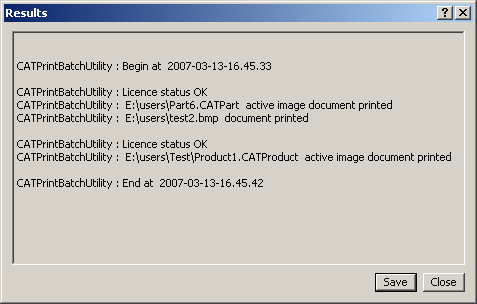
To display the results of the batch execution, access the
Processes
tab then double-click the line corresponding to the batch you have just
run (or right-click it and select
Results):
-
To read the reports
generated by the batch execution, access the folder c:\temp\batchID
(on Windows) or /temp/batchID (on UNIX).
|
|
 |
|
 |
| |
Editing the XML file containing the
batch parameters
|
| |
You can also define your print parameters directly in the
"PrintBatchParameters.xml" file using your favorite text editor.
Click the thumbnail below to see an example of XML file:
|
| |

|
| |
Should you need to modify the name of the
printer to be used, this can be done very easily in the XML file by
indicating the new printer name in the <PRINT_OUTPUT_PRINTER>
parameter:
|
| |

|
| |
If you are printing CATDrawing documents, you can edit the sheet
name and number in <PRINT_VISU_IMAGE_NAME> and <PRINT_VISU_IMAGE_NUM>
respectively:
|
| |

|
|
 |
|
 |


