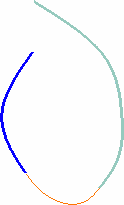
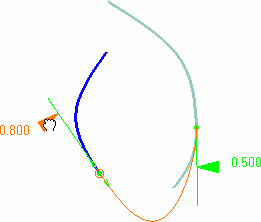
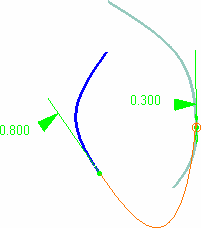
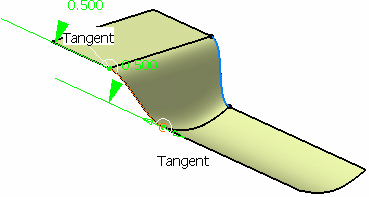
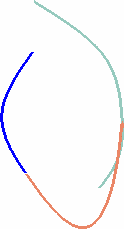
Blending means that a connecting curve will be created between two selected curves, taking certain continuity, position and tension constraints into account.
Open the FreeStyle_Part_43.CATPart document.
-
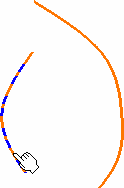
Select two curves.
-
Click the FreeStyle Blend Curve icon
 .
.The Blend Curve dialog box opens.

-
Select the second curve, in case you have not previously selected it.
The blend curve is automatically previewed. By default it connects the curves at their end points closest to the selected points.
-
Make sure the Continuity icon
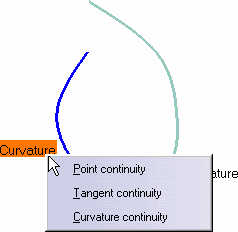
 is active in the Dashboard and right-click onto the identifier
to edit the continuity constraint, using the contextual menu.
The default continuity type is Tangent.
You can do the same on the other end point.
This segment represents the direction and limits of the blend curve tangent at its end points.
-
Make sure the Contact Points icon
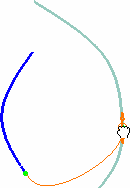
 is active in the Dashboard, to display the contact points on the blend
curve end-point.
-
Move the pointer close to the contact point and drag the manipulator to modify the blend curve connection to the initial curves.
-
Still from the Dashboard, make sure the Tensions icon
 is active, and modify the tension by sliding the displayed value along
the green segment.
-
You can also edit the value, or invert the tension direction, using the contextual menu on the value.
-
Once you are satisfied with the new curve, click OK in the Blend Options dialog box.
The blend curve is computed.
