This section aims at presenting:
-
The two main installation procedures
-
Installing SPE on each and every computer
-
Installing SPE on several computers at a time
-
Installation procedures

Installing SPE on each and every computer:
You launch the Space Engineering Installer (SpaceEngineeringInstaller)
from a single computer running a supported Windows or a Unix operating
system and repeat this operation on each computer, keeping the desired
customization (choosing the specified fields or working from existing files
using the File->Open menu).
Installing SPE on several computers at a time:
This is possible only if the administrator performed a standard CATIA installation on every network workstation.
Step-by-step procedure (on Windows)
- Launch the SPE installer from a computer running a supported Windows operating system (referred to as reference machine).
- Customize the settings: filling in the required fields accessible from the tab pages available in the Space Engineering Installer dialog box (General Settings, SpE Settings, SpI setting and Catia settings), considering the current machine as a SpE/SpI server and CATIA client.
- Install the three products on this computer. The environment files
and associated executable programs are automatically created (Read about
.exe and environments).

We recommend you to read carefully Step 6: Checking Network Communications
- Copy the generated files (providing access to the desired service) on
each machine running Windows with respect to the specified installation
paths of the reference machine.

This is very handy to perform the same installation on each machine.
- Modify the existing environment file on the machine hosting a SpE server and the executable program on the SpI server.
Step-by-step procedure (on Unix)
- Repeat step 1 to 5 from a Unix workstation.

Notes:
-
The installation on Unix seems more complicated than it is on Windows, but is very useful when dealing with a company network as it proves to be quicker and avoids configuration errors.
-
You can of course, mix the two above-described procedures.
-
SPE Installer dialog box
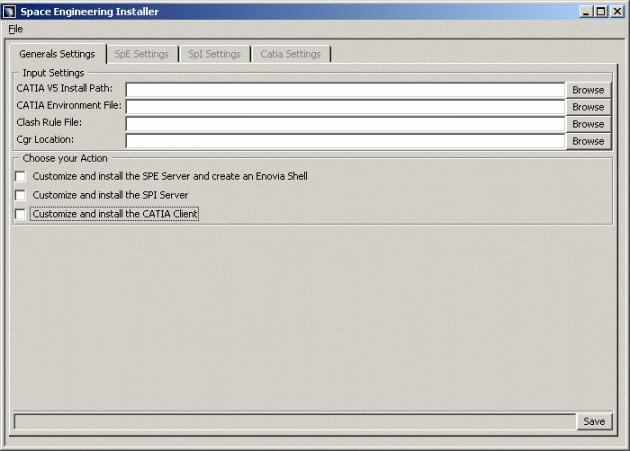
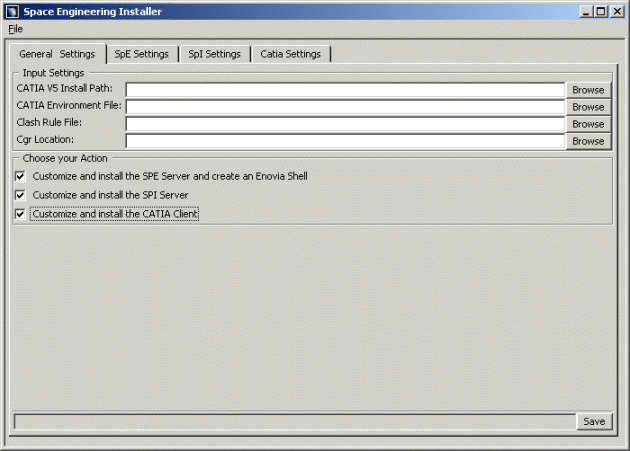
The following dialog box is a useful tool to install quickly Space Engineering product. It will appear as soon as you launch the installer executable program.
SPE Installer
functionalities and components
Input Settings: correspond to all existing 'data' (paths to files or directories, variables, etc.) on the machine hosting the various services (SpI, SpE...). If they do not exist, you should create them.
Output Settings: correspond to the various data created during installation by the administrator.
|
|
Note: This field is available in the SpE, SpI and Catia settings tab pages. |
SpI Computation Settings: correspond to necessary parameters for SpI computation (PRC name, clearance value and voxel size).
Choose your Action: lets you select the appropriate actions and thus access the corresponding tab pages.
Check boxes: let you choose your action(s) (selecting or clearing the appropriate check boxes).
Browse button: lets you easily fill in the various fields (i.e. Browse lets you access the current path via an appropriate selection box).
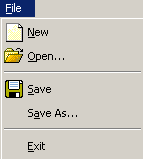
File menu: lets you access existing settings files (selecting Open menu item), create new files (selecting New) or Save the current settings (selecting Save and Save As... menu items).
|
|
Save button: lets you save the current settings. Note you can also use the File menu to perform saving operations.
|
|
Notes:
|
Install (SpE, SpI, Catia) button: appears in the corresponding tab pages and lets you install respectively the SpE and the SpI servers as well as Catia V5.
![]()


