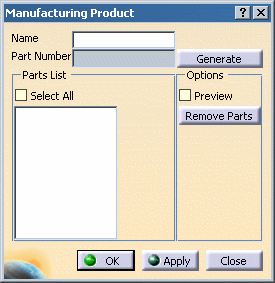
| A Manufacturing Assembly represents a collection of
parts that are the result of one
or more manufacturing processes, often as an intermediate sub-assembly that will be consumed by upstream
processes in the product flow. Manufacturing Assemblies can be created from existing parts, or initially empty
(containing no parts).
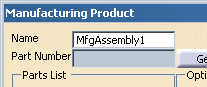
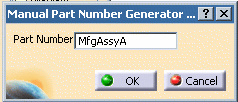
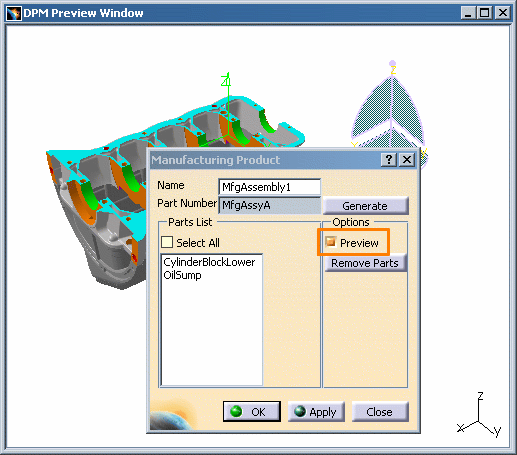
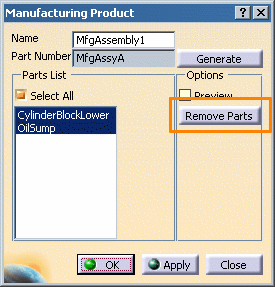
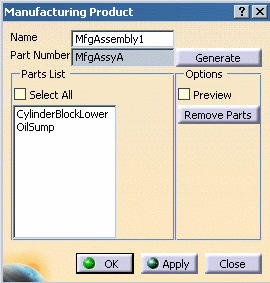
Although a Manufacturing Assembly is not a part itself, it can be associated to a process as an input or output like any part/product in the PPR tree. Each Manufacturing Assembly may be assigned a unique part number. The parts that constitute a given Manufacturing Assembly may be viewed in a read-only viewer which provides panning, rotating and zooming functionality.
This procedure describes the following functionalities: |
|||||||||||||
|
|
Creating a Manufacturing Assembly |
||||||||||||
|
|||||||||||||
|
|
Removing Parts from a Manufacturing Assembly |
||||||||||||
|
|||||||||||||
|
|
Editing a Manufacturing Assembly |
||||||||||||
|
|||||||||||||
|
|
Manufacturing Assemblies and Position Management |
||||||||||||
|
Positions and states can be created for manufacturing assemblies in the same manner as they are created for other parts and resources. |
|||||||||||||
Manufacturing Assemblies and the Manufacturing Hub |
|||||||||||||
|
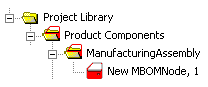
Manufacturing assemblies created during a Manufacturing Hub session in DPM are saved back to the Hub, along with their associated hierarchy of parts and/or child Manufacturing Assemblies. In addition, process relations to these manufacturing assemblies are also saved. In Process Engineer, manufacturing assemblies can be found in the ManufacturingAssembly folder of the Project Library:
When loading a process from the Manufacturing Hub, all manufacturing assemblies linked to the loaded process are loaded in DPM. Conversely, existing manufacturing assemblies not linked to the loaded process are not loaded in DPM, but may instead be loaded via the Search command in the PPR Hub toolbar. NoteA Black Box is a CATIA product which can contain as many as desired products (parts). Unexposed parts can not be used within Manufacturing Assemblies and Manufacturing Kits In Process Engineer, Manufacturing Assemblies will belong to a Product Plantype with the nameshort attribute set to "mbomnode". The standard plantypeset Default-PRO-DPM-IGRIP_V5RXX provided has a plantype named "Manufacturing Assembly" with this nameshort. If you are using a custom plantypeset, you must create your own plantype with this nameshort. |
|||||||||||||
|
|
WarningA Manufacturing Assembly represents a collection of assembled Parts/Products. However, this collection is not itself considered a Part or Product in DPM, but rather a different type of entity. Because it is not in the same class as a Part or Product, it is very important that a Manufacturing Assembly is never set as the authorized child of any Part or Product in a Process Engineer plan type set. This would result in erratic behavior when loading processes into DPM Process and Resource Definition. |
||||||||||||
|
|
Notes
|