This procedure describes the steps required to save the position of parts and/or resources with respect to a given resource. Once created, the position object is then associated with the selected item and shown under the Mfg Positions node of the item in the PPR tree. Named positions may then be used as building blocks in the creation of 3D States.
1.
Arrange the parts and resources
Use the positioning tools (such as the Compass, Snap tools, etc.) to position items and resources assigned to a given activity to the desired locations.
Start the position creation process
Click the Create Positions icon
![]() to start the position creation process. The compass shown in the Create Positions icon will turn from blue to
orange to indicate that the Create Positions mode is currently active
to start the position creation process. The compass shown in the Create Positions icon will turn from blue to
orange to indicate that the Create Positions mode is currently active
![]() .
.
3.
Select an item for which to save a position
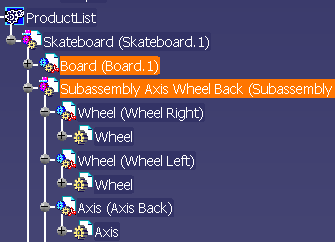
Select a part or resource to save its position.

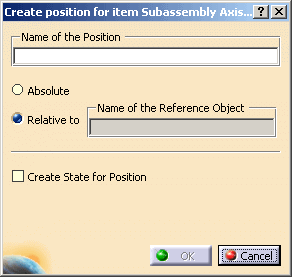
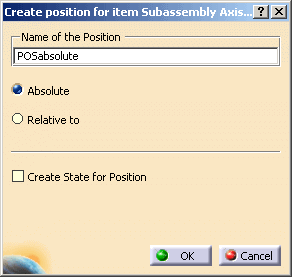
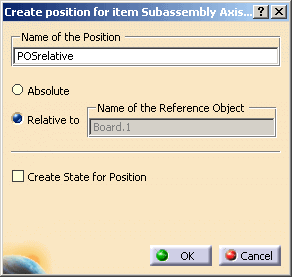
The Create Position dialog box is displayed:

4.
Select whether the position is relative or absolute, and enter a name for this position:

Click OK to close the Create Position dialog box.
5.


The newly created Position object is created and saved in the Applications -> Positions and of the PPR tree, using the name specified in Step 4 and 5 (above):

Note that if the new position is not immediately visible under the Applications node of the PPR tree, you may need to double-click the Applications node to refresh its view.
Once the Position object has been created, the location of the positioned object is stored. The process document must be saved to retain the data for subsequent V5 sessions.
After the Position object has been created, the saved part positions can later be modified, as described in the next section, Editing Positions.
Notes
- If a reference resource is moved, any objects that are positioned based on its location will also be moved accordingly.
-
If a reference resource is deleted, its corresponding position object is not automatically deleted. The position object must be deleted manually by the user, and a warning is displayed during process verification.