Wrapping functionality:
- Lets you select a part or an assembly and wrap it through an
additional tessellation in order to generate a light external envelope of
the part. The resulting envelope is a unique volume.
- Provides a selectable tessellation (Grain
parameter) which lets you manage the file size against precision of
the wrapped representation
- Through this functionality, you can:
- reduce drastically the size of your assembly
- roughly reserve room for a component not completely designed yet
- protect your data confidentiality when sending information to partners by hiding confidential details of your product. For more detailed information, refer to More About Wrapping.
-
(Optional)
You can manage automatically your 'Wrapping result' as an alternate shape of the initial component. In this case, the wrapping result will be automatically reinserted and will replace the initial component (provided the Activate check box is selected, it is by default)Note: If your are not working in alternate shape mode, it is strongly recommended to use the Reference Product option to avoid positioning problems when reinserting products. Read About Reference Product
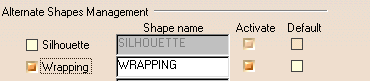
Alternate Shape:
- Select Tools > Options from the menu bar.
The Options dialog box is displayed.
- Expand the Digital Mockup category from the upper-left tree
- Select DMU Optimizer item to display the
corresponding tab.
The Alternate Shapes Management is available
- Select the Wrapping check box: the wrapping is automatically treated as an alternate shape
- Select Tools > Options from the menu bar.
-
(Optional)
You can customize your wrapping result color easily selecting the Tools->Options...- Expand the Digital Mockup category from the upper-left tree.
- Select DMU Optimizer item to display the corresponding tab.
- Change the default color as shown below:


About selection: you can select any node within the specification tree (terminal/non terminal) and even multi-select them provided that you are not working in alternate shape mode. -
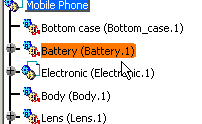
Select the product to you want to wrap (i.e. Battery.1) in the specification tree or in the geometry area.
-
Click Wrapping
 from the DMU Optimizer toolbar.
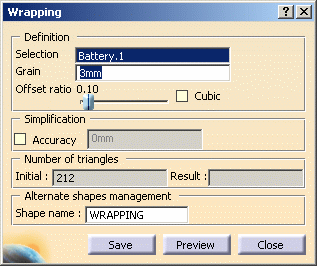
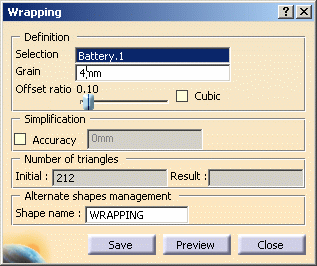
The Wrapping dialog box is displayed.- The number of triangles representing the selected product is displayed in the number of triangles field.
- The Alternate shapes management field appears.
Note: Neither the Input Products dialog box nor the Preview check box are available when working in alternate shape mode. -
Set the grain by entering a value, 4mm for example.
Setting the Grain
The grain determines the precision of the wrapping representation. The grain parameter determines the size of the triangles used to represent the wrapping. A lower setting results in slower computation time, but a more precise calculation of the wrapping.
For more detailed information, refer to More About Wrapping-Step 1.
Setting the Offset Ratio
The Ratio enables to inflate the wrapping representation. A lower ratio value results in a less enveloping representation.
If you check the cubic option, you will obtain a coarse wrapping representation (voxel) but enveloping the product entirely.
Refer to More About Wrapping-Step 2. -
Set the ratio:
- Move the slider to the right to set the ratio to desired value
(0.40, for example).
or if you need a wrapping enveloping entirely the geometry: - Select the Cubic check box to obtain a voxel representation of the envelope (the Offset ratio option is grayed out).
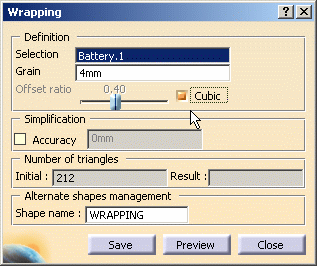
- Move the slider to the right to set the ratio to desired value
(0.40, for example).
-
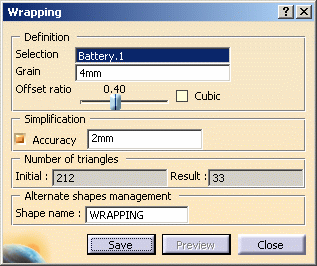
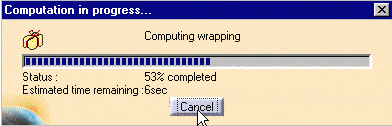
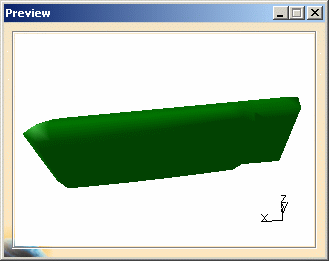
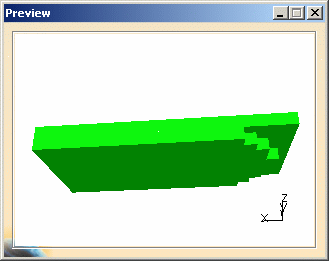
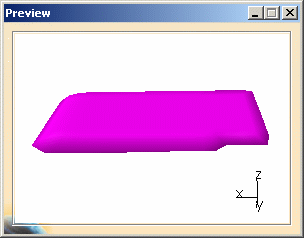
Click Preview to obtain a preview.
The progress bar is displayed letting you monitor and, if necessary, interrupt (Cancel option) the calculation. -
Check the number of triangles representing the wrapping result.
It is displayed in the Number of triangles field as shown below:
-
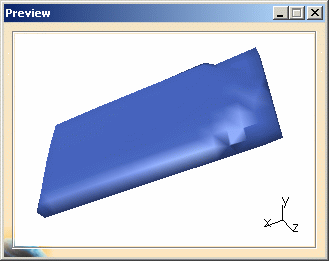
You can simplify your wrapping result. For more detailed information, read Using Simplification Command and More About Simplification
We assume you performed step.6 1.
Select the Accuracy check box in the simplification field.Enter a new value if needed. In our example, keep the default value
-
Click Preview
-
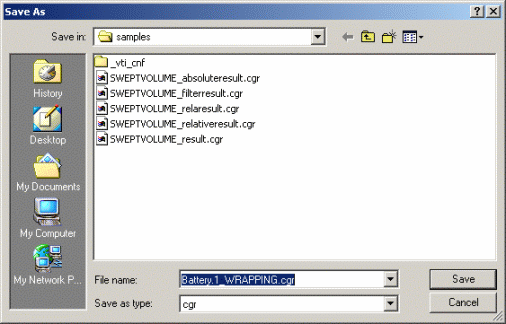
Click Save. The Save As dialog box is displayed. You can identify a specific path/ directory to save your resulting shape using Tools > Options... Read Path For Save section
- Set the Type to .cgr
- Identify the folder in which you want to save the file
- Enter a file name
-
Click Close to exit the wrapping command.
The wrapping result is automatically inserted 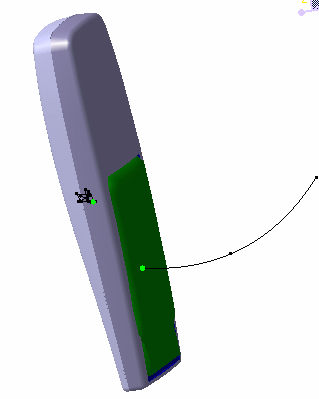
-
Right-click Battery.1 in the specification tree and select Manage > Representations to check your wrapping is treated as alternate shape

![]()