Licensing
This procedure has four parts:
- Viewing data about interference objects
- Viewing data about distance objects
- Filtering analysis information
- Using the preview window.
The clash or distance check must be created, the analysis must be set with the analysis level at either Verbose or Interrupt, and the analysis status must be On.
A simulation must be running or the simulation command must still active after a simulation has run.
View Data about Interference Objects
-
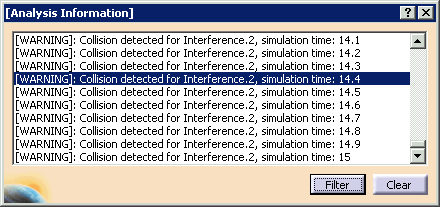
From the Analysis Information window, double-click on the portion of the collision you want to see.
-
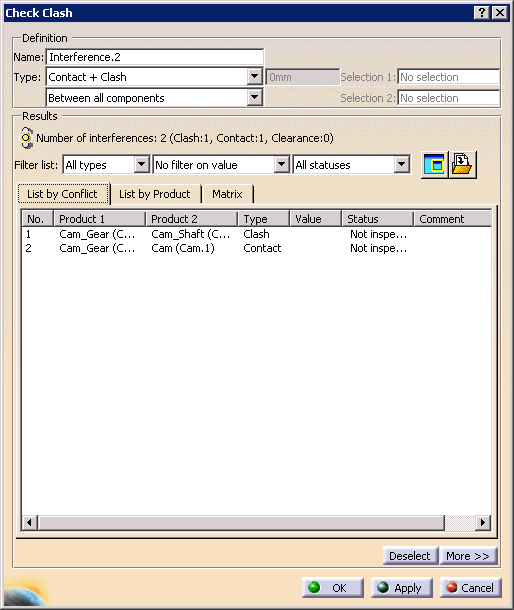
Select a conflict on the Check Clash dialog box to obtain more information about the conflict. Use the tabs and lists on the dialog box to obtain the information required.

See About Check Clash Options -
To return to the simulation, click OK on the Check Clash dialog box, then click Run
 on the Process Simulation pop-up toolbar.
When you double-click a line on the Analysis Information window, the Process Simulation pop-up toolbar shows the same time as the one in the Analysis Information window. 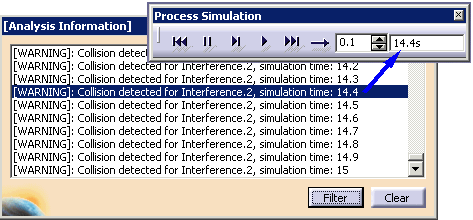
If you end the simulation by deselecting Process Simulation  or closing the Process Simulation pop-up toolbar, the
Analysis Information window becomes grayed out.
View Data about Distance Objects
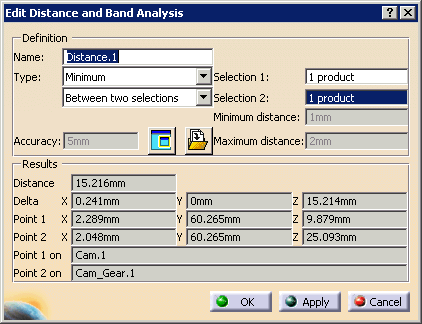
An example of distance data appears below.
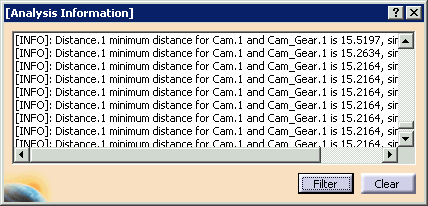
By double-clicking on one of the distance messages, you can check the results of the selected distance object. The simulation is updated to the time corresponding with the selected message.
Filter Analysis Information
-
On the Analysis Information window, click the Filter button.
The Filter dialog box appears. 

By default, all types of information are selected. -
Deselect any items not wanted or select any items wanted. (Use Ctrl+LMB to multi-select.)
The messages corresponding to the selected error levels, are displayed; the others are hidden.
View or Save Results
For both kinds of analysis information, selecting the Results Window calls up a dedicated window that highlights the clash or distance. An example of a clash window appears below:
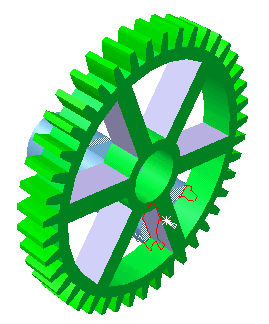
The point of clash is outlined in red.
|
|
When you click Results Window |
An example of a distance window appears below:
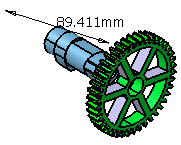
To save data about the distance object, click Export As![]() .
The image is saved as a .model, .txt, or .xml file.
.
The image is saved as a .model, .txt, or .xml file.
