Licensing
It describes the following areas of the dialog box:
Definition

Results
Number of Interferences
- Green:
- No interferences, or
- All interferences found have been marked Irrelevant
- Yellow:
- Interferences found, but not inspected, therefore relevance unknown, or
- Interferences found, and their statuses are either Not inspected or Irrelevant
- Red: At least one interference has been marked Relevant
Filter List

- All types of interference (default)
- Only clashes
- Only contacts
- Only clearance
Users can choose to see the interference data ordered by value (values are not accessed until an object has been selected on the interference list and inspected):
- No filter on value (default)
- Increasing value
- Decreasing value
Users can choose to filter interference data according to its status. Statuses are:
- All statuses (default)
- Not inspected
- Relevant
- Irrelevant
Results and Preview Windows
The geometric data color-codes the interference geometry. Clearance interferences appear highlighted in green.
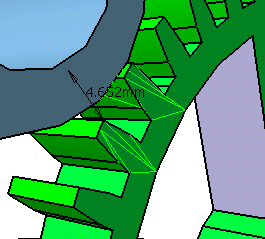
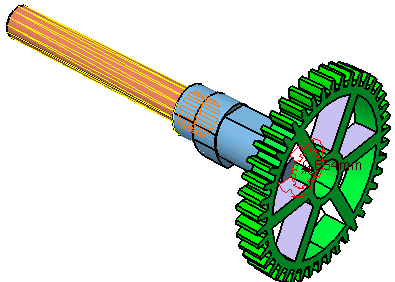
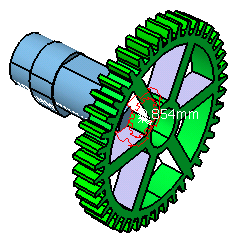
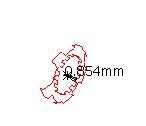
Contact interferences are highlighted in yellow; clash interferences are highlighted in red. Clash and clearance interferences show either the maximum length of the penetration or the clearance distance. This number corresponds to the numerical value assigned to the interference.
Users can also see the interference in a dedicated results window by
selecting a specific interference listed in the data under any of the tabs,
and clicking the Results Window![]() button.
button.
The results window differs from the preview windows in two ways:
- It is the size of a normal workbench window, and potentially take up an entire screen.
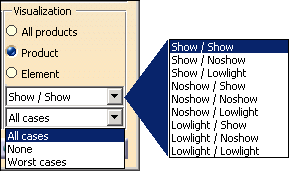
- In addition to offering the features of the preview window, it also offers Visualization options. You can see these options when you click the More button.
Users can save the image in the preview window by pressing the
Export As![]() button once a
preview window appears. The clash data can be saved as a .model file,
a .txt file, or a .xml file.
button once a
preview window appears. The clash data can be saved as a .model file,
a .txt file, or a .xml file.
List by Conflict Tab

Once a user selects an interference object, it is inspected, and a value representing the extent of the interference appears in the Value column. By default, conflicts are listed by the number assigned to them in the No. column. However, depending on selections made in the Filter list, users can order the interferences by the number in the Value column.
The status of the conflict shifts from Not inspected to Relevant once a conflict is selected. To change the status to Irrelevant, click Relevant under the Status column, and the conflict is listed as Irrelevant. The status can be toggled between Relevant and Irrelevant as necessary.
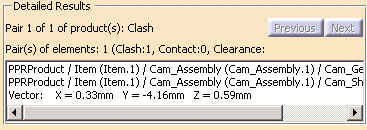
Selecting the More button brings up a Detailed Results area and the Visualization options. The Detailed Results area is updated whenever a conflict is selected.
Users can select multiple conflicts. Selecting any conflict brings
up a small preview window that shows the conflict; for a better view, click
the Results Window![]() button.
button.
Adding a Comment

The Comment dialog box appears:

The comment appears:

Comments can also be added this way under the List by Product tab. Comments entered under either tab appear associated with the corresponding interference in the other tab.
List by Product Tab

Matrix Tab
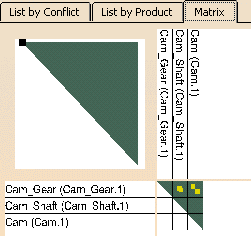
- Green: Irrelevant
- Yellow: Not inspected
- Red: Relevant

If you mark an interference Irrelevant (green) on one of the List by... tabs, but it continues to show up as Relevant (red ) on the Matrix tab, click the pictogram.
The conflict type is shown as follows:
- Clearance

- Contact

- Clash

Detailed Results
Visualization Options
