- recover several STEP, 3D or 2D IGES or DXF files from another system to V5,
- export several V5 files to STEP, 3D or 2D IGES or DXF,
in one shot.
- STEP files are transferred as CATPart or CATProduct,
- IGES files are transferred as CATPart,
- DXF/DWG and 2D IGES files are transferred as CATDrawing,
- V5 CATPart, CATProduct and CATShape files can be exported to STEP or 3D IGES,
- CATDrawing files are exported to DXF/DWG or 2D IGES files.
- Transfers are done with the options you have set (for more information, see IGES, STEP, DXF and IGES 2D settings).
- Remote mode is not available for the export of CATProducts to STEP or IGES format.
- Define output parameters before adding the input files
(the type of the input files proposed depends on the choice of the output file type you have made). - You can mix import and export, and STEP, 3D or 2D IGES or DXF in one
process,
or send the output files in several output directories. - In those cases, define the output parameters for the first batch of
input files,
then add those input files, and repeat those steps as many times as necessary. - Only existing output directories can be selected.
- If the output directory no longer exist when you run the batch process, a message will warn you.
- You can not change the output parameters for a file once you have
added it to the list.
However, you can delete it from the list, define new output parameters and add the file again.
to process DXF/DWG, 2D or 3D IGES and/or STEP files with the Batch Monitor, even though you can access
the Batch Monitor and the Batch-DXF-IGES-STEP line, and save your batch parameters as a .xml file,
without those licences present.
If the required licences are not present when you run the process, a
message will invite you to check the log file.
Files with corresponding licences present will be processed, the other will
not.
-
Start the Batch Monitor (see Version 5 Infrastructure User's Guide).

-
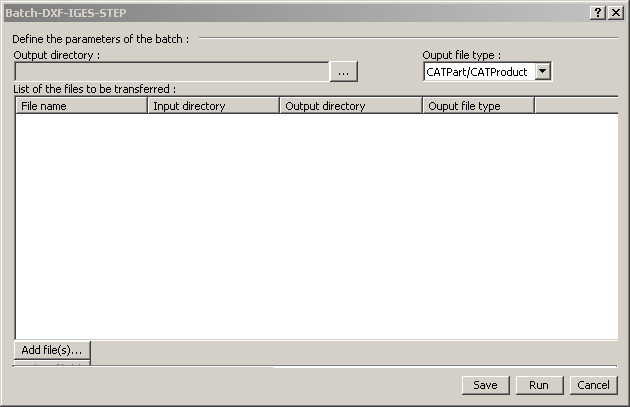
Double-click Batch-DXF-IGES-STEP. The Batch-DXF-IGES-STEP dialog box is displayed.
-
Define the Output directory: Press the ... button and browse your computer to select the output directory.
You can choose one output directory for one, several or all the input files.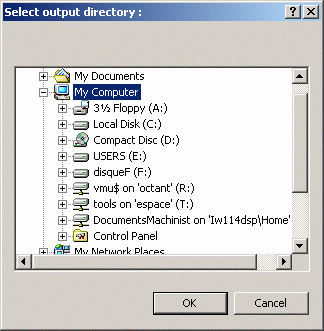
-
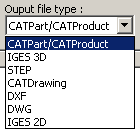
Select the type of the output file. It can be the same for all the input files or not.
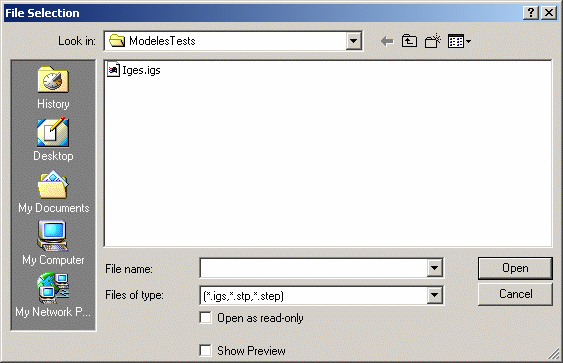
-
Push the Add file(s)
 button
and select one or several input files.
in order to avoid incoherencies in the process.
You may keep the same
Output directory or the same Output file type for all files,
or modify them before adding a new (or several) file.
-
Push the Options button.
A dialog box is displayed with the options available for IGES, STEP, DXF and IGES 2D.
Your changes will replace the current settings.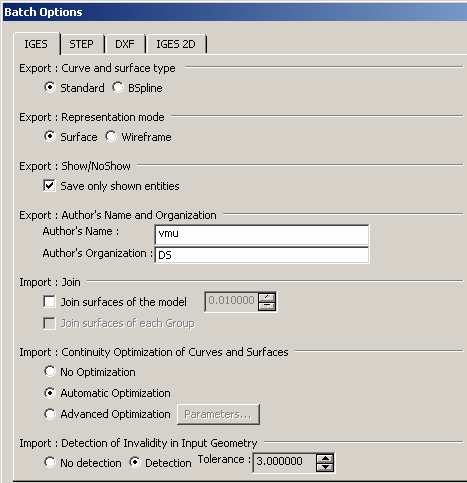
-
You can:
-
Click the
Licensing Setup...
button and select a license authorizing the use of the batch you
want to run.
If you run a batch without previously selecting a license, the system reads the License.CATSettings file
and tries to run the batch with the licenses found in this file.
If you do not succeed in running the batch due to a licensing problem,
click the Licensing Setup... button and select a license from the list.
When you click on this button, the system searches for both nodelock licenses installed
on your computer and network licenses accessible from your computer and displays the list of licenses found.
The list displayed will contain the same licenses visible in the Tools > Options > Licensing tab.
Then, select the appropriate license from the list.
The license is only acquired temporarily for the duration of the batch execution. -
Click the Run button to process
the files immediately. Check the required option Run Local or
Run Remote
(in that case enter the name of the remote machine) or -
Click the Save
button to save the process as a .xml file and run it later
(see Version 5 Infrastructure User's Guide), or - Click the Cancel button to exit the process without saving or running it.
-
Click the
Licensing Setup...
button and select a license authorizing the use of the batch you
want to run.
-
At the end of the batch process, you can check the result in the Processes tab of the batch monitor,
n the column Information (Succeeded or Batch ERROR:...)
Double-click on the name of the batch process to display the corresponding log file.
This file lists the name, path and type of the input file.
Then either the name and path of the file created (Transfer OK - Created file :...)
or the reason of the failure (e.g. Impossible to open...)
and the number of failures (Number of Error(s) occurred during the Batch processing :)This process is successful: 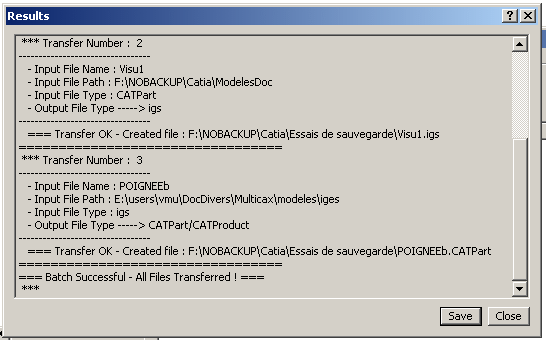
There are errors in this process: 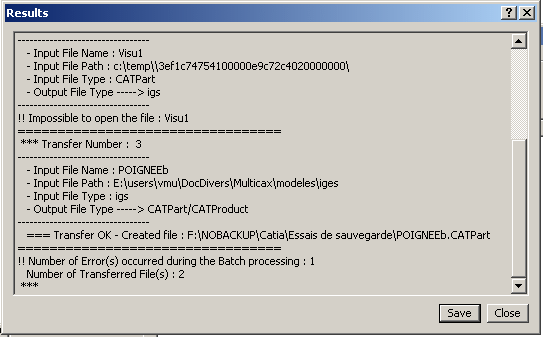
![]()
