This task shows how to edit surface elements both in the Surface Mesher workshop and in the Advanced Surface Mesher workshop.
Thanks to the full cursor editing, you can preview and then update dynamically the quality analysis results on the mesh. When quality criteria are respected, you will see the change in finite element color. You can also move nodes on geometry, edit finite elements (splitting, swapping, and so forth) or smooth the mesh.
Mesh Editing on:
using either the contextual menu or:
- Dynamic Update of Element Quality Analysis (colors change, if needed)
- Full Mouse Mesh Editing
- Automatic Smooth on Nodes
- Contextual Menu
-
Open the sample05.CATAnalysis document from the samples directory.
-
Enter the Surface Mesher workshop or the Advanced Surface Mesher workshop.
For more details, refer to Entering the Surface Mesher Workshop or Entering the Advanced Surface Mesher Workshop.
In this particular example, enter the Advanced Surface Mesher workshop. -
Mesh the surface.
For more details, refer to Launching the Mesh Execution in the:
-
Click Edit Mesh
 in the Edition Tools toolbar.
The Edit Mesh dialog box appears.
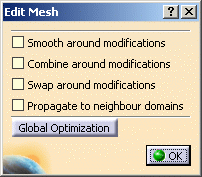
- Smooth around modifications: allows optimizing
the shape of the element so that split elements meet desired
Analysis criteria:
Note that as the Auto smooth option is inactive in the Edit Mesh dialog box, the surrounding elements are not modified and therefore do not enhance the quality whatever the modifications you perform.- Smooth around modifications option activated
(the shape of the neighbor elements is altered in order to
have the best possible quality of the elements).
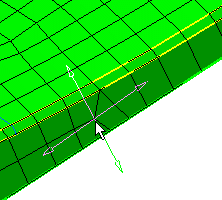
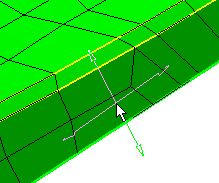
- Smooth around modifications option
de-activated (the shape of the neighbor elements is not
altered)
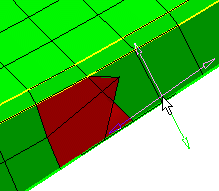
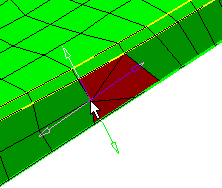
- Smooth around modifications option activated
(the shape of the neighbor elements is altered in order to
have the best possible quality of the elements).
- Combine around modifications: allows combining
two triangles into a quadrangle of good quality (when
possible).
- Combine around modifications option activated.
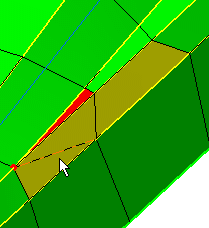
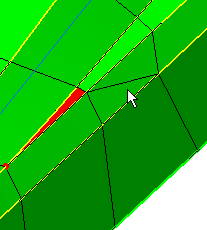
- Combine around modifications option activated.
- Swap around modifications: allows dragging a node on a surface.
- Propagate to neighbour domains: allows propagating smoothing modifications from one domain to a neighboring one.
- Global Optimization: lets you launch again the Quality Analysis.
- Smooth around modifications: allows optimizing
the shape of the element so that split elements meet desired
Analysis criteria:
-
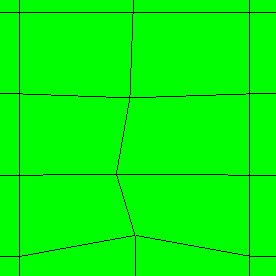
Position the Condense element symbol very close to a node and right-click.
In this case, we de-activated all the options from the Edit Mesh dialog box.
Target vs opposite node
Before
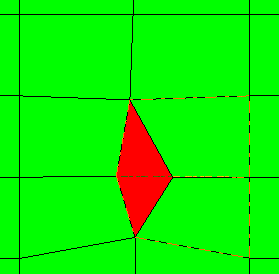
Condensed node
After
-
Position the cursor over one quadrangle element.
You can now cut the mesh element diagonally according to the position of the cursor.
- Before (quadrangle mesh)
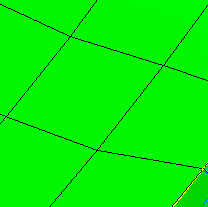
When you go over the quadrangle mesh you want to cut, both a symbol ( ) and
orange-highlighted cut mesh preview appear on this mesh.
 - After (cut mesh according to the position of the
cursor)
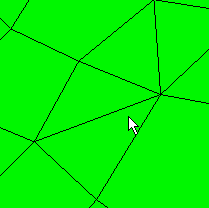
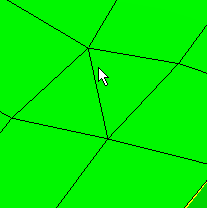
- Before (quadrangle mesh)
-
Select a node and move it to the desired location.
The quality of the elements updates according to the location you assign to the node.
-
Click on a node.
The node is automatically moved to the optimum location. The quality of the elements updates according to this new location.
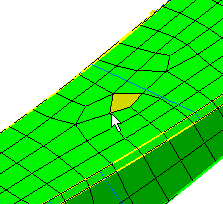
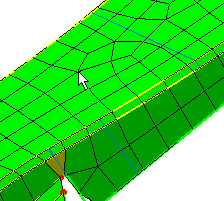
-
Right-click a segment.
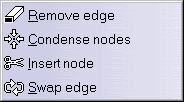
Once you selected an option from the contextual menu, when you go over the quadrangle mesh you want to edit, both the corresponding symbol and orange-highlighted edited mesh preview appear on this mesh.
-
 :
allows removing edges you previously created manually
when splitting a quadrangle element
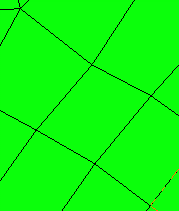
In this case, we activated all the options, right-clicked an edge and activated the Remove edge contextual menu.edge selected
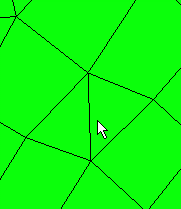
deleted edge
-
 :
allows condensing nodes on edges or a node on another
node.
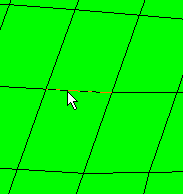
- In this case, we activated all the options, right-clicked an edge and activated the Condense nodes contextual menu.
edge selected
condensed node
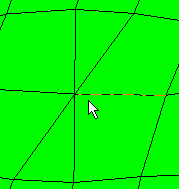
- In this new case, we de-activated all the options, positioned the Condense symbol very close to a node and right-clicked.
-
 :
allows inserting a node on an edge
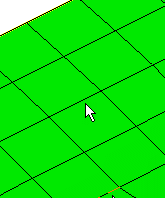
- In the case below, we de-activated the Auto
combine and Auto swap options,
right-clicked an edge and activated the Insert node
contextual menu.
edge selected
inserted node
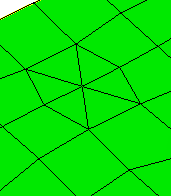
- In the case below, we activated the Auto combine
options, right-clicked an edge and activated the
Insert node contextual menu.
edge selected
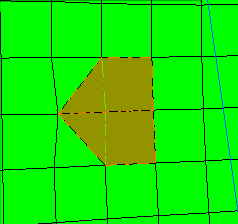
inserted node
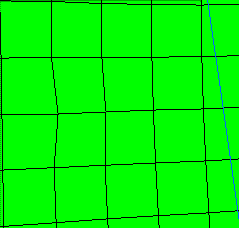
- In the case below, we de-activated the Auto
combine and Auto swap options,
right-clicked an edge and activated the Insert node
contextual menu.
-
 :
allows swapping between two edges.
When you make a swap between a triangle and a quadrangle, whatever the edge new position, the resulting mesh will always be a triangle and a quadrangle. The preview will be a good help.- Two Quadrangle Elements:
edge selected
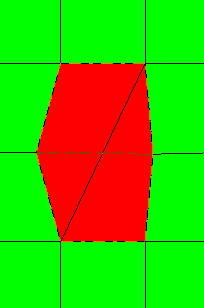
swapped edge
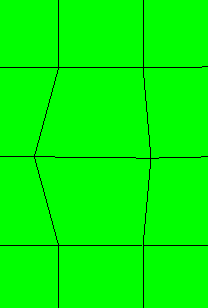
- A Quadrangle and a Triangle:
One TR/one QD before
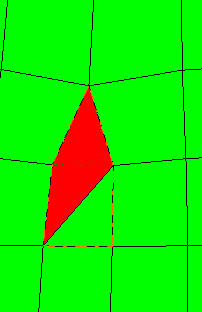
One TR/one QD after
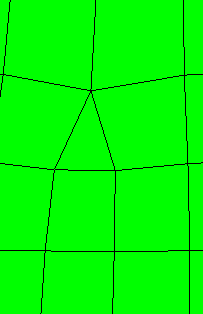
- Two Quadrangle Elements:
-
Surface Elements
Using the Contextual Menu
You can split or condense elements:
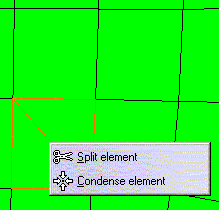
Dynamic Update of Element Quality Analysis (colors change, if needed)
Full Mouse Mesh Editing
You can drag nodes on surfaces

Automatic Smooth on Nodes
You can smooth elements by letting the algorithm update the mesh elements location.
Edges
Contextual Menu
![]()