You can query for penetrations by doing one of the following:
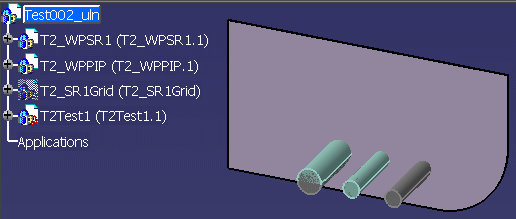
- Select an object in your document (for instance, a bulkhead or a pipe).
- Select on the specifications tree (for instance, you can choose a work package or a part related to the penetration).
- Click the Penetration Activities button and select an activity related to a specific penetration. See below for a more detailed explanation.

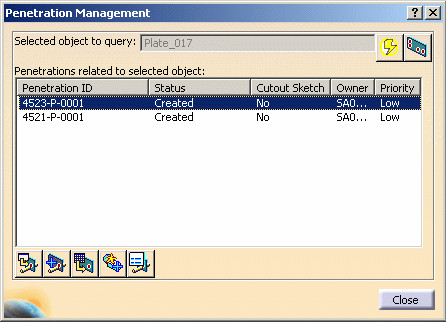
The selected object name displays in the Selected object to query field in the Penetration Management dialog box.

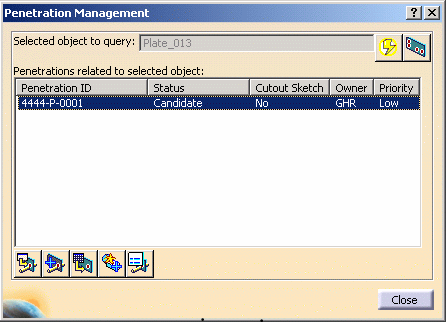
The Penetration Management dialog box lists the penetrations associated with the selected object, and the current status.
The list of penetrations is updated.
- Create a cutout sketch (explained in Creating a Cutout Sketch).
- Add an object to a penetration (explained in Adding an Object to a Penetration).
- Add clash to a penetration (explained in Adding Clash to a Penetration).
- View and edit penetration properties (explained in Viewing and Editing Penetration Properties).

Select an activity from the list and click OK.
The related Penetration ID displays in the Penetration Management dialog box.

Select the penetration and perform the necessary tasks.