|
|
This task illustrates how to insert a
Multi-Axis Helix Machining operation in the
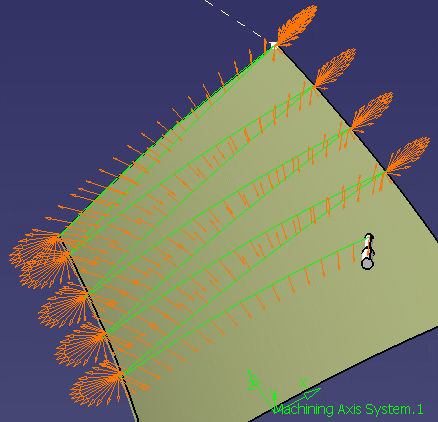
program. This operation will be used to generate a single helix toolpath
to mill an entire turbo-machinery blade. To create the operation you must
define:
|
|
|
|
Open the
Blade.CATPart document, then select Machining > Advanced
Machining from the Start menu. Make the Manufacturing Program
current in the specification tree. |
|
|
|
1. | Select the Multi-Axis Helix Machining icon
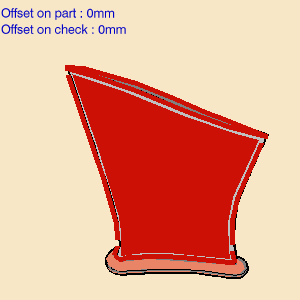
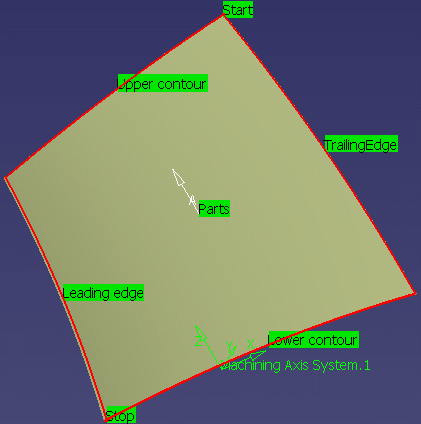
The part surface, upper and lower contours, and leading and trailing edges of the sensitive icon are colored red indicating that this geometry is required and must be selected. The upper and lower contours and the leading and trailing edges must lie on the faces selected as part surface. Fixture geometry is optional. |
| 2. | Click the red part surface in the icon then select the
faces to be machined in the 3D window. In this scenario, you must select
4 faces: the front face, the back face and the two side faces. The Face Selection toolbar appears to help you select faces or belts of faces. Note that faces must be continuous. Gaps between faces may result in a bad tool path. |
|
| 3. | Select the upper and lower contours. The Edge Selection toolbar appears to help you select these contours. They must be closed contours | |
| 4. | Select the leading and trailing edges to define the limits of the machining. The Edge Selection toolbar appears to help you select these edges. They must intersect the upper and lower contours. | |
 |
||
|
|
The geometry entities of the icon are now colored green indicating that this geometry is now defined. | |
| 5. | Select the Strategy tab page
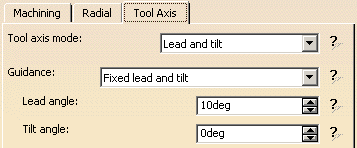
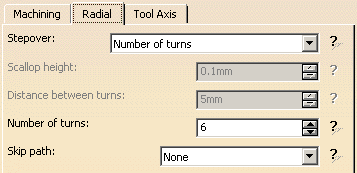
Specify parameters for: |
|
|
|
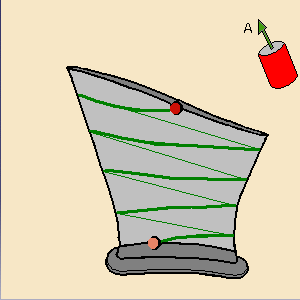
A default reference tool axis (A) is displayed. You can double click on this axis to modify it. You can also click the tool axis (A) symbol in the Strategy tab page to modify the orientation of the reference axis. | |
| 6. | Click Preview in the dialog box to verify the parameters that you have specified. A message box appears giving feedback about this verification. | |
| 7. | A tool is proposed by default when you want to create a machining
operation. If the proposed tool is not suitable, just select the
Tool tab page
|
|
| 8. | Select the Feeds and Speeds tab page
|
|
| 9. | Select the Macros tab page
|
|
| 10. | Before accepting the operation, you should check its
validity by
replaying the tool path.
|
|
| 11. | Click OK to create the operation. | |
|
|
||
