Customizing query result display can be done at any time. Note that if you are using SmarTeam databases anterior to Version 5 Release 16 this operation is not mandatory prior to using the Reconcile capability for the first time. If you do not customize the display, this will be based upon the properties set for the query as explained in Customizing Queries.
For reference information about queries, see Identifying SmarTeam Documents.
-
Launch the Integration Tools Setup utility as explained in the SmarTeam documentation.
-
From the Integration Tool Setup window, expand the CATIA category.
-
In the CATIA category, right-click Mapping Group Types and select Add mapping group type.
The Mapping Group Type dialog box is displayed. -
Enter Reconciliator Query Result in the Name field of the Mapping Group Type dialog box.
The Reconciliator Query Result mapping group type name is not mandatory: if it is not defined, the reconciliator will displayed the attribute listed in the Reconciliator Query mapping group.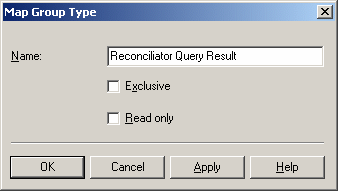
-
Click OK to confirm.
The new group type Reconciliator Query Result is now displayed in the Mapping Group Types list.
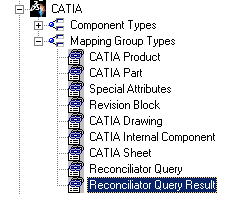
-
Right-click Reconciliator Query Result and select Open groups tree.
The Mapping Groups Tree dialog box is displayed. -
Right-click Reconciliator Query Result and select Add.
-
Enter Generic Query in the Name field of the Manage group attribute dialog box that appears.
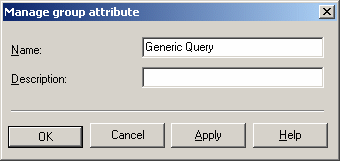
-
Click OK to confirm.
The Mapping Groups Tree dialog box looks like this: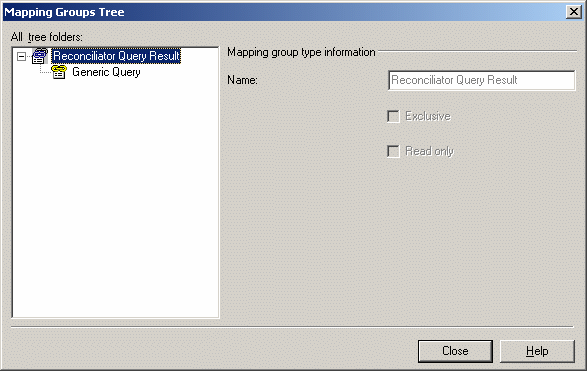
-
Right-click Generic Query and select Add.
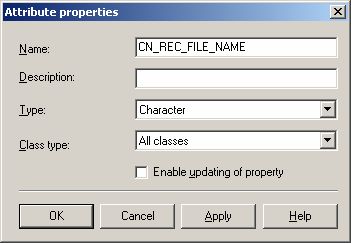
The Attribute properties dialog box is displayed. -
In this dialog box, you need to enter property names as they appear in CATIA. See Properties and Related Attributes for the complete list of all properties which can be added.
For the purposes of our example, enter CN_REC_FILE_NAME as property name in the Name field.
-
Click OK to confirm.
CN_REC_FILE_NAME is now displayed in the Reconciliator Query tree of the Mapping Groups Tree dialog box.
-
Right-click CN_REC_FILE_NAME and select Add.
-
In the Attribute mapping dialog box that is displayed, click
 to the right of
the Class name field to access the list of classes which are
available for the CN_REC_FILE_NAME property.
 -
From the Class Tree dialog box which appears, select Documents as the class you want.
The mapping property should be mapped on the Documents class. The mapping property name is currently not taken into account. The mapping attribute name is the External name displayed in the query panel result.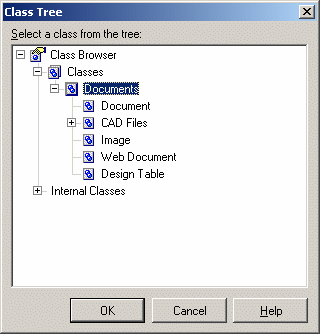
-
Click OK to confirm.
The Attribute mapping dialog box now looks like this: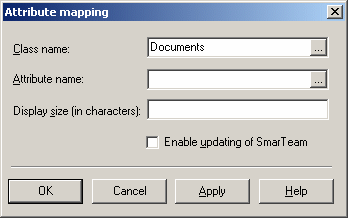
-
From the Attribute mapping dialog box, click
 to the right of the
Attribute name field to access the list of attributes which are
available for the CN_REC_FILE_NAME property.
 -
From the Select Attribute dialog box which appears, select Application Reference File Name as the attribute you want to assign.
Note that you need to select Application Reference File Name, not File Name. 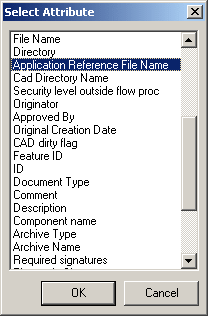
-
Click OK to confirm.
The Attribute mapping dialog box now displays Application Reference File Name in the Attribute name field. -
Click OK to confirm and close this dialog box.
The Reconciliator Query Result list now looks like this in the Mapping Groups Tree dialog box: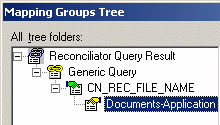
-
Click OK to confirm your customization and close the Mapping Groups Tree dialog box.
-
Click Close to close the Integration Tools Setup utility.
Whatever query type you perform, query results will appear like this in the Reconcile Window:

Properties and Related Attributes
The table below provides a list of all the properties and related attributes which you can set for customizing queries:
| Property Name in CATIA | Attribute class in SmarTeam | Attribute Name in SmarTeam database | Attribute Display Name in SmarTeam | Mapping Direction |
| CN_DESCRIPTIONREF | Documents | TDM_DESCRIPTION | Description | Not applicable |
| CN_REC_DocumentID | Documents | TDM_ID | ID | Not applicable |
| CN_REVISION | Documents | REVISION | Revision | Not applicable |
| CN_STATE | Documents | STATE | State | Not applicable |
| CN_PART_NUMBER | Documents | CN_PART_NUMBER | Part Number | Not applicable |
| CN_REC_FILE_NAME | Documents | CN_REC_FILE_NAME | Application Reference File Name | Not applicable |
For reference information about the SmarTeam Integration Tools Setup Utility, see the SmarTeam documentation.