 |
-
Select the Tools > Options > General > Display >
Performance tab then select the Enable OpenGL Shader check
box in the Miscellaneous area (this option appears only once the
necessary elements are downloaded):
-
Select the Chroma material in the
specification tree.
-
Select Edit > Properties or right-click and select
 Properties to open the Properties dialog box.
|
The material properties can also be accessed by
right-clicking the object onto which the material has been applied
then selecting Material > Edit Material.
This avoids selecting the material in the specification tree and is
especially useful when working in Full Screen mode, for instance. |
| You can also manipulate the
object (i.e. zooming in/out, etc.) directly in the geometry area
while displaying the Properties dialog box either by
double-clicking the material in the specification tree or by
right-clicking the material then selecting xxx object >
Definition. |
 |
The Car Paint
advanced material supports standard light sources (defined via
View > Lighting) as well as
spot and
directional
light sources defined in the Real Time Rendering
workbench.
When using the above-mentioned light sources, you can modify the
specular, ambient and diffuse coefficients as needed. |
-
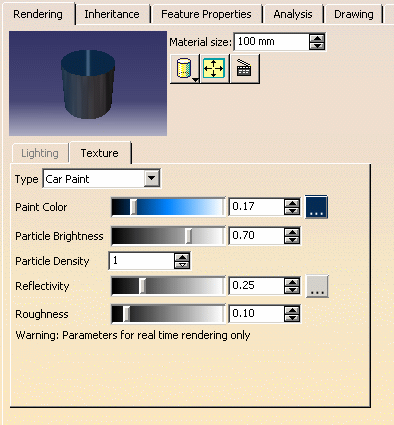
Click the
Rendering tab, then select
Texture tab and select Car Paint from the
Type list:
 |
| The shader is applied to your model as shown below:
|
 |
-
Use the Paint Color box to define the color of
the texture either using the slider or the box.
|
You can also click ... to define
more precisely the color to be applied. This opens the Color
chooser: |
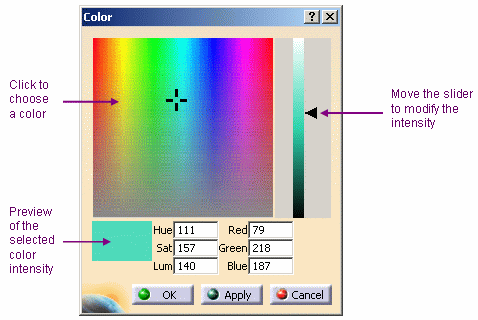 |
| Click in the preview area to choose the color, or
even key in the exact value of the desired color. You can enter a
value comprised between 0 and 255 for any of these boxes.
As you can see in the above picture, two color system models are
used:
- HLS (Hue, Saturation, Luminance) model is an
intuitive, easy to use tool for describing or modifying a color.
Hue is the
"color" of the color. It is the name by which the color is
designated and is used to define the desired color.
Saturation
is the intensity of the color. The higher the number, the more
intense the color. It is used to tune the purity of the color.
Luminance is
the brightness of the color, i.e. the degree to which the pure
color is diluted by white or black. The larger the number, the
lighter the color. It is used to adjust intensity.
- RGB (Red, Green and Blue) model is a more physical model.
It is based on the tri-stimulus theory of the human perception
system. This model is usually used to define, with a high
precision, the three primary components of the color.
Once satisfied with the color, click OK to validate
and go back to the Properties dialog box. |
-
The Particle Brightness box lets you define
the contrast, i.e. the intensity of light diffused by particles when lit
by light sources.
|
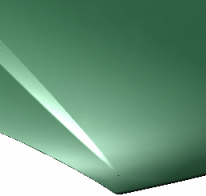
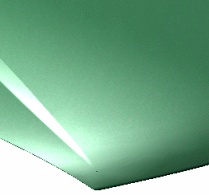
You can choose a value comprised between 0 and 1.
For instance, "0" means that there are no particles at all as shown
below: |
 |
 |
| Particle brightness = 0 |
Particle brightness = 1 |
-
Use the Particle Density box to set the size
of the particles. The higher the value, the smaller the particles:
 |
 |
| Particle density = 1 |
Particle density = 3 |
-
The Reflectivity box enables you to define the
degree of reflectivity of the particles. The higher the value, the more
reflective the particles. You can enter a value comprised between 0 and
1.
-
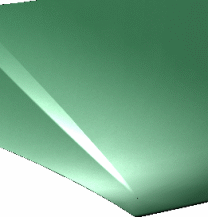
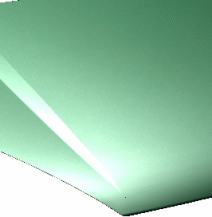
Use the Roughness box to set the size of the
specular spot.
|
Set the value to a maximum to generate very sharp
highlights on very shiny surfaces. Set the roughness to a lower
value to generate large specular spots creating a duller effect.
|
 |
 |
| Roughness = 0.2 |
Roughness = 0.4 |
-
Click OK or
Apply
and OK
to validate your parameters.
-
Close the Properties dialog
box.
|
![]()