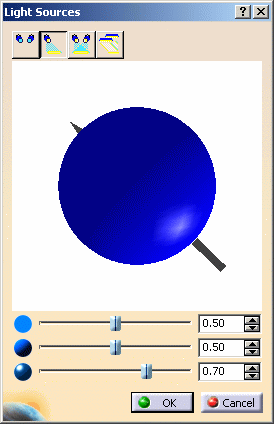
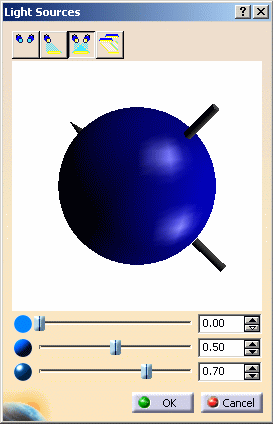
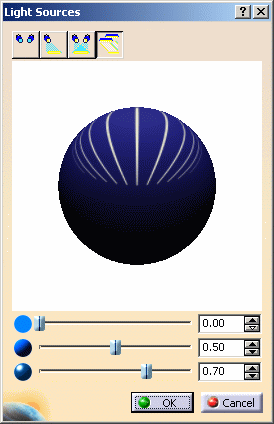
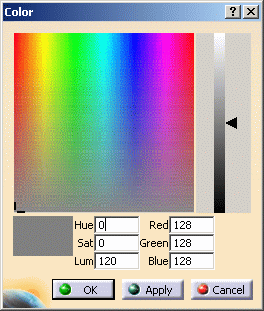
| The default light source
settings look like this... |
 |
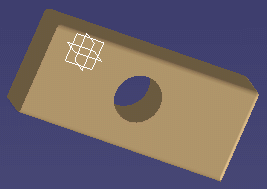
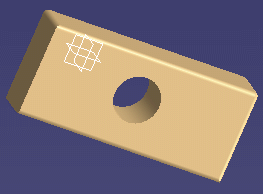
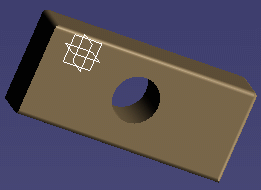
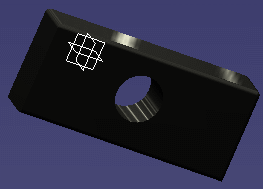
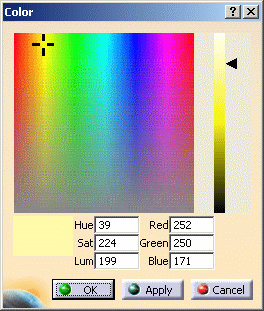
| ... and produce a lighting
effect, for example, like this: |
 |
 |
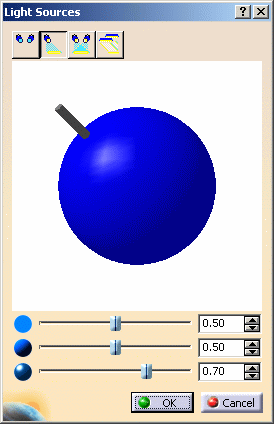
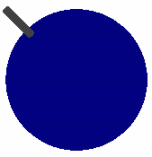
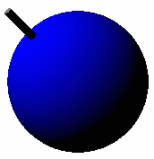
Note that
Single Light
 is activated by default. The sphere indicates the current lighting
direction. The handle on the sphere indicates the direction from
which the light is being projected: by default, the light is coming
from the top left.
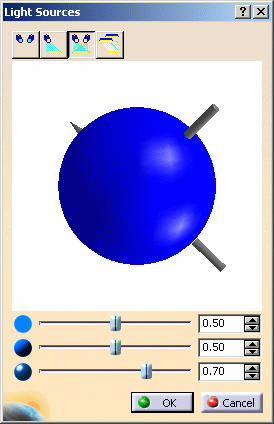
is activated by default. The sphere indicates the current lighting
direction. The handle on the sphere indicates the direction from
which the light is being projected: by default, the light is coming
from the top left.
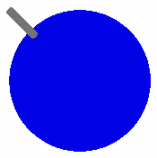
You can drag the handle around (using the left mouse button) to
change the lighting direction. The new lighting effect is created
instantaneously as you drag the handle. |
|
The three sliders at the
bottom of the dialog box control respectively (from top to bottom): |
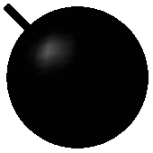
- ambient coefficient:
defines the intensity of light emitted in any direction by the
object, even if not lit by any light source. The ambient light is
essentially used to show objects or parts of objects that are not
illuminated directly by the light source.
|
 |
 |
|
Ambient
= 0.50 |
Ambient =
1.00 |
|
- diffuse coefficient:
defines the intensity of light diffused by the object when lit by
a light source:
|
 |
 |
|
Diffuse =
0.50 |
Diffuse =
1.00 |
|
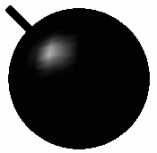
- specular coefficient:
defines the intensity of light reflected in one particular
direction. This coefficient affects the highlight on shiny
surfaces. The higher the value, the bigger the the specular spot:
|
 |
 |
|
Specular
= 0.50 |
Specular
= 1.00 |
|
| To define the desired
value, you can drag the desired slider or use the spin box next to
it either by clicking the up and down arrows or by entering a value
directly in the field. |