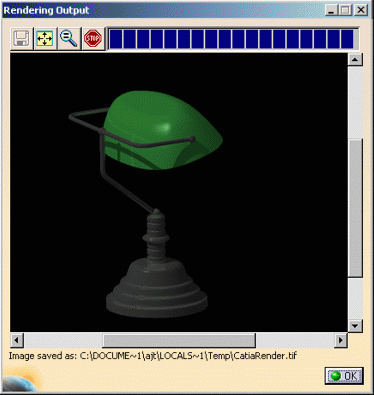
-
Select the turntable axis.
-
Click Simulation
 . The
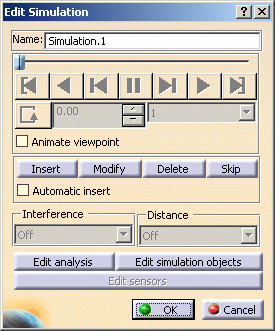
Edit Simulation dialog box appears:
-
Move the turntable as you wish using the compass.
-
Click Insert to record the desired shots in your animation.
As soon as you insert your first keyframe, the dialog box buttons are activated to let you Modify, Delete or Skip the current shot by clicking the appropriate button.

For more information on animating in a simulation and using the Manipulation toolbar, refer to Animating Scene Elements in a Simulation in this guide.
However, note that you cannot add objects to a simulation based on a turntable (even if Edit simulation objects is available). -
Keep on inserting keyframes then preview the animation by clicking the Play forward
 button with
Animate viewpoint selected.
button with
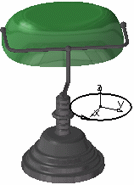
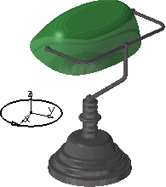
Animate viewpoint selected.When you run the simulation, the animated object rotates around the turntable axis: 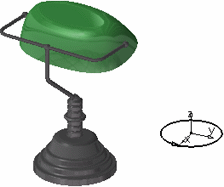
-
Click Render Shooting
 to render your animation. The Render dialog box opens:
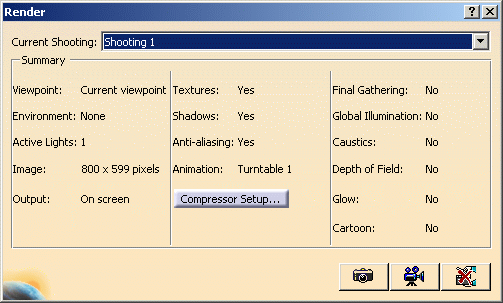
For detailed information on this window, refer to Setting Image Frame and Quality Parameters.
![]()
