| Option |
Effect |
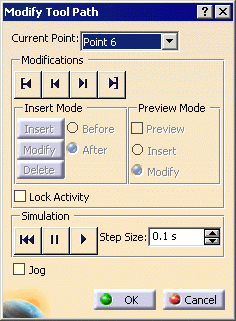
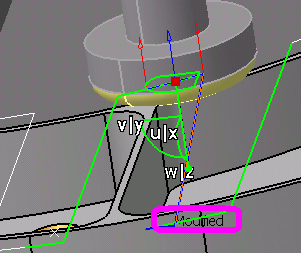
| Current Point |
Selecting a point from the Current Point
list makes the tool jump to the point on the geometry. If you
accessed the Modify Tool Path dialog box via Fault List,
among the points listed is a Collision Point. |
| Modifications area |
| |
 |
Go to start of process |
| |
 |
Go back one step. |
| |
 |
Go forward one step. |
| |
 |
Go to the end of the process |
| |
Insert Mode (this area is not available
unless the Lock Activity check box is selected) |
| |
|
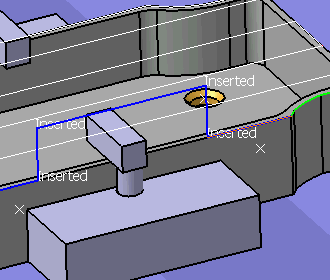
Insert |
Add a point in the NC tool path
- the sequence of the point within the path (relative to the
Current Point) depends upon whether Before or
After is selected
- the location of the point is determined by the position of the
machine when Insert is selected
|
| |
|
Modify |
Modify a point's location |
| |
|
Delete |
Delete a point. |
| |
|
Before |
If this option is selected, an inserted point appears before the
Current Point. |
| |
|
After |
If this option is selected, an inserted point appears after the
Current Point. |
| |
Preview Mode (this area is not available
unless the Lock Activity check box is selected) |
| |
|
Preview |
If this check box is selected, you may see a preview of the
specified type of modification without the modification being
incorporated into the tool path. |
| |
|
Insert |
If selected, you may see a preview of this modification type
without the point being inserted into the actual tool path. To
insert the point in the actual tool path, you must select Insert
in the Insert Mode area. |
| |
|
Modify |
If selected, you may see a preview of this modification type
without the point being modified in the actual tool path. To
modify the point in the actual tool path, you must select Modify
in the Insert Mode area. |
| |
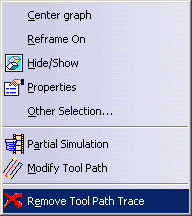
Lock Activity |
Unless this check box is selected, you cannot modify the tool
path, and the Insert Mode and Preview Mode
areas of the Modify Tool Path dialog box are unavailable. |
| Simulation area |
| |
 |
Rewind |
| |
 |
Pause |
| |
 |
Play |
| |
Step Size |
In the Step Size box, type
the value or use the arrows to change the value. This option enables
you to change the simulation rate for each step. You can make
the sub-steps:
- smaller, which makes the simulation run more slowly, or
- larger, which makes the simulation run more quickly.
|
| Jog |
Selecting this check box opens the Jog
dialog box. You can use Jog to
modify the position of the machining device. |