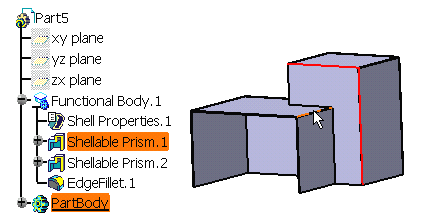
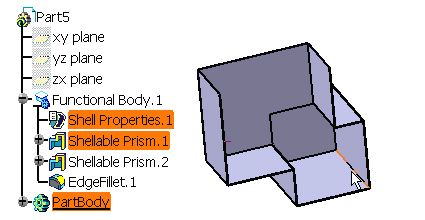
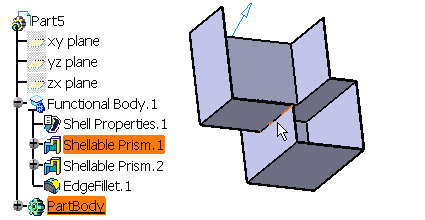
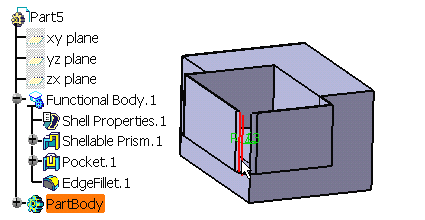
Filleting in Functional Molded Part
Two fillet capabilities are available in Functional Molded Part. Depending on your needs you will use them for achieving these results:
- Functional Edge Fillet
 lets you add fillets as feature modifiers. This is illustrated in the
scenario below.
 -
Part Design Edge Fillet
 lets you fillet functional solids. You will use it once the part is
almost complete.
 - Basic Shape Definition allows you to add features intrinsically.
Edge Fillet as a Feature Modifier
The Edge Fillet feature alters the sharpness and shape of an edge, rounding part edges and providing smooth transitions between the faces and features. In other words, Edge Fillet creates curved face of a constant radius that is tangent to, and that joins, two surfaces.
This task shows you how to create a fillet with a radius constant along the edge. This section discusses the following:
-
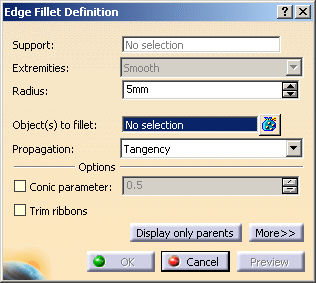
The Edge Fillet Definition dialog box is displayed.
-
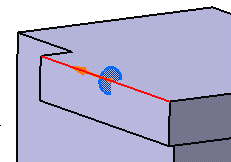
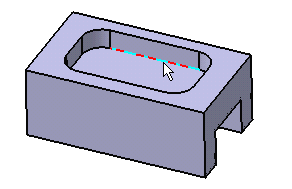
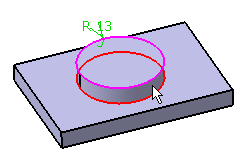
Select the edge as shown as the edge for which you want to create a fillet.
When selecting edges or faces, ensure that they are valid. For more information, refer to What You Cannot Select.
The selected edge is now displayed in red. The name of the support element is displayed in the dialog box.
You can select faces as well: all the edges bordering the selected face are then filleted.
If you select several edges, the objects to fillet field displays the number of selected edges. To act on this selection, just click the
 icon to display
the Element list dialog box that allows you to:
icon to display
the Element list dialog box that allows you to:- view the selected elements
- remove any element clicking the Remove button
- replace any element using the Replace button and selecting a new one in the geometry or the specification tree.
Propagation
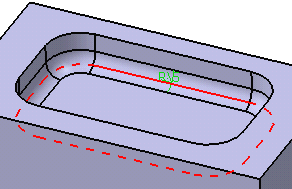
Two propagation modes are available:
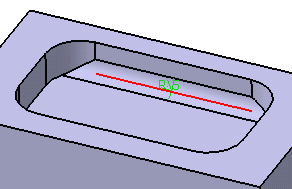
- Minimal: edges tangent to selected edges can be
taken into account to some extent. The application continues
filleting beyond the selected edge whenever it cannot do otherwise.
In our example below, the fillet is computed on the selected edge
and on a portion of tangent edges:
- Tangency: tangencies are taken into account so as to
fillet the entire edge and possible tangent edges.
-
For the purpose of our scenario, set Tangency. The preview clearly shows that the whole edge will be filleted.
-
Enter 7mm as the new radius value. The radius value is updated in the geometry area.
-
Click OK to confirm and create the fillet.
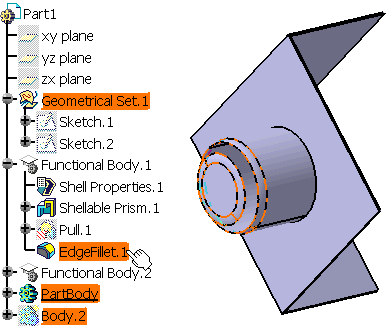
EdgeFillet1.X is added to the specification tree in the Solid Functional Set.X node.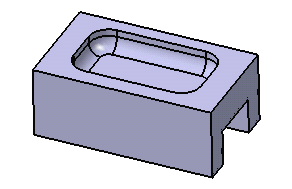
Additional Options
Clicking More displays three additional options:
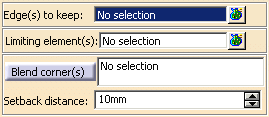
Edges to keep
When filleting an edge, the fillet may sometimes affect other edges of the part, depending on the radius value you specified. In this case, the application detects these edges and stops the fillet to these edges.
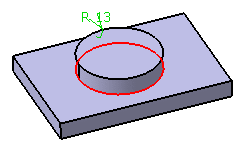
Edge to be filleted
The upper edge is not filleted
The application issues an error message asking you if you wish to select the edge you do not want to fillet. If you click Yes, then you just need to click the Edit button from the Update Diagnosis dialog box that appears, click the Edges to keep field from the Edge Fillet dialog box and select the edge in the geometry. The application then displays the selected edge in pink meaning that the edge will not be affected by the fillet operation. The fillet is eventually computed and does not affect the kept edge.
If you do not wish to explicitly select the edge you do not want to fillet, just click No in the Feature Definition Error. The application then tries to find a solution.
