For this you will need to perform various operations such as:
- Creating a camera (using the View > Named Views) with three different viewpoints focusing on CHAINSAW_BODY_SAFETYHANDLE.1, on CHAINSAW_BODY_CLUTCHCOVER.1 and on the Chainsaw_Handle Shuttle
- Defining a camera track
- Defining a new sequence
- Defining a sequence and replay it (in a camera window Window )
- Customizing the player parameters
- Multi-selecting and hiding the current tracks
- Generating a film (in AVI format) using Tools > Image > Video
You defined a sequence containing three tracks and other actions (visibility and color actions),
- CHAINSAW_BODY_SAFETYHANDLE.1 track (see Dismounting the Chainsaw Handle).
- CHAINSAW_BODY_CLUTCHCOVER.1 track (step 2)
- Transparency action (step2)
- Visibility action (hiding the CHAINSAW_BODY_HANDLE.1) (Step 3)
- Handle_Shuttle_Track (Step 4)
-
Create a camera by selecting View > Named Views...
The Named Views dialog box appears. Initially, it may not have Camera 1 visible in it. -
Click the Add button.
Camera 1 appears. 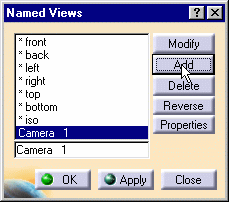
-
Click OK.
The camera is created and identified in the specification tree. 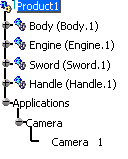
To create a camera track: -
Click Track
 from the DMU Simulation toolbar and select Camera.1 in the
specification tree.
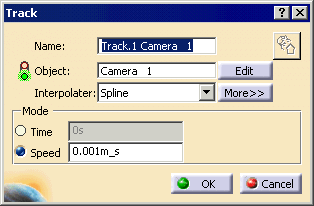
-
Record three different viewpoints focusing on:
- CHAINSAW_BODY_SAFETYHANDLE.1 object
- CHAINSAW_BODY_CLUTCHCOVER.1 object
- the Chainsaw_Handle Shuttle
-
Open a camera window (Window > Camera Window > Camera 1) and tile your window horizontally (Window > Tile Horizontally).
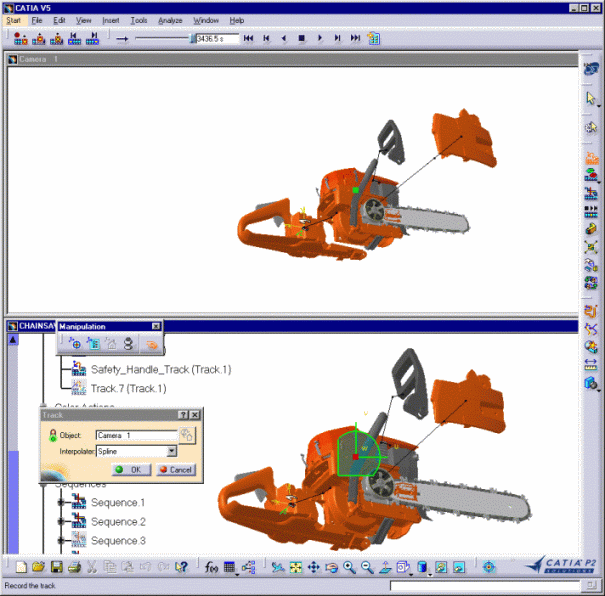
-
Click OK in the Track dialog box.
-
Rename the created track in Camera_Track using the track contextual menu.
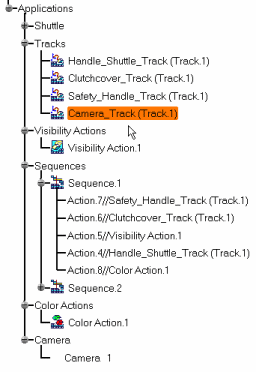
The next steps in this task enable Camera_track to be played in simultaneous mode with the first sequence defined. To define a new sequence: -
Click Edit Sequence
 .
.The Edit Sequence dialog box is displayed; verify that the Edit Action tab is on top. -
Select Sequence.1 in the Action in session list and click the Add
 button .
 The action is added to the Action in Sequence list. -
Select Action.2//Camera_Track.
In the Action duration box, enter 15. -
Select the Merge Up so that the actions are played in simultaneous mode.
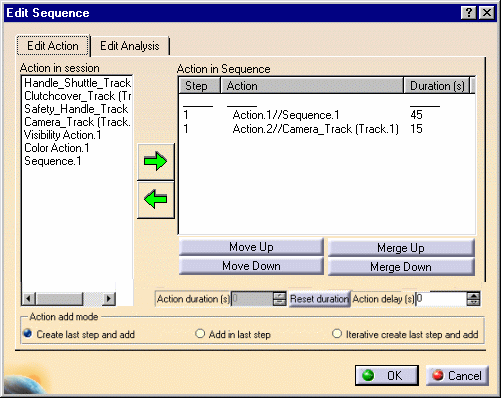
-
Play your sequence using the Player.
To customize the Player parameters: -
On the Player, click Parameters
 .
.
The Player Parameters dialog box is displayed: 
-
Enter 0.2 s in the Sampling Step field.
-
Replay your sequence again using Play Forward
 .
. -
Click OK to create the sequence.
The new sequence is created and identified in the specification tree. 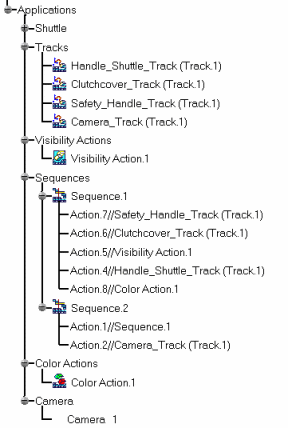
To hide the tracks -
Multi-select the tracks in the specification tree and click Hide/Show
 ,
or select the View > Hide/Show > Swap Hide/Show.
,
or select the View > Hide/Show > Swap Hide/Show.-
Set Up the Capture Session.
-
Select the Recording
 button to access the Video Properties dialog box,
which lets you set up the video capture parameters prior to
recording the video.
 -
Choose the Video File Format and Location.
For this example, select Microsoft AVI (Windows). -
Specify which part of the screen to record.
-
Setting Movie Replay Parameters.
-
Select the OK button in the Video Properties dialog box to start the recording.
To generate a film in AVI format: -
-
Select Tools > Image > Video to display the Video Recorder dialog box.
The track objects are no longer displayed: they have been transferred into the No Show space. 
Please read Recording Interactions in Video Format in the Infrastructure User's Guide. -
Select Sequence.2 in the specification tree.
-
Run your sequence simulation with the Player.
-
Select the Stop button on the Video Recorder dialog box.