A player is now provided for replaying video captures but the video replay tools (Windows Media Player, Quicktime, etc.) provided on your system can still be used.
Note that cast shadows cannot be recorded.
-
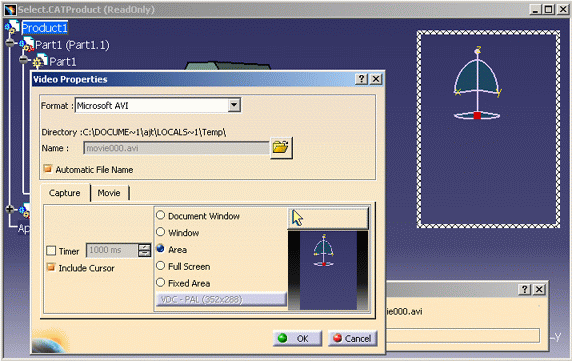
Select Tools > Image > Video to display the Video Recorder dialog box:

Note that the name of the video file to be generated and the current video format are both indicated. In our example, the video file name is "movie00000.avi" and the video format is "VFW Codec". The Video command is available whether a document is open or not. In case no document is open, the Document Window option is grayed out.
Setting Up the Capture Session
Choosing the Video File Format and Location
-
Choose the Format of the video file to be recorded.
-
If you want the video file name (and number) to be set automatically, select the Automatic File Name check box, which is activated by default.
If you do so, the system automatically names the video file starting with the prefix "movie00000" and appends the video extension (avi, jpg, etc.). In our example, the video file name is "movie000.avi" when you set the video format to VFW Codec. Each time you generate a new video file using Recording, the file number will be incremented (movie001.avi, movie002.avi, etc.).
If you clear this option, the Name box becomes editable. You can then rename the file in the Name box, along with a drive and folder (or directory) name, like this for example on Windows:
c:\Videos\MyMovie.aviYou can also click the
 button, navigate to the appropriate location and rename the file.
When you first access the dialog box, it specifies the default folder: C:\\Document and Settings\user\Local Settings\Temp\ (Windows)/tmp(UNIX).
If you choose another folder or directory, its name is displayed:
C:\Videos\(Windows)/u/users/ajt/videos(UNIX).
-
Select the Timer check box if required:
-
using the timer records a frame every "n" milliseconds (you set the value using the editable field or spinner): note that if you set a low value, the system will record a high number of frames, which will consequently impair performance and create a larger video file
-
if you do not select the Timer check box, the system records a frame only each time the focus viewer is updated. The focus viewer might be updated for various reasons, such as:
-
the viewpoint is manipulated (by rotating, zooming, etc.)
-
The viewer is made to display a new image:
-
by an animation or a running simulation
-
by a command that triggers a model update
-
etc. (note that an interaction in a dialog box or a menu does not trigger a frame capture unless it implies displaying a new image.)
-
-
the viewer is resized
-
a dialog element (toolbar, panel, other application window) is dragged over the viewer
-
etc.
-
-
Specifying which part of the screen to record
-
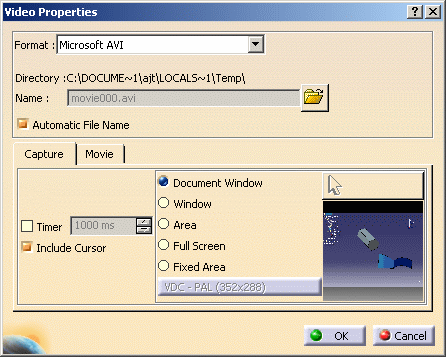
In the Capture tab, select which part of the screen you want to capture.
A preview area opposite the list of options illustrates which part of the screen will be captured. 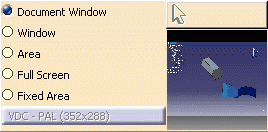
Note that you can zoom and pan the selection in the preview area. The Fixed Area option lets you choose a predefined capture format. To do so, click Fixed Area then click the button below to open the Capture Sizes dialog box: 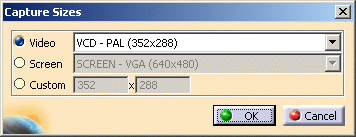
This dialog box lets you choose among a list of predefined video and screen standards using the following lists: Video standards:
- VCD (PAL or NTSC)
- SVCD (PAL or NTSC)
- DV (PAL or NTSC)
- TV Full (PAL or NTSC)
- TV 1/4 (PAL or NTC)
- TV 1/8 (PAL or NTSC).
However, note that you can also customize the selected video standard by entering your own dimensions in the Custom boxes. In that case, the push button under Fixed Area displays "CUSTOM" along with the entered dimensions to indicate that the size has been fixed by the user.
Screen standards:
- VGA (640 x 480)
- SVGA (800 x 600)
- XGA (1024 x 768)
- SXGA (1280 x 1024)
- UXGA (1600 x 1200).
When satisfied, click OK to validate and go back to the Video Properties dialog box.
Recording interactions in the current document window
- Document Window: captures images of the current focused viewer. The captured images ignore the menus or dialog boxes that might overlap the viewer. You may change of focused viewer during video recording.
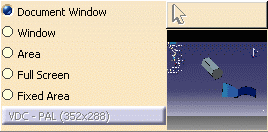
Recording interactions in any window area containing the focus
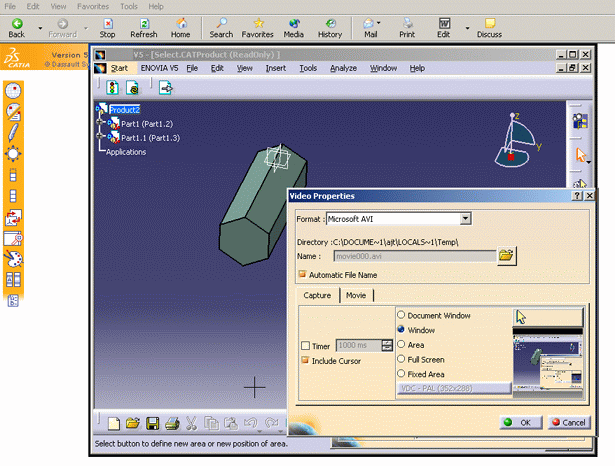
- Window: lets you define the recorded area by selecting any window in any application on the screen which accepts the focus. The recorded area will be this window frame. Every window, toolbar, dialog box, viewer, etc. in this area will be recorded in the video.
Select Window to activate the selection arrow
above the preview area.
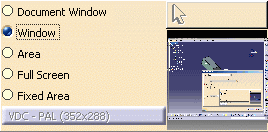
Select the arrow to display the up arrow pointer:
Select the arrow again to see your pointer change to the shape of a cross:
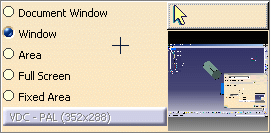
Still holding down the left mouse button, drag the "+" pointer. As you drag, each part of each application window is highlighted.
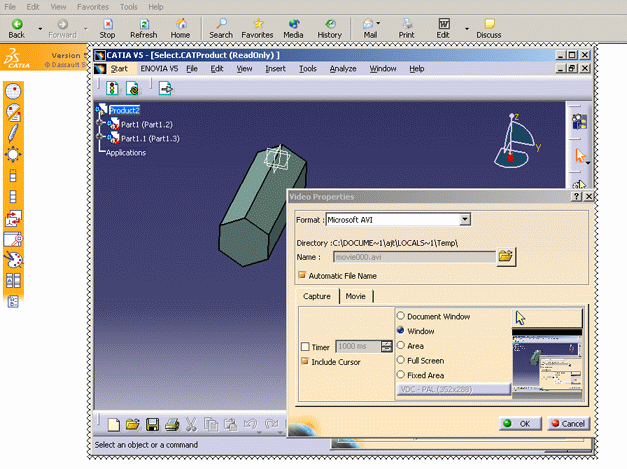
In the example below, dragging the "+" pointer inside the Version 5 window highlights the frame of the window...
...and displays it in the preview area when you release the button.
Practice dragging the "+" pointer around your screen to see the different areas that can be highlighted.
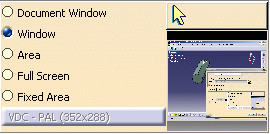
Note that when you release the mouse button, the selected window is highlighted like this:
Recording interactions in any rectangular area you draw
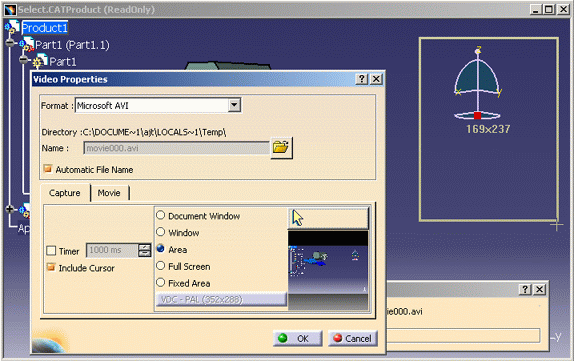
- Area: lets you define the recorded area by drawing a rectangular area anywhere on the screen. The recorded area will be this rectangle. Every window, toolbar, dialog box, viewer, etc. in this area will be recorded.
Click Area to activate the selection arrow
above the preview area.
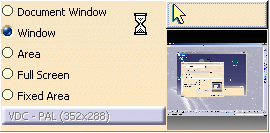
Then, select the arrow to display the hourglass pointer:
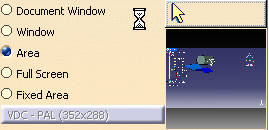
Drag (using the left mouse button). As you drag, you draw a rectangle like this, and the size of the rectangle is displayed:
Release the mouse button to close the rectangle and define the part of the screen to be recorded. The area inside the rectangle is displayed in the preview area.
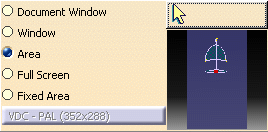
Note that when you release the mouse button, the selected area is highlighted like this:
Recording interactions anywhere on the whole screen
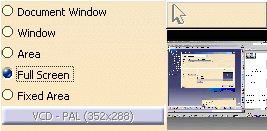
- Full Screen: specifies that you want to capture the whole screen.
-
On Windows only, select the Include Cursor check box if you want the cursor to be visible in the recorded sequence.
Setting Movie Replay Parameters
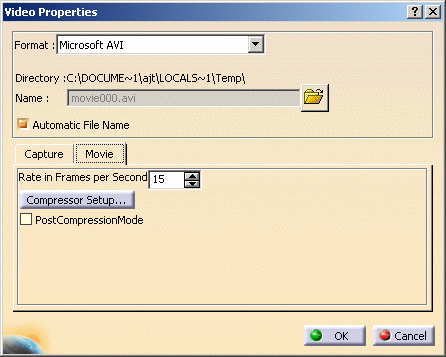
Using the Movie tab, set the movie playback parameters.
-
Set a value for Rate in Frames per Second.
This option defines the video replay speed: a high value displays a large number of frames per second, so the recording is replayed more quickly; a low value displays a smaller number of frames per second, so the recording is replayed more slowly. -
Select Compressor Setup... to set up your video compression/decompression parameters.
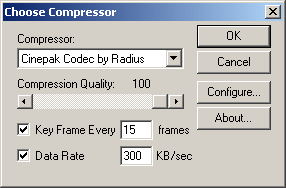
Clicking this button displays a dialog box allowing you to choose a CODEC from the list of CODECs installed on your computer, then configure it. The role of the CODEC is to compress your video files. Installing Version 5 does NOT install CODECs on your computer. The list of CODECs differs from one platform to another. For information about how to configure the CODEC (using Configure...), refer to the CODEC supplier's documentation. On Windows, the Compressor list contains several options among which Full Frames (Uncompressed). Selecting this option prior to recording has the following effects: - the resulting video file is larger (because it is not compressed)
- but performance during the recording is enhanced (because each frame is not compressed as soon as it is recorded).
If you do not select Full Frames (Uncompressed), you can specify the data rate as well as the number of key frames: - Key Frame Every ... frames: defines how often the
entire frame is restored. The process is as follows: the entire
frame (i.e. key frame) is stored once at the beginning of the
video and then, only the section of the frame where the object
was moved will be modified, the rest of the frame will be kept as
is. The entire frame will be stored again after a number of
frames you specify in this field.
The higher the number of key frames, the higher the quality but the bigger the file (and therefore, there is a price to pay in performance) - Data Rate: lets you set the amount of data transferred in kilobytes per second and thus, the size of the generated images. The higher the rate, the bigger the images and the lower the quality.
For detailed information on the Choose Compressor dialog box, you can refer to the Microsoft documentation.
-
Click Recording
 to start recording.
Messages in the status bar and the Video Recorder dialog box inform you each time a frame is recorded: 
-
Once the video has been recorded, Preview
 is activated and you can click it to open the Video Player
which lets you preview your video.
is activated and you can click it to open the Video Player
which lets you preview your video.The window that opens is empty but you just need to click Playing
 to start replaying
the video:
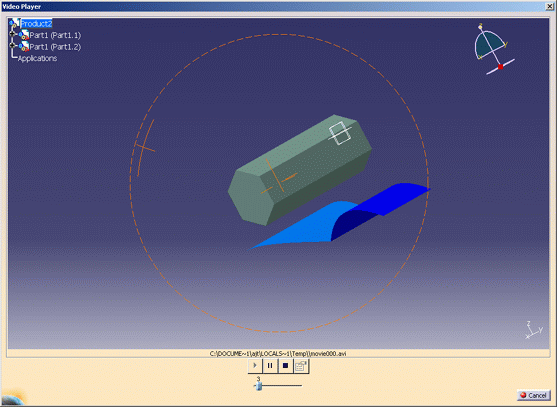
You can use the Video Player buttons to:
-
 pause the replay
 -
 stop the replay
 -
 display information on the recorded video (width, height and
number of frames). Note that Properties is grayed out
when the video is replaying, you have to click Pause
or Stop to activate it. Clicking this button opens the
Movie Properties dialog box:
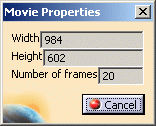
The data shown in this dialog box are displayed for your information only, you cannot modify them.
When replaying the video, a slider at the bottom of the player window indicates the progression and displays the corresponding frame number.
-
-
When finished replaying your video, click Cancel to close the Video Player.
![]()
