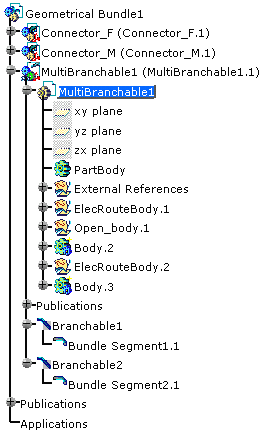
You are in Electrical Harness Installation (Part workbench). Nothing is selected in the geometry.
-
Click Branch Definition
 .
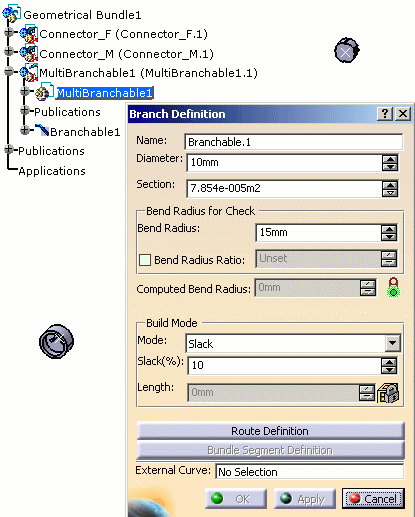
.The Branch Definition dialog box opens allowing you to define a second branch: Branchable2 
Change the value of the parameters if needed and route the bundle segment.
OK and Apply are now available. -
Click OK to validate.
Branchable2 is created as well as the geometry (ElecRouteBody.2 and Body.3). 
If you did not define the geometry and route of the first branch when you created the multi-branchable document, the system edits the first branch and does not add a new branch.
