An aligned section view / cut is a view created from a cutting profile defined from non parallel planes. In order to include in a section certain angled elements, the cutting plane may be bent so as to pass through those features. The plane and feature are then imagined to be revolved into the original plane.
-
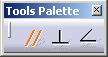
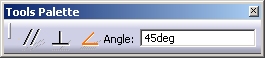
In the Drawing window, click Aligned Section Cut
") in the Views toolbar (Sections sub-toolbar).
in the Views toolbar (Sections sub-toolbar). If desired, you can also click Aligned Section View
") .
. -
-
-

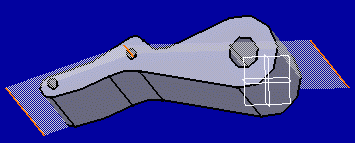
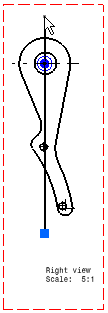
The section plane also appears on the 3D part and moves dynamically on the part.
-
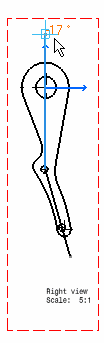
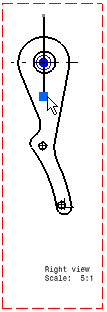
Double-click to end the cutting profile creation.
Positioning the section view amounts to defining the section cut direction. The cutting profile is hole associative. -
Click to generate the view.
About Aligned Section View / Cut
Contrary to other view types, in an aligned section view/cut, the 2D geometry seen in the view is not based on a single 3D plane, but on numerous 3D planes. However, as all generative views, the aligned section view represents only one projection plane. Then it selects only one of the 3D planes (the one corresponding to the first segment of its profile). As a consequence, some results can be different from the user's expectations:
-
Symbolic representation of threads can be malformed,
-
When creating an auxiliary, section, breakout or box clipping view from the aligned section view/cut, the result might not be the one expected by the user.
In these particular cases, a view of each part would give expected
results.
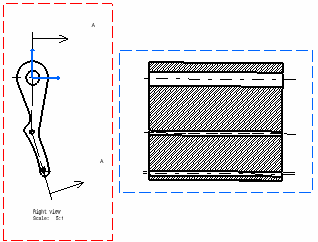
Aligned section views through circular and cylindrical elements

About Patterns
The patterns which are used to represent the section are defined in the standards. For more information, refer to Pattern Definition in the Interactive Drafting User's Guide.
You may modify the pattern (hatching, dotting, coloring or motif) by right-clicking the pattern and selecting Properties from the contextual menu. This will display the Properties dialog box in which you may either select a new pattern or modify some graphical attributes of the existing pattern. For more information, refer to Modifying a Pattern.
About the Cut in section views capability
In an assembly, you can define that given parts will or will not be sectioned when generated into section views. (This capability is not available for section cuts.)
In the Assembly Design workbench, select one part, then the Edit > Properties command from the menu bar from and either activate or de-activate the Cut in section views option. You can also do this when overloading element properties in a view generated from a CATProduct.
If you choose to not cut elements in section views (i.e. if you uncheck the Cut in section views option), note that if the cutting profile intersects an uncut part, then this part will not be cut and will be entirely projected.
About section views or section cuts generated using the Approximate generation mode
You can now generate section views or section cuts using the Approximate generation mode. For more information on the approximate generation mode, refer to Customizing Settings: View.
|
|
When generating section views or section cuts using the Approximate generation mode, or when switching a section view/cut from exact mode to approximate mode (i.e. via Edit > Properties), be aware of the following information:
Patterns
In the case of parts which use a material to which a specific pattern is associated, section views/cuts in Approximate mode do not inherit the material properties from the 3D, and therefore do not use the pattern associated to this material.
Pattern properties are not persistent: for instance, after switching an exact view to the approximate mode, and vice versa, the pattern may change.
The Cut in section views capability
If you choose to not cut elements in section views (i.e. if you uncheck the Cut in section views option), note that this capability does not work for section views generated using the Approximate generation mode: selected elements will be cut. Likewise, if you switch an exact view to the approximate mode, the elements for which you unselected the Cut in section views option will be cut in the view.
![]()