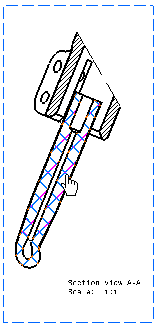
Patterns are used for area fills or, as is the case in this scenario, when cutting through material in section views/cuts or breakout views, for example.
-
Select the pattern be modified in the Section view.

-
Select Edit > Properties.
You can also right-click the pattern and select Properties. -
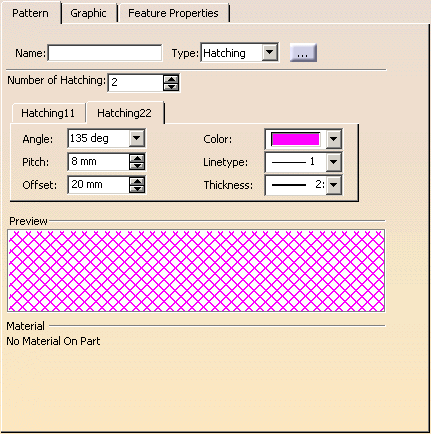
In the Properties dialog box that appears, click the Pattern tab.

-
To define your own pattern, choose a pattern type from the Type drop-down list:
-
Hatching
-
Dotting
-
Coloring
-
Image
For the purpose of this scenario, select Dotting from the Type drop-down list.
If you want to choose from the various patterns available, you can also click the [...] button. This will display the pattern chooser, from which you can make your selection.
-
-
In the Pitch field, type 5 mm.
-
From the Color drop-down list, select black, for example.

-
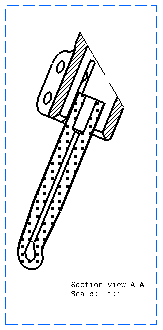
Uncheck the Zigzag field, and then click OK. The pattern is modified.

- Each part is assigned a specific pattern. Therefore, each time you modify a pattern using the Properties dialog box, all the patterns of the views generated from this part will be modified. These modifications will be applied to all existing sheets.
- Pattern properties are not persistent: for instance, the pattern may change after switching an exact view to the approximate mode (and vice versa), or after uncutting then cutting a part in all views.
- Patterns are defined in the standards. For more information, refer to Pattern Definition.
![]()