-
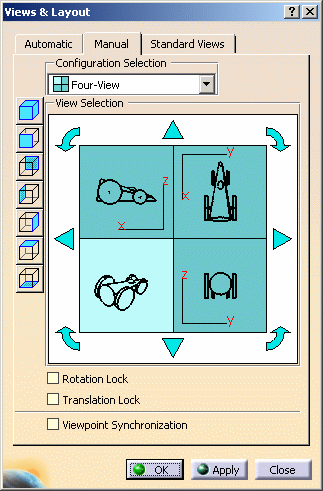
Select View > Navigation Mode > Multi-View Customization to open the Views and Layout dialog box then select the Manual tab:
-
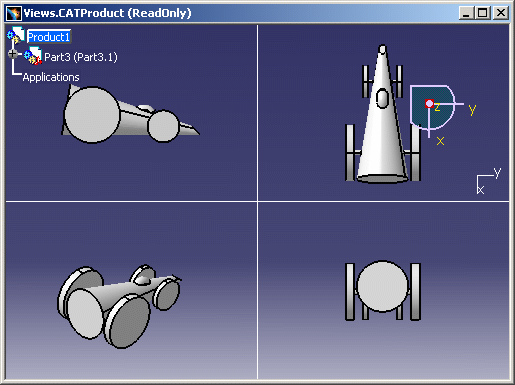
In the Configuration Selection list, make sure that Four-View is selected then click OK. The viewer is divided into four equal views as shown below:
-
Select Tools > Image > Capture to display the Capture toolbar:

-
Click Pixel Mode
 to capture a pixel image (but note that you can also capture images in
Vector Mode when working in a multi-view configuration).
to capture a pixel image (but note that you can also capture images in
Vector Mode when working in a multi-view configuration).At this point, you can set capture options specific to pixel and vector images. For detailed information, refer to Capturing Simple Images.
In this scenario, we leave the default values. -
Click Capture
 to capture the image and store it in the album.
A progress bar appears while the captured image is generated and the Capture Preview window opens: 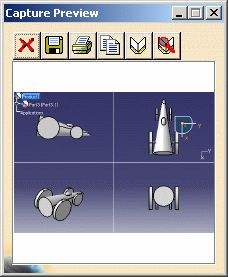
For more information on this window, refer to Capturing Simple Images. -
Click Album
 to store the image in the album.
 -
Click
 to cancel the image and close the Capture Preview window.
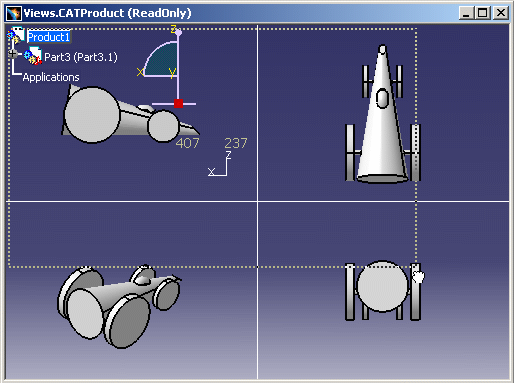
You are now going to capture only a portion of the image displayed in a multi-view configuration. -
In the Capture toolbar, click Select Mode
 to activate the selection tool. For detailed information on this mode,
refer to Capturing Selected Areas of Images.
 -
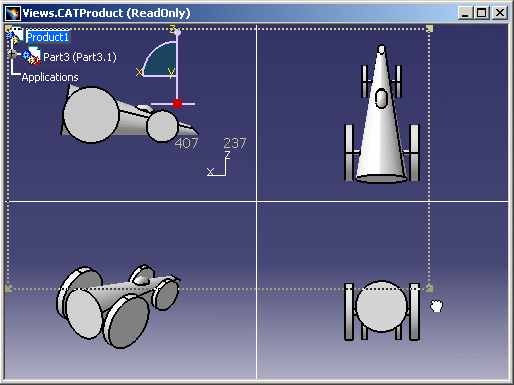
Click in the geometry area and drag to create a bounding outline around the area to be captured:
-
Release the mouse button:
-
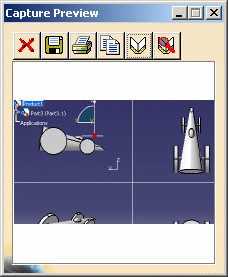
Click Capture
 to generate the captured image. The image is then displayed in the
Capture Preview window:
-
Click Album
 to store the image in the album.
 -
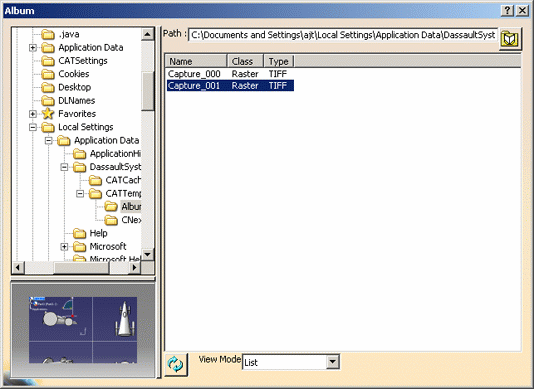
Click Open Album
 or select Tools > Image > Album to display the album. The two
images you captured are listed:
For detailed information on how to display and edit images in the album, refer to Previewing Images in the Album and Editing Images in the Album.
![]()