-
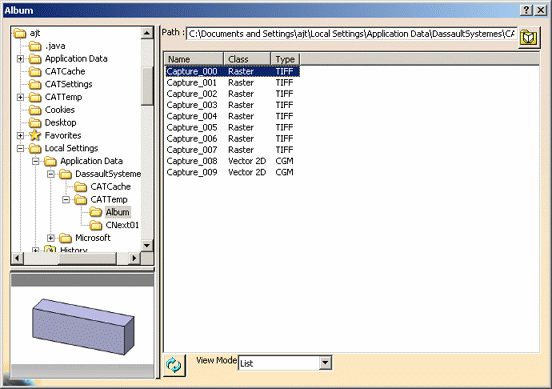
Select Tools > Image > Album to display the album contents.
-
Choose the image to be displayed in the preview area in the lower left part of the dialog box by selecting it in the list.
-
Right-click then select Edit to open the Editor window.
Note that depending on the image format you select, the command may be grayed out. This is the case when right-clicking a MPEG or AVI file, for instance. 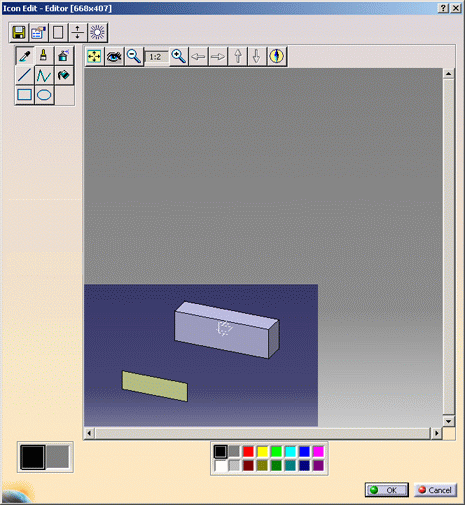

Click  to display general information on the image file (size, type, etc.)
and memory (memory information are identical to those displayed
when displaying the
Image information window).
to display general information on the image file (size, type, etc.)
and memory (memory information are identical to those displayed
when displaying the
Image information window). -
Click
 to adjust the color brightness, contrast and gamma using the
corresponding slider as shown below:
to adjust the color brightness, contrast and gamma using the
corresponding slider as shown below: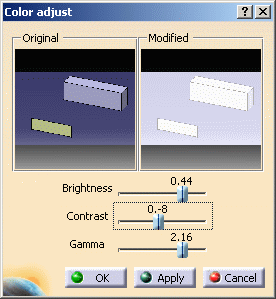
After clicking OK to validate, the result is displayed in the preview area to the left.  removes the image display and
 flips the image vertically.
 Clicking
opens a warning window which prompts you to confirm the removal.
Click Yes to validate or No (or Cancel)
to cancel the removal and go back to the Editor. -
Use the Effects palette to:
-
 zoom in (the zoom ratio is 1:2)
 -
 zoom out (the zoom ratio is 1:2)
 -
 resize the image to scale 1:1 (i.e. real size display), there is
no pixel interpolation
resize the image to scale 1:1 (i.e. real size display), there is
no pixel interpolation -
 fit the image into the space available in the display area
 -
 translate the image up, down
 ,
to the left
,
to the left
 or to the right
 (when the image does not fit into the display area)
You can also use the following keyboard shortcuts:
Shortcut Action Page Up Zoom In Page Down Zoom Out Ctrl + Page Up Zoom Best Ctrl + Page Down Zoom 1:1 Left, Right, Up or Down arrow Smooth horizontal or vertical move Shift + Left, Right, Up or Down arrow Faster horizontal or vertical move Ctrl + Left, Right, Up or Down arrow Move from one border to another -
-
Click
 from the Effects palette to open the Navigator:
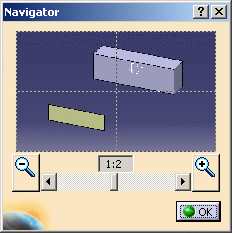
The Navigator lets you visualize the image and zoom in or out by clicking
or
,
respectively, or the horizontal scrollbar.
Any visualization change you have made in the Navigator simultaneously updates the image displayed in the Editor as shown below: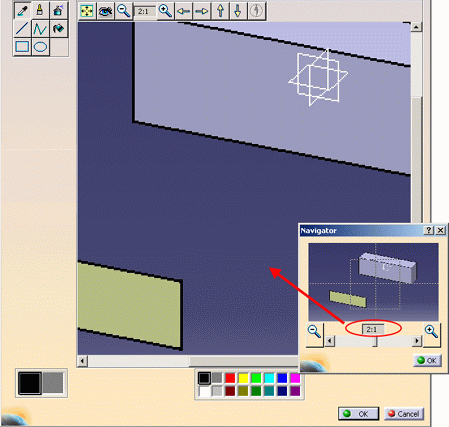
You can also pick wherever you want in the Navigator preview to set the position of the viewpoint center in the Editor preview: 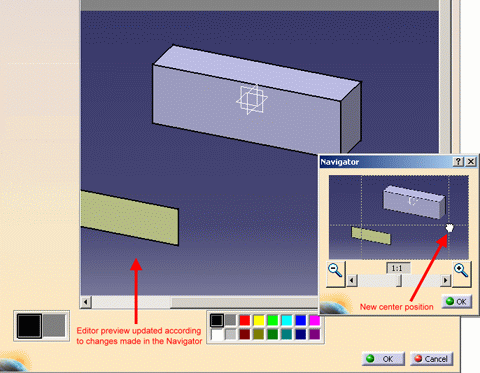
When finished, click OK to exit the Navigator and go back to the Editor. -
Use the Tools palette to:
-
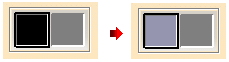
pick
 the color to be used for painting. To do so, just click the icon
to activate the picking mode then choose the painting color
either from the color palette or from the image.
the color to be used for painting. To do so, just click the icon
to activate the picking mode then choose the painting color
either from the color palette or from the image.
The current color square displayed at the lower left is then modified accordingly:
If you do not wish to use a color picked from the image, you can make your choice directly from the color palette using the mouse: 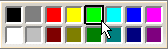
- select a paint tool:
-
 to draw custom brushes
 -
 to draw custom airbrushes
 -
 to draw interrupted segments
 -
 to draw uninterrupted segments
 -
 to draw rectangles
 -
 to draw ellipses
 -
 to apply a fill color.
-


brush airbrush 

interrupted segments uninterrupted segments 

filled rectangle filled ellipse - depending on the tool you choose you can select:
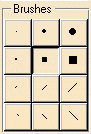
- a brush type from the Brushes palette if you draw brushes
or segments:
- a fill mode (either outline, filled or blank) if you draw
rectangles or ellipses:

- a brush type from the Brushes palette if you draw brushes
or segments:
To save the edited image under another name, click  then give a name to the image and navigate to the desired location
before clicking OK to confim
the save.
then give a name to the image and navigate to the desired location
before clicking OK to confim
the save. -
-
Click OK to validate and go back to the album.
If the image has been modified, a window appears to prompt you either to: - overwrite the already existing image with the modified one by clicking "Yes"
- or to save the image under a new name ("capture_000" by default) in TIFF format by clicking "No".
Clicking Cancel lets you exit the editor without saving the image.
The image is automatically saved in the album with a name identical to the original image: 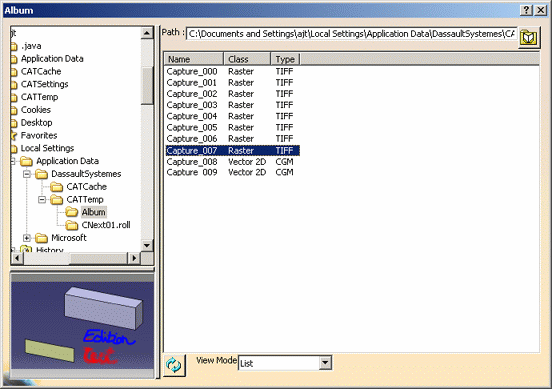
To save the edited image under another name, right-click it then select Save. Then, give a name to the image and navigate to the desired location before clicking OK to confim the save.
Note that you can also copy the desired image from the album to the clipboard by right-clicking it then selecting Copy. For detailed information, refer to Copying Images to the Clipboard (Windows Only).
![]()