On Windows, you print using the default printer declared by your Windows system administrator.
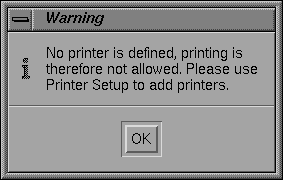
However, on UNIX, you will only be able to print once you have set up a printer.
You can set up two types of printers:
- Windows Printers
- 3DPLM Printers.
Setting up a Windows printer creates a printer configuration file,
needed for printing, in $HOME/CATSettings/Printers.
Setting up a 3DPLM printer creates a configuration file named
PLOTxxxx.xml containing the printer and the driver
configuration settings in $HOME/CATSettings/Printers/.

The objective of this section is to show you how to set up your environment to get your printer operational, which is performed by creating and customizing a file called a printer configuration file. The role of this file is to declare your printer so it is recognized by Version 5. Once at least one printer has been declared, the above message will no longer appear.
We assume that
- the physical printing device has been installed and connected to the system
- your system administrator has already declared your printer to your UNIX operating system.


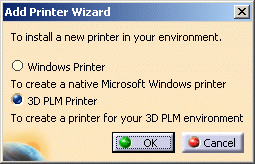
- Windows Printer: in that case, selecting this option then OK opens the Connect to Printer dialog box in which you can select the Windows printer you wish to add
- 3D PLM Printer: this option lets you add printers provided by Dassault Systèmes. When clicking OK, the Printer Properties dialog box is displayed to let you define the parameters for your new printer. Refer to Adding a Printer for detailed information.
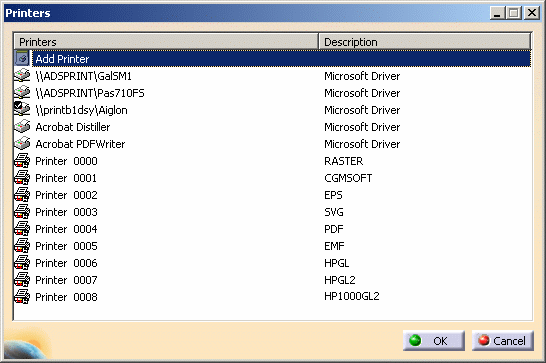
Once a printer has been added, it is displayed at the end of the list and is identified by a specific icon.
To do so:
-
Open an MS-DOS window.
-
Change to the default folder in which you installed the product.
The default folder is: C:\Program Files\Dassault Systemes\Bn\intel_a\code\bin(where
nis the current release number)
-
Enter the command:
CATPrinterManager
-
Change to the directory:
/usr/DassaultSystemes/Bn/OS_a/code/command/
(where
nis the current release number) -
Run the command
CATPrinterManagerThe Printers dialog box opens: 
You can then set up your printers as explained above.