-
Click the Fillet Weld icon:

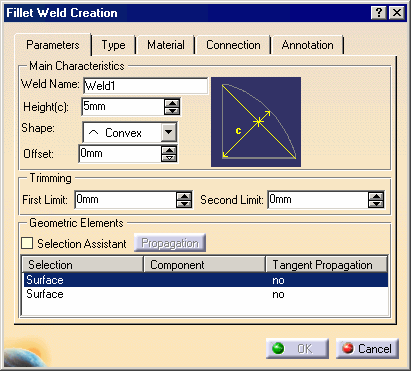
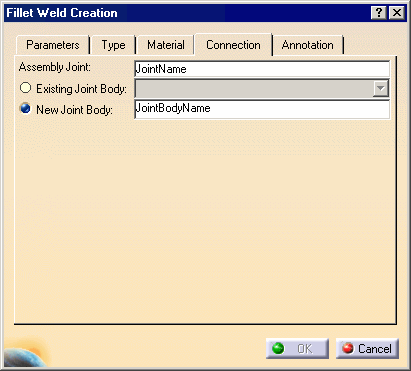
The Fillet Weld Creation dialog box appears.

-
Enter Weld1 as the new name for the fillet weld in the Weld Name field.
-
Enter 5mm as the new weld's height.
-
Set the Convex type in the Type field. Five types are available for the shape of the weld.
A new glyph identifying the chosen shape appears:
-
The Offset field is no longer grayed. Enter 1.5mm as the height value for the convex surface of the weld.
Note that the option Weld Symbol is on, meaning that the annotation containing normalized symbols will be created. It is the default mode.
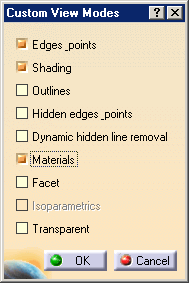
Selection Assistant
To help you select the geometry you need, you can
check the Selection Assistant option. This option displays a
window showing you the geometric elements required to compute the weld. Zoom
in to improve the view if need be.
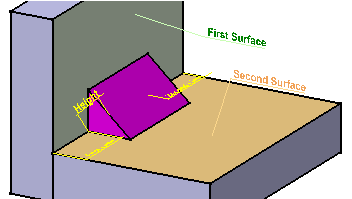
For creating fillet welds, you are prompted to select two adjacent surfaces.
To close that window, just uncheck the option.
-
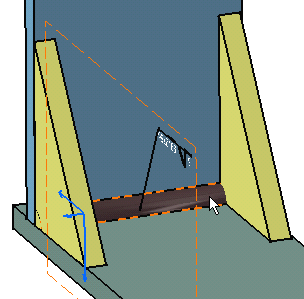
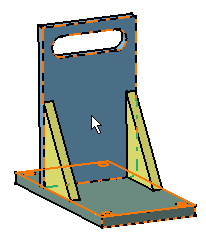
Select the green face as the first surface.
-
Select the blue face as the second surface.
The name of the components you have just selected are displayed in the Geometric Elements section.
Type Tab
-
Click the Type tab to access additional options.

This tab allows you to define if you want to create a simple weld, in fact a continuous weld, or a dashed weld make of serial beads of weld.
-
Make sure that the Simple type is selected.
Connection Tab
-
Click the Connection tab to access additional options.
Material Tab
-
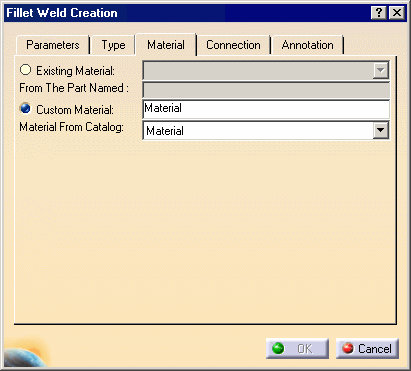
Click the Material tab to define the material you wish to assign to the fillet weld.
-
Select Copper from the Material From Catalog list.
Annotation Tab
-
Click the Annotation tab to define the weld annotation.
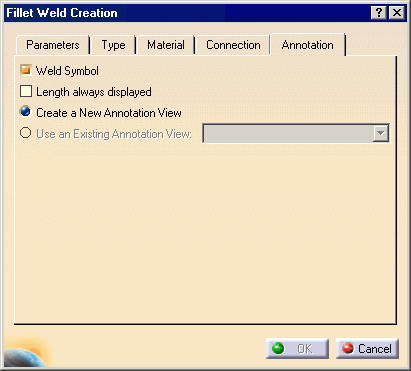
This tab allows you to define whether a weld annotation is created and associated with your weld. Options defined in this tab are persistent during the application session for other weld creation.
-
Make sure that the Weld Symbol option is selected.
-
When done, click OK to create the fillet weld.
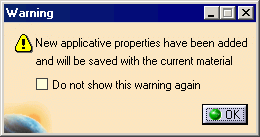
A warning message can appear to inform you that applicative properties have been added to the document.
-
Select or not the Do not show this warring again option and click OK.
You must obtain this copper weld and this annotation: