Snapping Parts to a Run
|
|
This task shows you
how to:
Moving In-Line Parts explains how to move and offset in-line parts. Rotating In-Line Parts explains various ways to rotate in-line parts and set the angle of rotation. |
|
|
|
Piping parts are used here for illustration purposes. The procedure is the same for other types of parts. | |
|
|
1. |
With your document open, click the
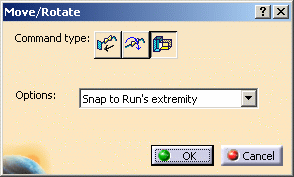
Move/Rotate Part on the Run button
Click the Move Physical Parts to Run button
|
| 2. | To move a part in free space and
snap it to a run (and create a connection), select Snap to Run's
Extremity from the Options drop-down list.
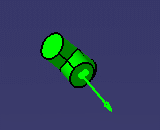
Point to the part that you want to move and select a connector.
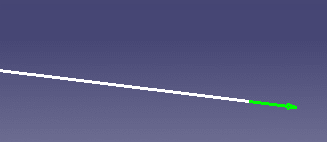
Select the run extremity.
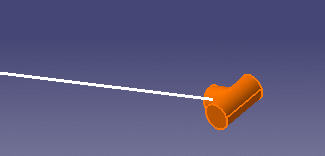
The part moves and snaps to the run extremity, and creates a connection.
Click OK to complete the task and close the Move/Rotate dialog box. |
|
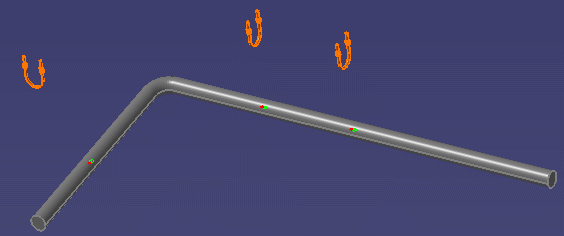
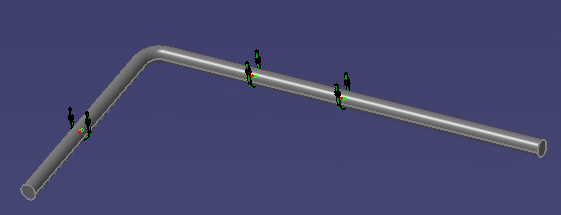
| 3. | To move supports (such as
hangers) that have come off a modified run, and snap them back to the run,
select Snap Support(s) to Run in the Options
drop-down list in the Move/Rotate dialog box. Select the modified run. This also selects the supports that are off the run.
Click OK and the supports snap back on the run.
|
|
|
|
||
