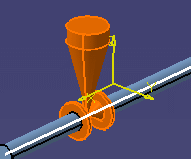
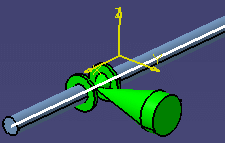
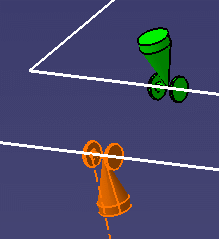
Rotating In-Line Parts
|
|
This task shows you
how to rotate in-line parts. It explains how to:
Defining the Rotation Axis in Free Space explains how to define the rotation axis of a part in free space. Moving In-Line Parts explains how to move and offset in-line parts. |
|
|
|
Piping parts are used here for illustration purposes. The procedure is the same for other types of parts. | |
|
|
1. |
With your document open, click the
Move/Rotate Part on the Run button
Click the Rotate Physical Parts button
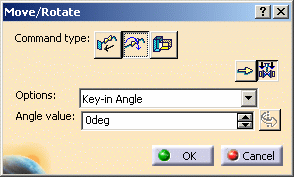
You use the buttons and drop-down lists on the Move/Rotate dialog box to perform the various tasks. |
| 2. | To enter the angle of rotation,
select the part you want to rotate.
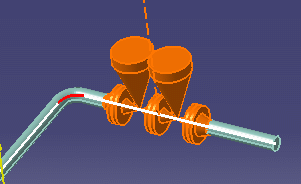
Make sure Key-in Angle displays in the Options drop-down list. Enter the angle of rotation (a positive or a negative value) in the Angle Value field. Click anywhere in your document and the part rotates to the angle of rotation.
To toggle the angle of rotation entered in the Angle Value
field from positive to negative, click the Reverse Entered Angle
button Click OK to complete the task and close the Move/Rotate dialog box. |
|
| 3. | To synchronize the angle of
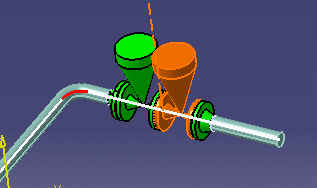
rotation of two parts, select the part you want to synchronize with
another part.
Select Synchronize Part Orientation from the Options drop-down list on the Move/Rotate dialog box.
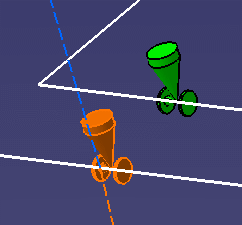
Now select the other part. The first part rotates to the angle of rotation of the second part.
Click OK to complete the task and close the Move/Rotate dialog box. |
|
| 4. | To rotate an in-line part and
align it with another element, select the part you want to align with the
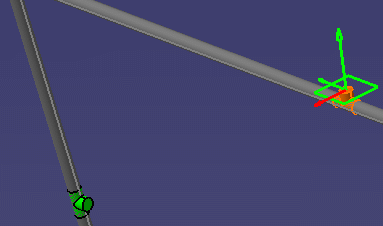
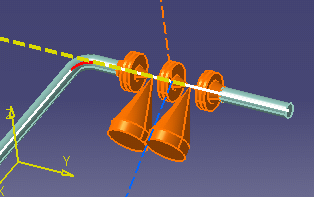
other element. Select Intersect Two Elements from the Options drop-down list on the Move/Rotate dialog box. Select a connector on the part you want to align.
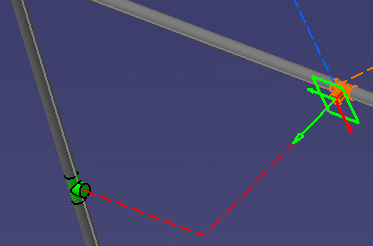
Select a connector on the other element. The first part rotates and aligns with the second part.
Click OK to complete the task and close the Move/Rotate dialog box. You can now create a two-segment run. |
|
| 5. | To use the compass to rotate a
part and align it with the angle of rotation of any surface parallel to
the rotation axis, select the part you want to rotate.
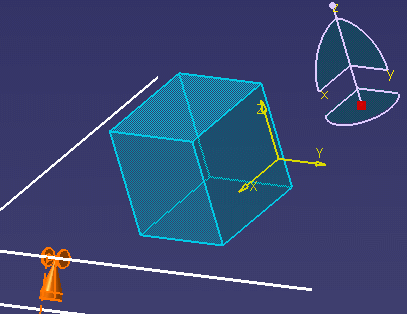
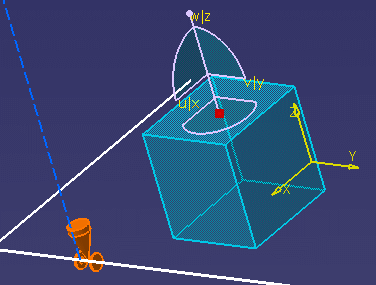
Select Rotate to Compass Z direction from the Options drop-down list. Drag the compass and place it on the other surface.
The first part rotates and aligns with the Z direction of the compass. Manipulate the compass to change the Z direction. The part rotates in the same direction, and the Angle Value field continually updates the angle of rotation. Click OK to complete the task and close the Move/Rotate dialog box. |
|
| 6. | To rotate connected parts at the
same time, select one of the parts you want to rotate.
Click the Include Connected Parts button
All connected parts are now selected.
Enter an angle of rotation in the Angle Value field. Click anywhere in your document and all the connected parts rotate to the angle of rotation.
Click OK to complete the task and close the Move/Rotate dialog box. |
|
|
|
||
