This task is made up of the following stages:
Looking for the Assembly to Be Modified
-
Click Find Document
 or select SmarTeam > Find > Find Document.
 -
From the Search Editor dialog box displayed select CATIA Products as the search class.
-
Click Run to confirm the search.
The list of all CATProduct documents contained in the base is displayed. -
Select CATPRD-0042 Hack_Saw.
-
Right-click CATPRD-0042 Hack_Saw and select Open Views > Top down tree.
A Documents window is now displayed showing the whole CATPRD-0042 Hack_Saw assembly.
Opening the Assembly |
|
-
Right-click the assembly and select File Operation > Open For... .
The Open CATPRD-0042 dialog box is displayed. By default, the Open as read-only option is selected.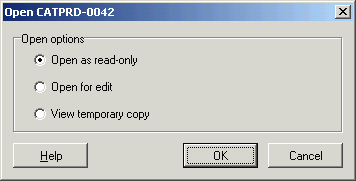
-
Because you want to modify the assembly, check the Open for edit option.
-
Click OK.
The Check Out: CATIA Product dialog box appears to let you check out the documents of interest.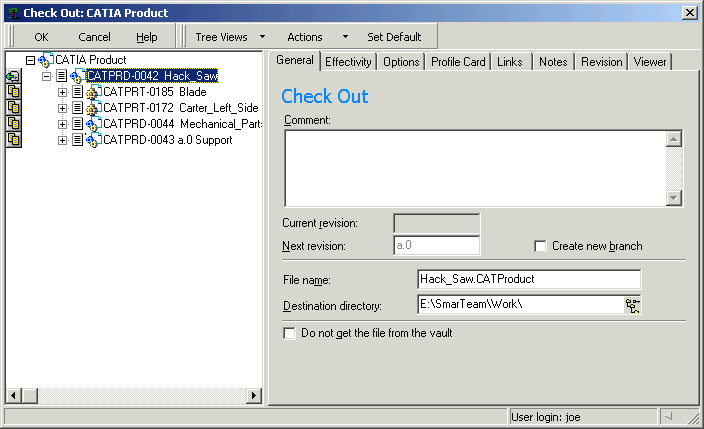
Check Out windows display SmarTeam information as set in the Tree Properties dialog box. For more information, see Customizing SmarTeam Document Display Information.
-
To check out not only CATPRD-0042 Hack_Saw but also one of its components, you need to click on the icon close to that component. For the purpose of our scenario, click the icon
 in front of CATPRD-0043 a.0
Support.
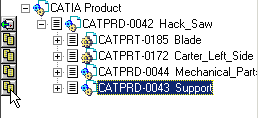
Note that a new icon
 indicates that the document is
selected for being checked out.
 -
Click OK to check out the assembly and its support component at the same time.
The assembly is now open in the CATIA Assembly Design workbench.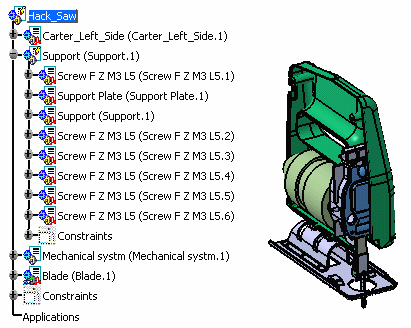
Note that the icons close to Hack_Saw and Support (Support.1) indicate that you can edit these documents, which is not the possible for the other documents.
Replacing the Original Screw |
-
Select Screw F Z M3 L5 (Screw F Z M3 L5.1) as the part to be replaced.
-
Select SmarTeam > Assembly Management > Replace Component...
The Replace a Component window displays. -
Set the Class name combo list to CATIA Part.

-
Click Run to launch the query.
-
Select the part you created.
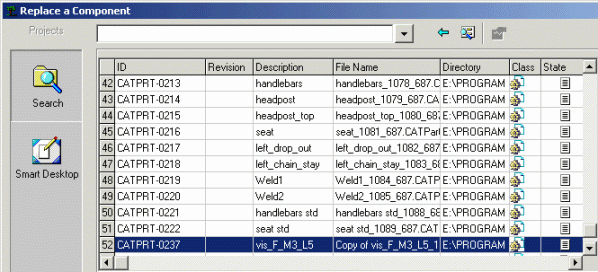
-
Click OK.
The Impacts On Replace dialog box appears, showing the elements that will be affected by the change.
-
Click OK to confirm the operation.
Note that you can choose between replacing all instances or not. Because the option Yes is selected, all instances are going to be replaced.The original screw has been replaced as shown here:

Now let's go on to Releasing the Modified Assembly, which is our last task.