These curves are 3D curves, as opposed to the spirals.
Open the Helix1.CATPart document.
-
Click Helix
 .
.The Helix Curve Definition dialog box appears. 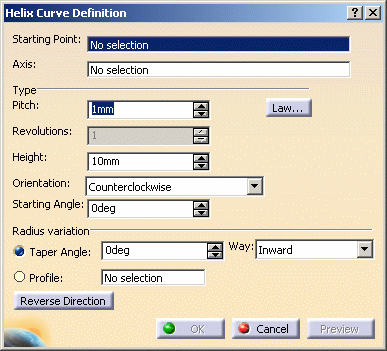
-
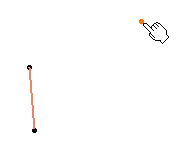
Select a starting point.
-
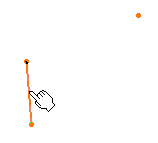
Select an axis.
-
Set the helix parameters.
- Pitch: the distance between two revolutions of the curve
You can define the evolution of the pitch along the helix using a law. - Click Law... to
display the Law Definition dialog box. In this case, you need to
select a law as defined in Creating Laws.
The 2D viewer enables you to preview the law evolution before applying it. 
The Law Viewer allows you to: - visualize the law evolution and the maximum and minimum values,
- navigate into the viewer by panning and zooming (using to the mouse),
- trace the law coordinates by using the manipulator,
- change the viewer size by changing the panel size
- reframe on by using the viewer contextual menu
- change the law evaluation step by using the viewer contextual menu (from 0.1 (10 evaluations) to 0.001 (1000 evaluations)).
- Choose type of law to be applied to the pitch.
It can stay Constant, or evolve according to a S type law.For the S type pitch, you need to define a second pitch value. The pitch distance will vary between these two pitch values, over the specified number of revolutions. - Click OK to return to the Helix Curve Definition dialog box.
- Height: the global height of the helical curve, in the case of a constant pitch type helix
- Orientation: defines the rotation direction (clockwise or counter clockwise)
- Starting Angle: defines where the helical curve
starts, in relation to the starting point.
This parameter can be set only for the Constant pitch only. - Taper Angle: the radius variation from one
revolution to the other. It ranges from -90°
to 90°
excluded.
For a constant radius, set the taper angle to 0. - Way: defines the taper angle orientation.
Inward: the radius decreases
Outward: the radius increases. - Profile: the curve used to control the helical curve
radius variation. The radius evolves according to the distance
between the axis and the selected profile (here the orange curve).
Note that the Starting point must be on the profile. 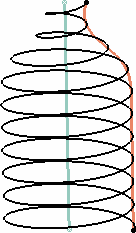
-
Click Reverse Direction to invert the curve direction.
-
Click OK to create the helix.
The helical curve (identified as Helix.xxx) is added to the specification tree. 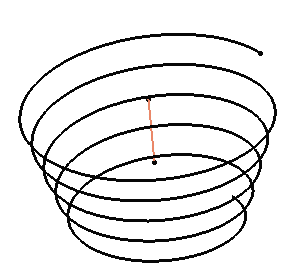

Parameters can be edited in the 3D geometry. To have further information, refer to the Editing Parameters chapter.
![]()