This overview provides the following information:
Real Time Rendering in a Nutshell
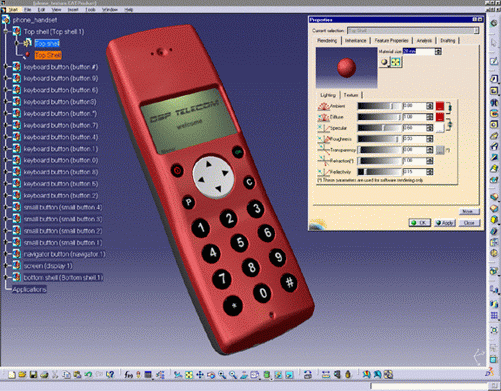
Material specifications define the characteristics of materials:
-
Physical and mechanical properties (Youngs modulus, density, thermal expansion, and so forth.)
-
3D representation: textures on geometry
-
2D representation: patterns for drafting purposes.
Other Version 5 products such as Generative Drafting and Knowledge Advisor share the material specifications defined using Real Time Rendering 1.
Materials are organized and managed in libraries. A default material library is provided with Real Time Rendering 1.

- advanced reflection settings like non-linear reflections and the ability to define one environment image per material
- embedded environment image generator
- new manual adaptative mapping operator
- ability to copy material parameters from an existing material
- simple and powerful animation capabilities.
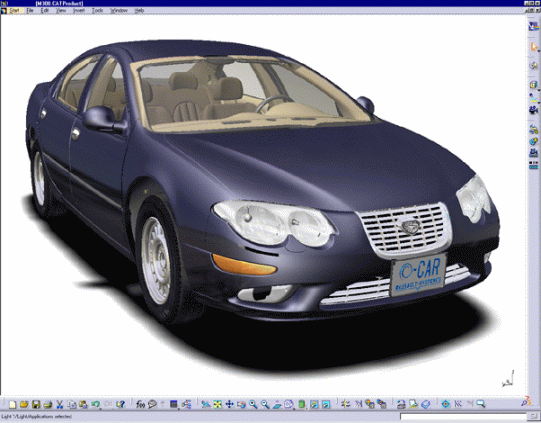
When mapping materials, Real Time Rendering products are available in conjunction with .CATPart and .CATProduct document types. Users can apply materials in many workbenches, e.g. Part Design, Shape Design, Assembly Design, FreeStyle Shaper, DMU (all workbenches), etc.

Before Reading this Guide
We therefore recommend that you read the Infrastructure User's Guide that describes generic capabilities common to all Version 5 products.
Getting the Most Out of this Guide
- If you are a first time user, we suggest that you start with the Getting Started tutorial. Once you have finished, you should move on to the user task section of this guide. This steps you through basic procedures
- If you need some help in understanding tools and commands, use the on-line help. You can also take a look at the Basic Tasks section of this guide to locate information with which you are not already familiar
- The Advanced Tasks section of this guide. This steps you through how to organize and manage your own collections of materials.
The Workbench Description section, which describes the RT1 and RT2 workbenches, and the Customizing section, which explains how to set up the options, will also certainly prove useful.
For information on automation capabilities, see Real Time Rendering on the Automation Documentation Home Page.
Navigating in the Split View mode is recommended. This mode offers a framed layout allowing direct access from the table of contents to the information.
Accessing Sample Documents
online/rt1ug/samples folder or in the online/cfyug/samples
folder.
For more information about this, refer to Accessing Sample Documents in the Infrastructure User's Guide.