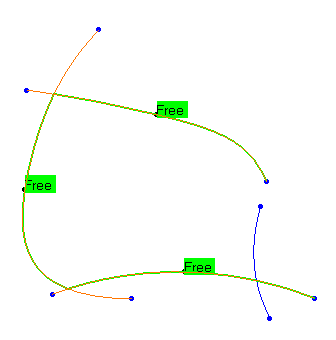
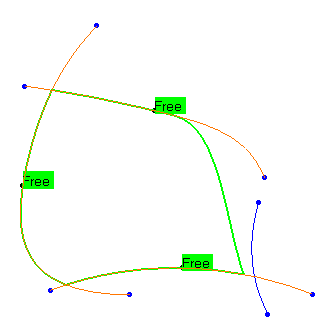
- This action complies with a feature-based approach.
- Therefore standard selection tools, including the user selection
filter and the geometrical element filter,
can be used. - For further information, please refer to Selecting Using a Filter in the Infrastructure User's Guide.
that are chained into an open or closed contour:
- Each input element is cleaned (burred or trimmed),
- Continuity or fixity constraints are applied to those elements and taken into account during the cleaning,
- After the creation of the result CleanContour curve, all input curves are sent to the NoShow.
- It is possible to create a datum curve (instead of the feature) by activating Create Datum in the "Tools" bar.
- Multi-domain elements are not accepted as input.
If you select such an element, e.g. an Adjusted Node.x feature, the following message is displayed
requesting you to select each sub-element separately.
- It may be impossible to create a Closed Contour from the input curves:

In that case you have to clear the Closed Contour check box.
- It is no longer possible to create a multi-domain CleanContour.
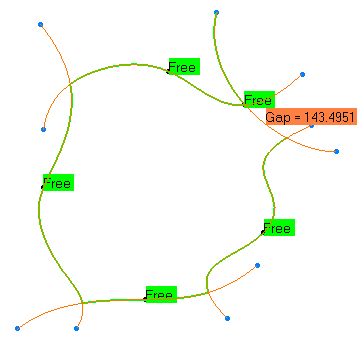
In some cases (especially with long curves) the chaining may lead to an unexpected result.
You may need to slice curves or edges in order to solve this chaining incompatibility.
For further information, see "Curves Slice ".
- original curves: CleanContour impossible
- sliced curves
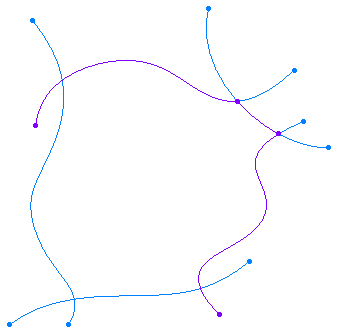
- CleanContour
-
Click CleanContour
 .
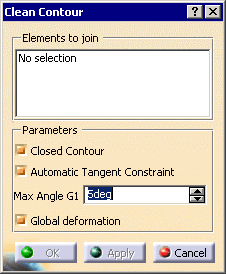
The CleanContour dialog box is displayed.
By default, the check boxes Closed Contour, Automatic Tangent Constraint and Global deformation are selected.
Their status is modal.
-
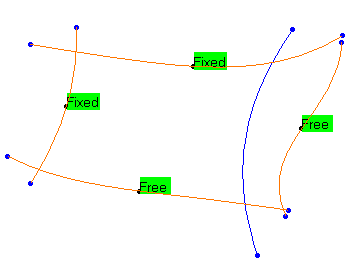
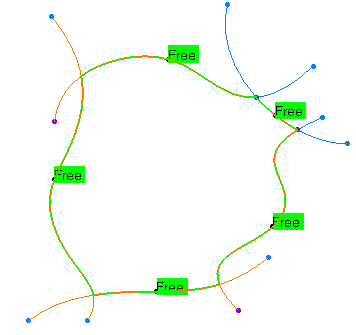
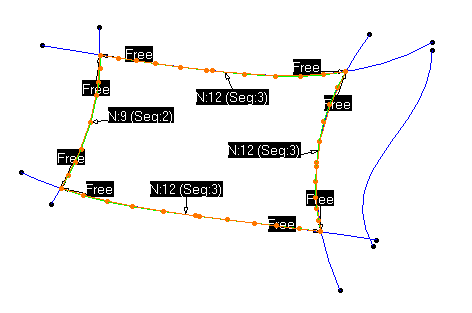
Select the curves. The default constraints are displayed on each curve.
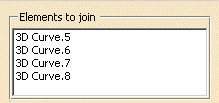
The curves are listed in the dialog box:
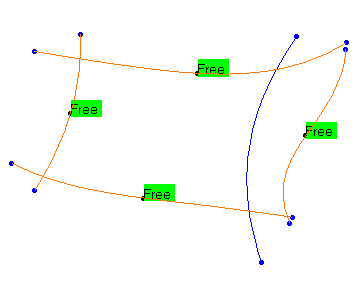
Change the constraint on a curve by simply clicking the text or using the contextual menu.
The default constraint conditions for a featurized Clean Contour are:
-
if the input curve is the boundary of a surface or a curve supported directly or indirectly by a surface,
the default constraint is Fixed. It is editable. -
For all other input curves, the default constraint is Free.
If you want to replace one curve by another, pick the curve to replace and then the new curve.
There are several ways to modify the list of the elements selected:
First method:
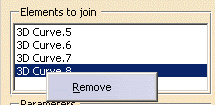
Pick the name of the curve you want to delete in the list of the elements selected in the dialog box.
Call the contextual menu and click Remove.
The curve is removed from the list, and is no longer highlighted in the graphic zone.
This is useful when the curve to remove is too short to be selected graphically.
Second method:
Use the Undo/Redo function to deselect the curves you have previously selected.
Third method:
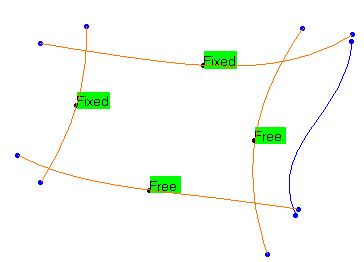
Pick the curve in the graphic zone.
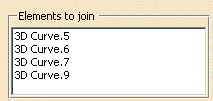
It is removed from the list of the dialog box and is no longer highlighted.If necessary, you can pick further curves to complete the selection.
The dialog box is updated accordingly:3D Curve.8 has been replaced by 3D Curve.9:
The Undo/Redo method is no longer available once you have used one of the two other methods.
The
CleanContour computation is based on the minimum distance of the curves.
The deformation allowed may not exceed the hole size.
Priority is given to the parametric restriction over the deformation.
-
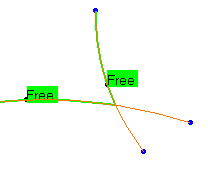
if the points of the minimum distance between two curves are no endpoints of the curves,
the curves are restricted.
-
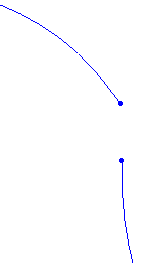
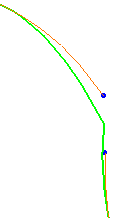
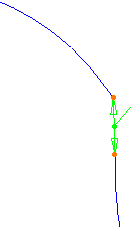
if the points of the minimum distance between two curves are endpoints of the curves,
a point is computed on the segment corresponding to that minimum distance,
weighted by the length of each curve:
-
if only one endpoint of a curve is a point of minimum distance,
this endpoint is moved to the point of minimum distance on the other curve.
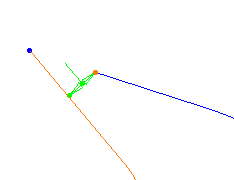
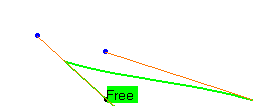
-
If selected, the Automatic Tangent Constraint check box forces a tangency constraint on the curve
endpoints when the angle of the tangents at those ends is lower than the Max Angle G1 value. -
The curves are deformed to achieve a CleanContour.
-
By default, the Global deformation check box is selected.
Its status is modal.
Input curves
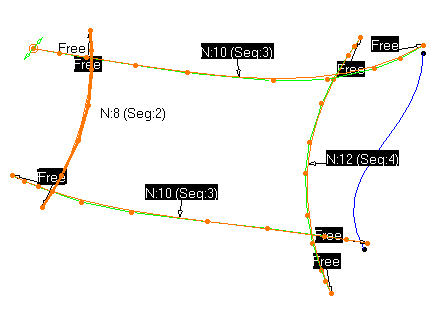
- If the Global deformation check box is selected, the deformation
is more evenly distributed
on the whole curves.
The degree and the structure of the curves are kept.
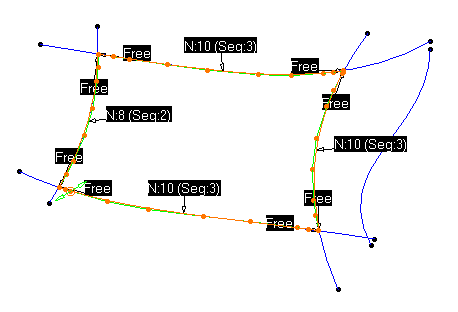
- If Global deformation is not selected, the deformation is local
and not distributed
along the whole curves.
-
-
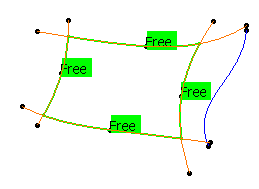
Click Apply: a proposed CleanContour is displayed in green.
-
Click OK to validate.
A Clean Contour.X feature is created in the specification tree, the input curves are hidden.
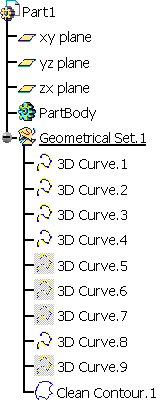
In Datum mode, a Curve.x element is created.

![]()

