-
Select File > New... (or click the New
 icon).
The New dialog box is displayed, allowing you to choose the type of document you need. -
Select Part in the List of Types field.
-
Click OK.
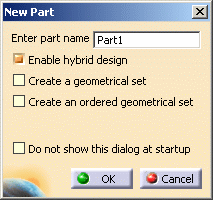
The New Part dialog appears if your session is configured as explained in the Customizing chapter of this guide. For more information, refer to the documentation related to the Part Document tab.Hybrid Design
By default, the Enable hybrid design option is on, meaning that you are allowed to insert wireframe and surface elements in bodies.
To facilitate your design, we recommend you never change this option during your session.
-
Click OK to validate your preferences and close the New Part dialog box.
The Part Design workbench is loaded and an empty CATPart document opens.If the New Part dialog box does not appear, the Part Design workbench is immediately loaded and an empty CATPart document opens.
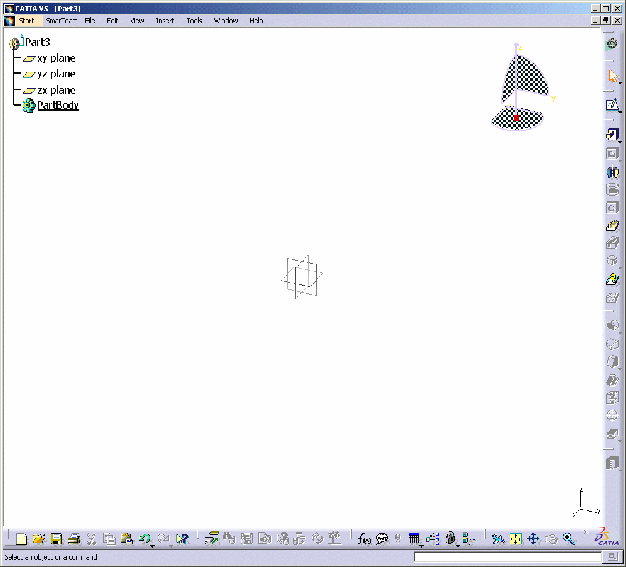
The commands for creating and editing features are available in the workbench toolbar. Now, let's perform the following task Creating a Pad.