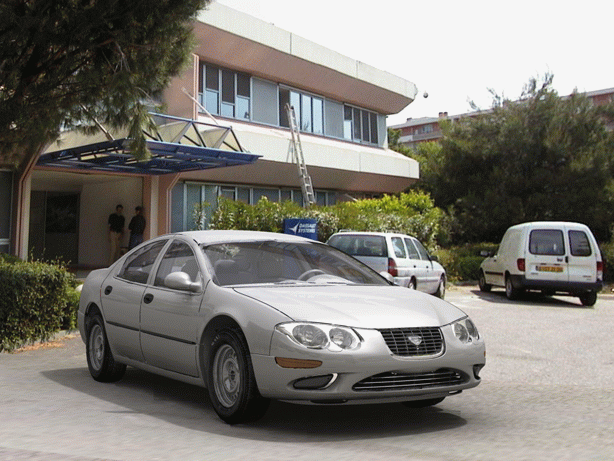
This overview provides the following information:
Photo Studio in a Nutshell
Thanks to its ease of use and to the interactive preview of rendering specifications as they are applied, Photo Studio is the perfect tool for any "non specialist" user who wishes to deliver a high quality photorealistic image at any time and without the help of rendering specialists.
Photo Studio contributes to enhance project collaboration by enabling users to produce and share quality representations of their ideas. By giving a realistic simulation of the model appearance, it can also be used to validate the quality of the design at any time during the product development process.
Before Reading this Guide
Prior to reading this book, we therefore recommend that you read the Infrastructure User's Guide.
You may also find useful to read the Real Time Rendering User`s Guide that allows you to define material specifications that will be shared across your entire product development process as well as map materials onto products to produce photorealistic images.
Getting the Most Out of this Guide
Once you have finished, you should move on to the User Tasks section of this guide. This steps you through procedures such as managing cameras, light sources, pictures, scenes and so on.
The Workbench Description section, which describes the Photo Studio workbench, and the Customizing section, which explains how to set up the options, will also certainly prove useful.
Navigating in the Split View mode is recommended. This mode offers a framed layout allowing direct access from the table of contents to the information.
Accessing Sample Documents
online/phsug/samples folder.
For more information about this, refer to Accessing Sample Documents in the Infrastructure User's Guide.
Conventions Used in this Guide
