Naming rules
All names are accepted apart from those that have either a specific usage or that are not allowed. The names that are not allowed are those:
- ending with _S,
- ending with_*,
- beginning with DrillHole, TapHole, Pad or Pocket,
- that are duplicate names,
- that have a duplicate beginning (DrillHole1 and DrillHoleNew, for instance).
Specific naming usage
- __ (double underscore) as a prefix indicates that the component will not be split.
- -PS* and _PS* are used for pre-selection codes.
Preselection codes
Pre-selection codes can be added to the end of drilling body names to define, in one shot, the components they are to drill. They are used with the Distributed Drill Component ... command.
These codes are assigned as suffixes to the names of the Add/Remove bodies. The codes are -PS* and _PS* where * is one digit. You can only define 10 pre-selection codes from -PS0 to -PS9 and/or from _PS0 to _PS9.
All other holes, pads and pockets are ignored.
-
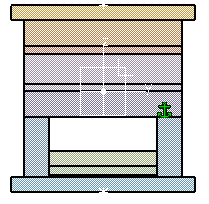
Click Create a New Mold
 . Click OK.
-
Click Add User Component
 .
.
Navigate to ClosingComponent.CATProduct in the samples/DistributedDrill directory.
Locate it on the side of the mold so that it is placed on two plates.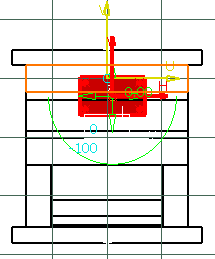
-
Click in the Drill from field to remove the plate that was selected when you placed the component thus ensuring that the plate is not drilled.

Click OK. -
Select Tools/Distributed Drill Component ...
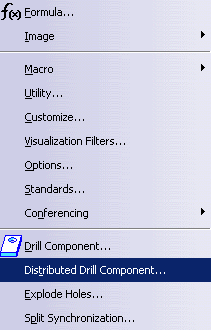
An empty dialog box is displayed.
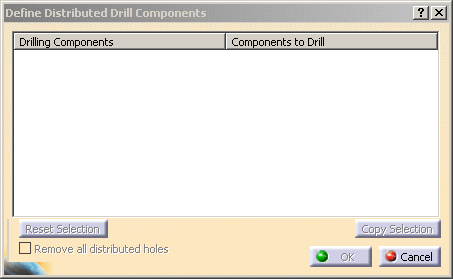
Click ClosingComponent_2 in the tree. The list of drilling components in ClosingComponent_2 is displayed in the dialog box.
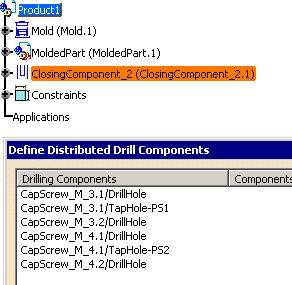
Note that there are two TapHoles that have pre-selection codes (one -PS1 and another -PS2). There are two of each although only one of each is given in the dialog box (a pre-selection code automatically selects all of the bodies having the same code). Expand the tree to see all four of the TapHoles with pre-selection codes.
-
Click under Components to Drill and opposite TapHole-PS1 to select the plate to drill.

Select CavitySupportPlate.1.
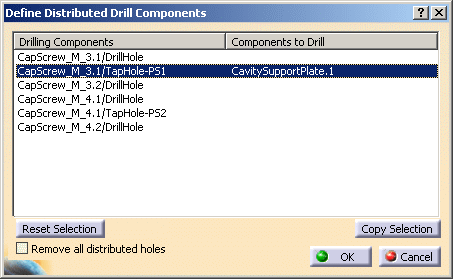
Click under Components to Drill and opposite TapHole-PS1. Select CavityPlate.1.
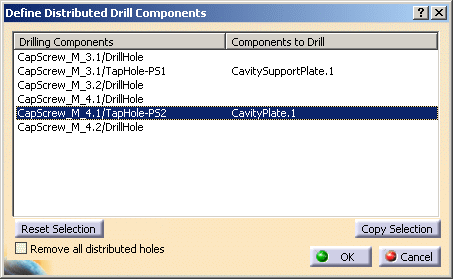
Click OK.
-
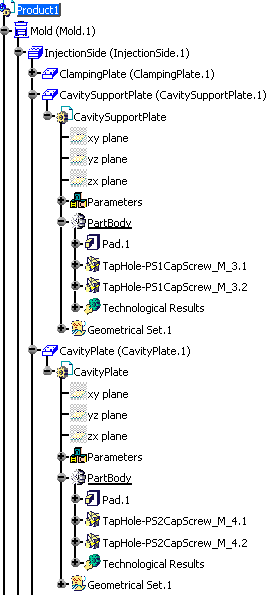
Check in the tree that the plates have been drilled.
Other actions
Remove all distributed holes allows you, when drilling a plate for the second (or more) time, to remove all of the holes that have already been drilled from the list.
Reset Selection deselects the line that is selected in the dialog box.
Copy Selection duplicates the line that is selected but leaves the Components to drill part empty so that you can select a list of components to drill by the same drilling component.
![]()