with the same position in the specification tree, and with the same instance names or not, according to you choice.
The impacts emanating from the replaced component are automatically reconnected by the Replace Reference command, provided the two references are compatible in terms of publications.
- Please refer to the Description of the Generic Dialog Box chapter for more information on the dialog box.
- Please refer to the Managing Tooling Impacts chapter for more information on impacts.
- Save your model before replacing a reference.
- All instances of the reference to replace must be loaded in session, in design mode.
- To replace a reference, you must select a component with the same publications and a compatible product structure.
- External references are taken into account only on the replacement of a reference which has one instance only.
- There are two kinds of association for drills: standard or detailed.
- If a reference to replace has several instances, and if the replacing reference has impacts IN, the Replace Reference command does not allow this replacement.
-
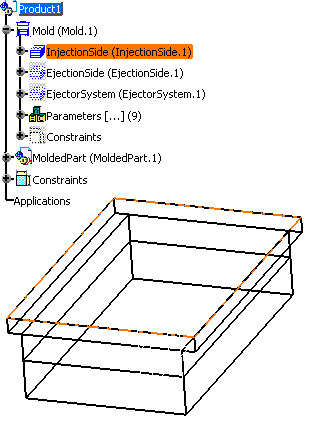
Open file Product1.CATProduct in the samples/DrillFrom directory,
show the injection side and hide the ejection side and the ejector system.
-
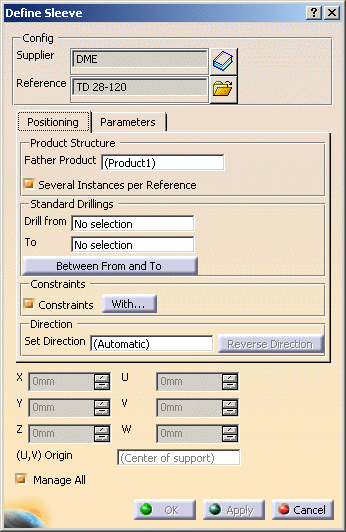
Create three sleeves (
 )
from the DME catalog, reference TD28-120 anywhere on the clamping plate.
-
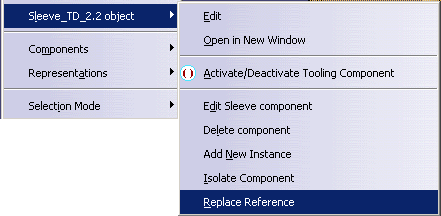
Save your model then right-click Sleeve_TD_2.2.
Select Replace Reference in the contextual menu (you can also access it via Edit in the menu bar).
-
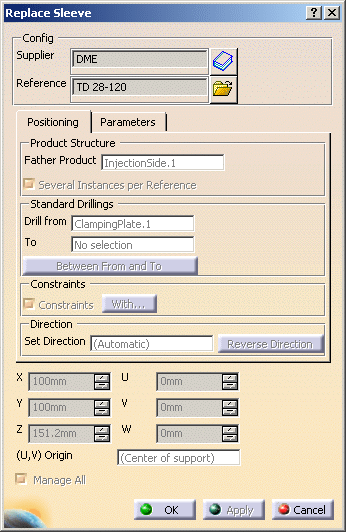
The Replace Sleeve dialog box is displayed.
Note that only the fields used for the replacement are available.
-
Select TD50-180 to replace it via the catalog button in the dialog box.
In the Parameters tab: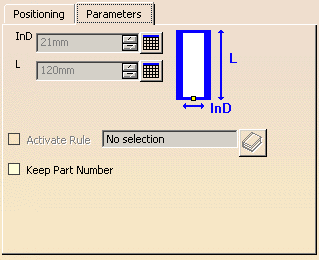
- select the Keep Part Number check box if you want to keep it (example: You have designed the mold with light user components. For the final step of the design, you want to replace them by the complete corresponding references and and you choose to keep the part number to make it clear they have the same role).
- or clear it to replace the current Part Number by an automatic one (example: the 3 sleeves share a reference (e.g. DME), and you need to replace the common reference by another one (e.g. Rabourdin). You choose not to keep the part number so that the part number of the replaced reference has a Rabourdin definition).
-
Click OK to validate and exit the dialog box.
Note that the sleeve reference in the tree has changed and the dimensions of the sleeve in the viewer now correspond to its new reference. -
If Impacts need to be reconnected, please refer to the Managing Tooling Impacts chapter.
If update errors occur, please refer to the Updating Parts chapter in Part Design User's Guide.
![]()