- add the new machine
- add the machine kinematics definition
Setting Workpiece Mount Point
-
On the specification tree, select Workpiece Mount Point.

The system prompts you to select a part. -
On the specification tree, select CTable.
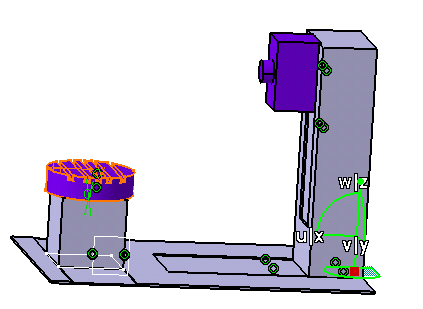
The corresponding geometry in the graphics area gets highlighted. The green compass is also positioned at the origin of the machine. 
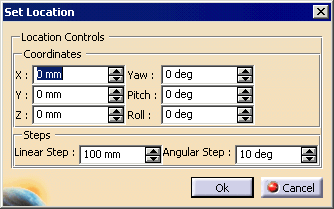
The Set Location dialog box appears. 
-
Use the red center of the compass to drag and drop it on the selected CTable product or use the above dialog box to position the compass on the selected workpiece mount part.
-
Click OK.
-
Repeat the steps above, with the following exceptions:
Step 1 Select Tool Mount Point. Step 2 (and following) Select ZAxis part. The ZAxis is now the tool mount part, with the point described in the Set Location dialog box set to the tool mount point. You can modify this location at any time by repeating the above procedure. -
Jog the machine to validate the automatically assigned inverse kinematics solver, by clicking Jog Mechanism
 .
.

See Jogging a Mechanism.