In this procedure, construction elements like line and axis system entities are used to define the kinematics. This is done because the actual geometry, which is mostly in the faceted form, does not allow definition of the kinematics using the solid geometry.
This procedure has the following sections:
- Defining Frames of Interest
- Defining Joints Using Lines and Planes
- Defining Joints Using Frames of Interest
The positions of the different components are relative to each in such a manner that the positions correspond to the machine zero.
Defining Frames of Interest
-
Select YAxis in the specification tree.
The FramesOfInterest.1 entity is created in the specification tree under the YAxis part. 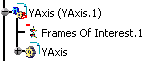
-
Click Frame Type
 .
. -
Select FramesOfInterest.1 from the specification tree.
The Define Plane dialog box appears: 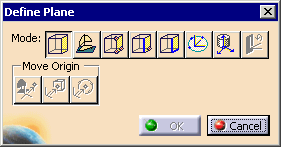
The Frame Type dialog box also appears: 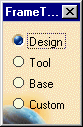
-
Select the Design frame type in the Frame Type dialog box.

Refer to Frame Type table for a description of each frame type. -
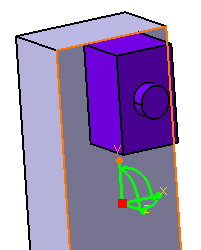
Select a plane of the YAxis product.
The compass is positioned on the plane at the selected location. 
-
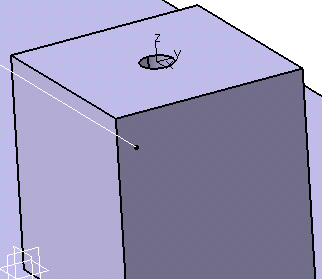
On the Define Plane dialog box, in the Move Origin area, select the Define origin at point or center of face
 button.
A green dot appears on the selected plane, indicating the location where the axis entity is created. 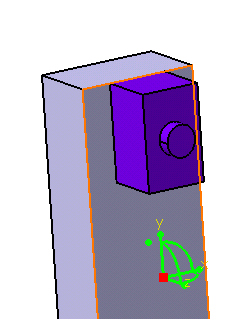
-
Click the face to accept the position.
-
Rotate the compass so that the XY plane of the compass lies on the selected plane.
-
Click OK on the Define Plane dialog box.
The frame is created, and appears as a tag on the part. 
-
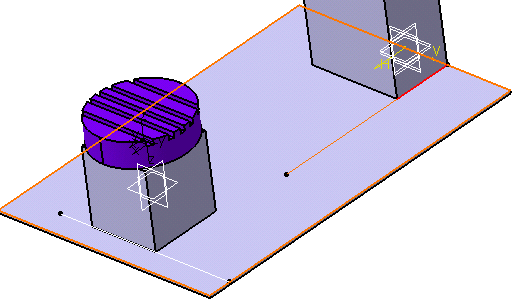
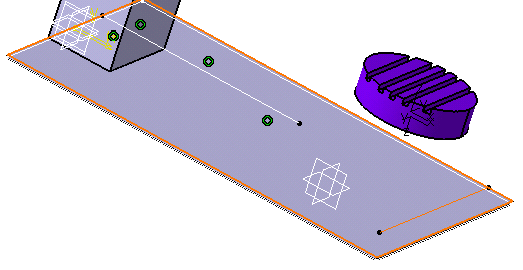
Repeat Steps 1 - 10 to create frames of interest on the parts and planes shown below.
ZAxis
XAxis
CTable

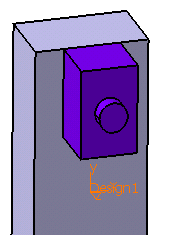
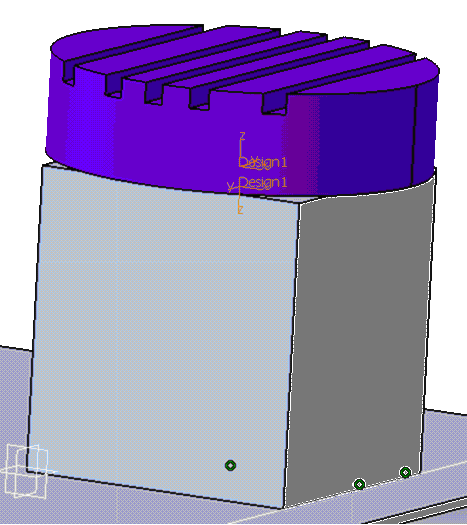
For the XAxis and CTable parts, ensure that the position of the axis is at the center of the circular area of the parts with the XY plane of the axis residing on the part face. These frames of interest enable you to create a prismatic joint between the YAxis and ZAxis parts, and create a revolute joint between the XAxis and CTable parts. -
Click New Machine
 .
. -
Click Fixed Part
 ,
and select the Base part from the specification tree.
,
and select the Base part from the specification tree.For more information on the Fixed Part command, see Defining Machine Kinematics Using V5 Data. Defining Joints Using Lines and Planes
-
The Joint Creation Prismatic dialog box appears. 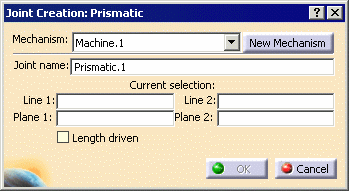
-
In the Joint Name field, enter YAxis; select the line entity on the Base part for Line 1;
select the bottom edge on the YAxis part for Line 2. 
-
Select the bottom edge on the Base part for Plane 1;
select the bottom edge on the YAxis part for Plane 2. 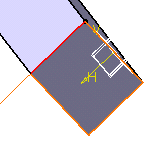
-
Select the Length driven check box; click OK.
An Information message appears. 
-
Click OK.
-
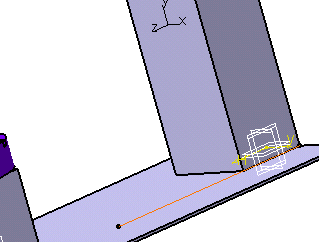
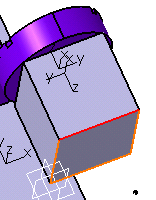
Repeat Steps 14 - 18 to define a prismatic joint between the Base part and the XAxis part; call this joint XAxis.
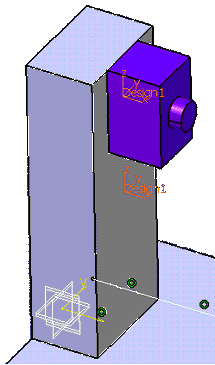
Select the geometry as shown below. Base part
XAxis
Defining Joints by Frames of Interest
-
The Axis-based Joint Creation dialog box appears. 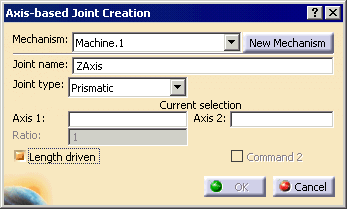
-
Enter ZAxis in the Joint name field, and select Prismatic from the Joint type list.
-
Select Design1 axis system of the YAxis part as Axis 1.
-
Select Design1 axis system of the ZAxis part as Axis 2.
-
Select the Length driven check box; click OK.
-
Repeat Steps 20 - 24 to create a revolute joint between the XAxis and CTable parts. Instead of Prismatic, select Revolute for the Joint type; select the Angle driven check box instead of Length Driven.
Once this joint has been defined, you have defined all the joints of the machine. The Mechanisms node on the specification tree appears below, indicating that the machine kinematics definition is complete. 