|
|
When generating exact views for assemblies containing clashing bodies, some geometrical elements may not be generated. In order to by-pass this limitation you can manually resolve the intersection topology by using an appropriate sequence of Boolean operations such as Add, Remove, Intersect, Assemble and Union Trim (Part Design). |
View Box |
|
Defining layout views is an important step in the layout design process. As a designer, you need to have a general idea of the overall dimensions of your design, as well as of its position in space.
The data needed to fully define the layout of a view set in the 2D window, as well as the position of each view in the 3D space, is defined in the standards, using a "view box". This data is made up of:
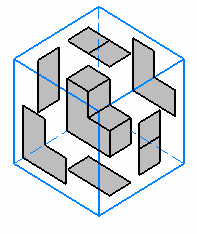
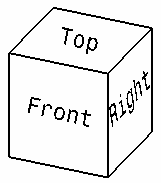
For more information, refer to Layout Views Customization in the Administration Tasks chapter.
3D axis
In 2D Layout for 3D Design, coordinates are always expressed as local coordinates (H, V). Local coordinates are transformed to be expressed in 3D space using the view plane definition.
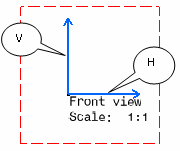
View box anchor point
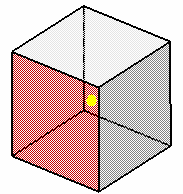
The view box anchor point is the 3D point from which the view box position in 3D space is defined. It is defined in the standard. Two anchor points are available (the primary view is displayed in red in the images below):
- At the bottom left corner of the view box.
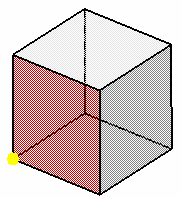
- At the center of the view box.
3D axis origin
In the example shown here, the anchor point is placed at the bottom left corner of the view box.
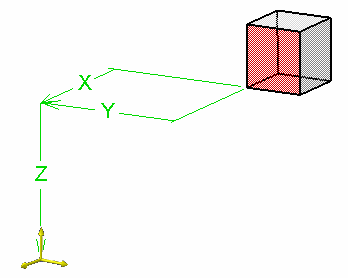
- The active view 3D axis orientation
- The position of the cursor on the layout
- The projection method
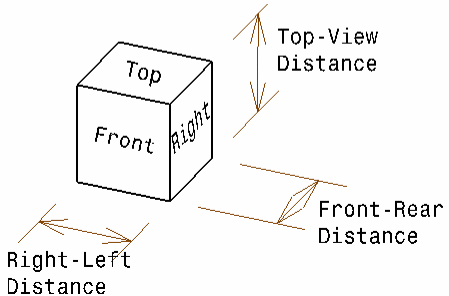
View box overall dimensions
- The distance between the Front and Rear views
- The distance between the Right and Left views
- The distance between the Top and Bottom views
These dimensions define approximately the size of the design. They can be either smaller or larger than the actual design size.
View Set |
|
A view set can be associated to an independent view box. This is what happens when you create a primary view, for example. However, a view set does not have an associative view box when it is initiated from a view from 3D plane creation.
It is not possible to create several projection views of a same type within a set of views (two Right views, for example). If needed, you can either start a new view set (that is create a new primary view) or create an auxiliary view from the related view. However, it is possible to create several isometric views or several section views/cuts.
Existing view sets are not impacted by changing standards as they are
linked to independent view boxes, if any.
If you need to create views according to a view box different from the one
stored in the document's standard, then you first need to switch to a
standard containing the new definition, and finally to start a new view
set.
Existing view sets can still be extended after a standard update. The definition of new projection views is found from the view box associated to the set of views.
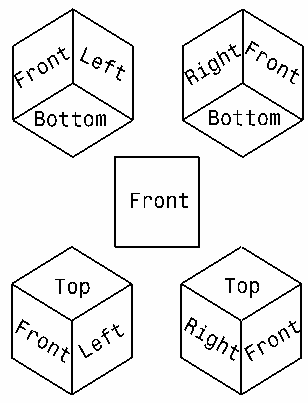
When defining the view box, you can invert the naming of the Left and Right views if you want the Right view to be called Left view, and vice-versa. This only inverts the name (not the type) of the views.
![]()