-
Click Erasing
 .
.
You can also access this command by pressing ALT+SHIFT+E. -
Select the face to erase.
A Tools Palette is displayed: 
The following icons let you: Erasing a Face
-
-
Click Face Erasing
 (it is selected by default).
 -
Click the face or faces to erase.
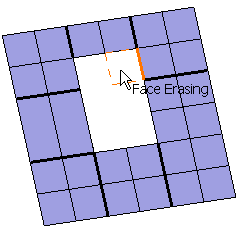
-
Press Ctrl to select multiple elements to erase.
-
Release the mouse when you are satisfied with the new shape of the surface.
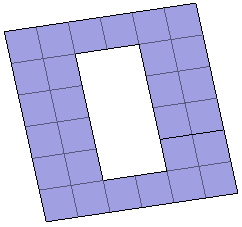

The same face cannot be cut twice by the same cutting. Erasing an Edge
-
Click Edge Erasing
 .
. -
Click the edge to erase.
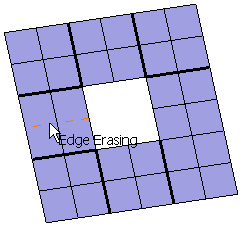
The erasing propagates to the connected edges: 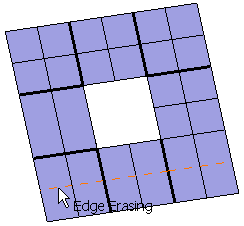
-
Release the mouse when you are satisfied with the new shape of the surface.
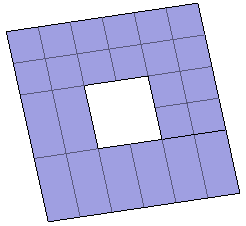

Edges created using the Face Cutting command can be erased. 
- Multi-selection is not available with this command.
- Only closed propagations or propagations up to a free
edge are available.
The following illustration shows you the kind of edges that can be erased (in green) or not (in red): 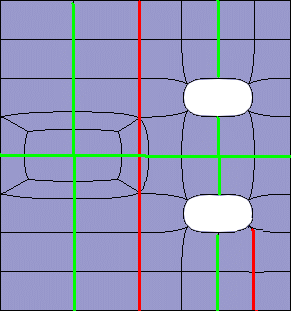
Applying the Erase Command
![]()