|
This task shows you how to insert a section, that is cutting faces in
two parts. |
 |
Open the Cutting1.CATPart
document. |
| |
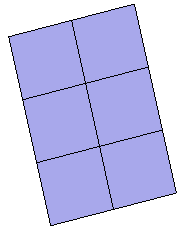
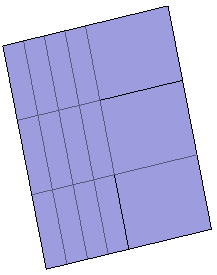
Here is the initial surface: |
| |
|
 |
-
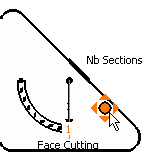
Click Faces Cutting
 . .
 |
You can also access this command by pressing
ALT+SHIFT+F. |
-
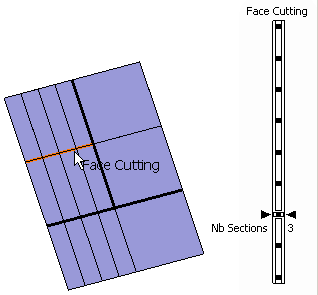
Select the surface to be cut.
-
Cut the surface as many times as you wish.
 |
 |
The section insertion propagates to the connected faces. |
-
|
|
-
-
-
-
-
|
|
|
|
-
-
-
-
-
-
|
|
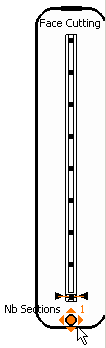
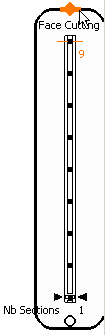
 |

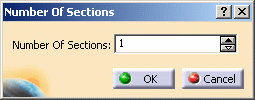
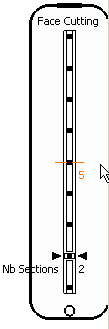
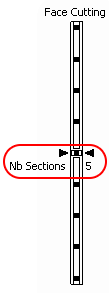
 define the number of
sections.
define the number of
sections.