-
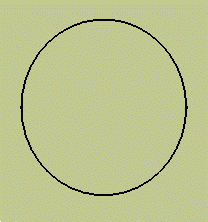
From the View toolbar, select the Top View icon
 to see the cylinder from the top.
-
Now, choose FreeStyle from the Start > Shape menu.
The FreeStyle Shaper workbench is displayed.
-
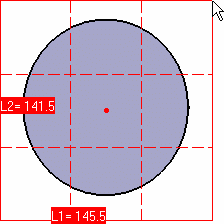
Click around the center of the cylinder (where you clicked to create the circle sketch) press the Ctrl-key and drag the pointer so as to cover the cylinder face by the outline.

-
When you have reached the adequate size, click again.
-
The corresponding surface has been created in a plane parallel to that defined by the 3D compass.
-
See Creating Planar Surfaces for further details on the 3D compass capabilities and on creating planar surfaces.

-
Click the Isometric View icon:

-
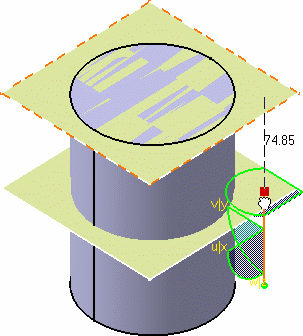
Drag and drop the compass onto the surface and drag the surface halfway of the cylinder length pulling on the z axis.

-
Reset the compass by clicking the Quick Compass Orientation
 then the In Model or On Perch
 icon in the Quick Compass Orientation toolbar, see
Managing the Compass.
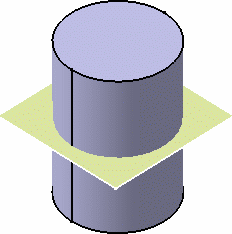
The body now looks like this:
