This task shows you how to extrude a mesh by symmetry.
You will see here how to:
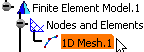
Create a 2D mesh from a 1D mesh
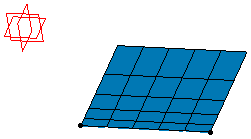
Open the Sample24.CATAnalysis document from the samples directory.
-
Click Extrude Mesher with Symmetry
 in the Mesh Transformations toolbar.
 -
Select the 1D Mesh.1 mesh part in the specification tree.
-
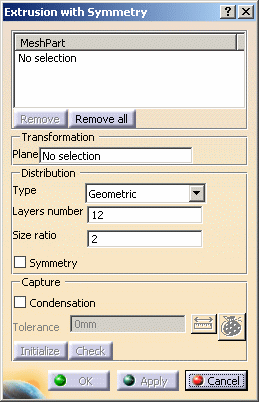
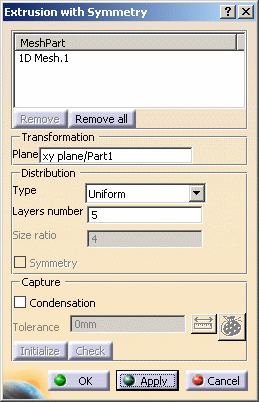
Set the desired parameters in the Extrusion with Symmetry dialog box.
In this particular case:
-
Select xy plane from the specification tree as Plane option as shown below:

-
Select Uniform as Type option.
-
Enter 5 as Layers number value.
-
-
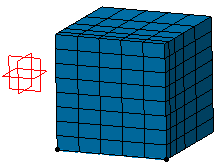
Click Apply.
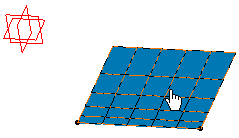
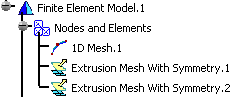
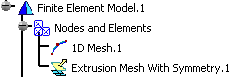
An Extrusion Mesh with Symmetry.1 object appears in the specification tree and a 2D extrusion by symmetry mesh part is created.
-
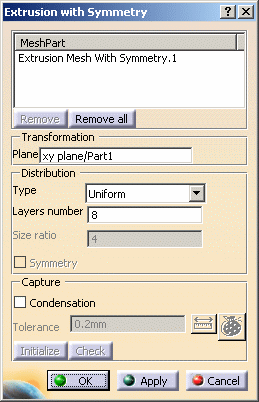
Change the parameters in the Extrusion with Symmetry dialog box.
In this particular example:
-
Activate the Plane field and select yz plane in the specification tree.

-
Select Geometric as Distribution Type option.
-
Enter 5 as Layers number value.
-
Enter 4 as Size ratio value.
-
-
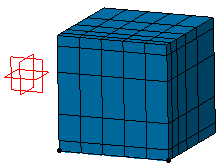
Click Apply and then OK.
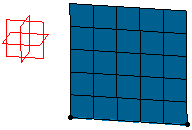
As a result the 2D extrusion by symmetry mesh part is updated as shown below: