![]()
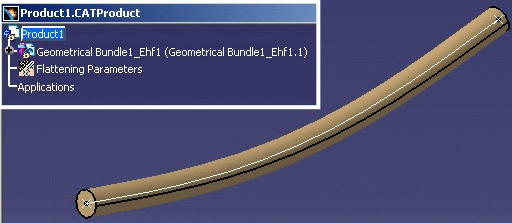
This task shows you how to automatically
synchronize your 3D flattened geometry at
any time during your session. You can add missing components or remove
additional components, as well as synchronize the bundle segment structure.
Make sure you have correctly specified the
synchronization report repository path.
The Synchronize command takes interconnected
components into account. It does not manage isolated components that are
not connected to the network.
For example, flattened geometry that contains an isolated component that is
subsequently connected in the 3D harness will always exist as a
free-hanging component after synchronization and the flattened geometry
will show a new component connected to the network.
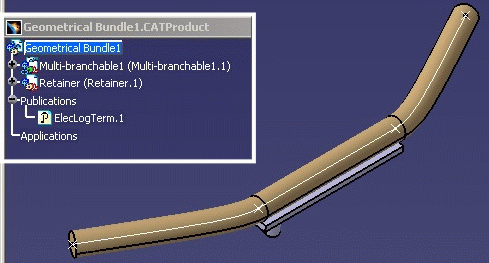
Retainers and split branches are taken into account in the Synchronize command.
![]()
The ElectricalFlattening.CATProduct is still open from the previous task. Open the initial document ElectricalAssembly.CATProduct as well.
-
In the initial document, select a bundle segment and modify its length, diameter, bend radius, instance name or color.
-
Save your document.
-
Switch back to the extracted model.
-

- If there is no selection in the specification tree, and only one electrical bundle has been modified, this bundle will be synchronized. But, if more than one electrical bundle has been modified, you must select a bundle otherwise a warning message will be displayed.
- If there are no electrical bundles, all the geometrical bundles will be selected and updated.
- You can do a multi-selection (protective coverings, devices, supports, etc. at the same time).
- In a previous task, Synchronizing
Parameters, you specified whether or not the bundle segment
ends were to be moved during synchronization.
To modify this option, double-click the Flattening Parameters feature in the specification tree.
The Synchronize dialog box pops up:
During the synchronization step, the selected options only will be performed. This optimizes the amount of time taken to synchronize.
An html report will be generated accordingly and will only show the selected options.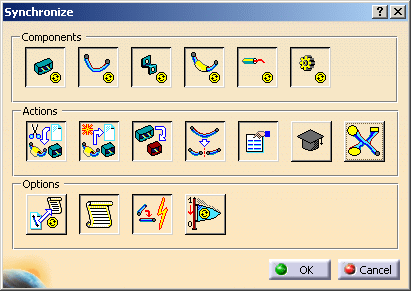
This dialog box lets you define what you want to synchronize: Components

Components allows you to select which components you want to update: - Devices
- Bundle segments
- Supports
- Protective coverings
- Wires
- Mechanical parts linked to the harness. You can add, remove and replace these parts. To synchronize the dashed green line, select Mechanical Part under Components and Attributes under Actions.
You can select as many components as needed at the same time.
Actions

Actions allows you to customize the actions during the synchronization step: - Remove components from the flattened view that were deleted in the 3D harness
- Add components that were added to the 3D harness and are missing in the flattened view
- Replace the reference of components changed in the 3D harness (this option can only be used with the Supports or Devices options activated.)
- Update the bundle segment structure (this option can only be
used with the Bundle Segments option activated)
This option allows you to:
- Add a branch or a branch point,
- Add or remove intermediate bundle segments
- Replace one or more bundle segments with one or more different bundle segments.
Note: If you transfer a branch to another multi-branchable document in the 3D harness, it will remain under the original multi-branchable document in the flattened view when you synchronize.
- Update attributes

-
This option allows you to synchronize the knowledge parameters added to the protective coverings and adaptative support components. They are listed in the set named To be synchronized. 
This set needs to be created in the Knowledge Advisor workbench:
To do so:- Click the Add a set of Parameters
 icon.
icon. - Change the name in the Properties dialog
box to: To be synchronized.
- Place your parameters in this set by drag & drop.

Note that parameters resulting from a formula are not synchronized. For more information refer to the Knowledge Advisor User's Guide. If a design table has been used to build the protective covering, its Configuration parameter is synchronized at the same time. Note that previously this action was performed when the Attributes option was selected. 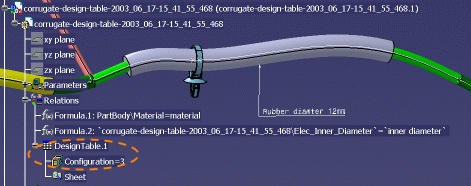
- Click the Add a set of Parameters
-
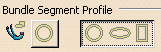
This option allows you to synchronize the multi-profile branch structure and associated attributes. To do so, select Bundle Segments under Components and Attributes under Actions. You must also select the Any Profile option under Bundle Segment Profile (Tools > Options > Equipment & Systems > Electrical Harness Installation > Harness Management).
You can select as many actions as needed.
Options
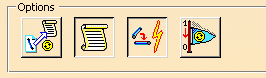
Options lets you select the operations to run during synchronization: - Simulate: generates a report without applying changes to the flattened document
- Html Report: generates the report in the predefined folder specified in the Options dialog box
- Flatten: Automatically flattens any added components
- Synchronize Flag: Resets the synchronization history of all components:
the synchronize property of all components is set to False, so that only newly changed components will be set to True after the synchronization operation.
-
Click OK to validate.
A status bar appears showing the synchronization progress:
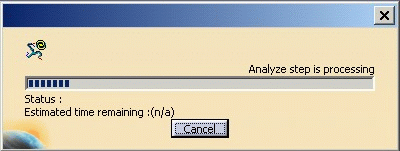
Here are the different steps that can be seen through the synchronization process according to the options previously selected:
- Analyze step is processing (here the electrical connections are also automatically checked)
- Replaced components synchronization is processing
- Removed components synchronization is processing
- Bundle segment structure synchronization is processing
- Added components synchronization is processing
- Attributes synchronization is processing
- Knowledge parameter synchronization is processing
- Generating Html report
An HTML file is generated in the synchronization report repository if Html Report is checked.
For more information about the html report, see Generating the HTML Report during the Synchronization.
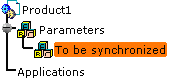
The extracted document is updated if Simulation is not checked:
- The Synchronize property of components that have been modified is set to True.
- Resetting the synchronization history of components switches the Synchronize property back to False.
Thus you can visualize what electrical components have been modified in the initial model. You can use Edit/Search to retrieve quickly all components.
Methodology: Electrical Harness Integration
![]()
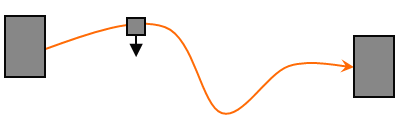
It is recommended that you do not change the branch/bundle segment orientation if you work in the context of Electrical Harness Flattening:
- If you first create the branch/bundle segment this way:
- Do not modify it like this:
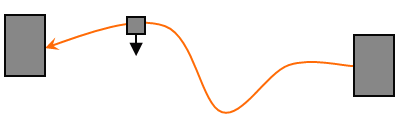
This would not be supported when synchronizing the data.
Synchronizing Supports