By default, the component is placed and linked to the
schematic one.
Change the settings,
using the Tools -> Options menu, if you only want to place
the component (without creating the 2D <-> 3D link).
The Systems Space Reservation product is a prerequisite.
For more information about it, refer to Systems
Space Reservation User's Guide.
Open a document containing at least a schematic system.
-
Click the Place Component
 button.
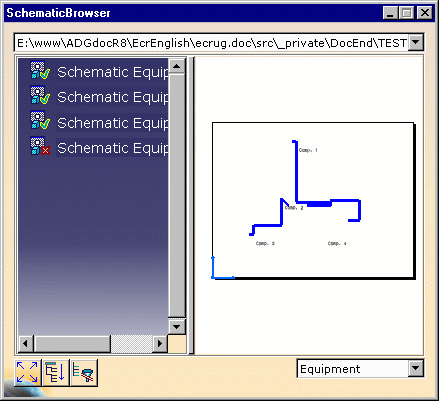
The Schematic Browser dialog box opens: 
- The schematic equipments already linked to a 3D object
show a green check mark
 in the left-hand viewer. You cannot select them another
time.
 - The schematic objects which do not have a corresponding
3D implementation object in the document (no item
reservation instantiated) are displayed with a red mark
 .
They are those that you can select to link them to a
physical object.
- The schematic equipments already linked to a 3D object
show a green check mark
-
Select a schematic object to be placed (red mark).
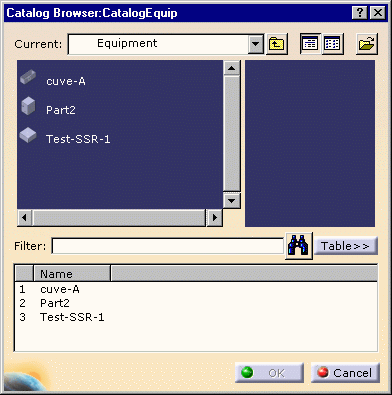
The Catalog Browser pops up: 
Note: Navigate to select the catalog of interest if necessary, using the Browse another catalog button  .
.
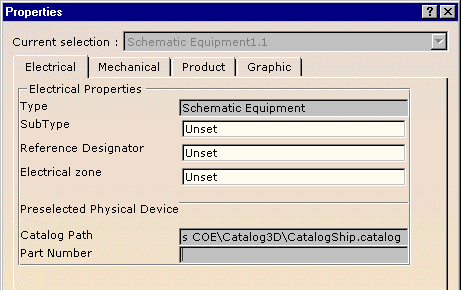
If the schematic object has already been linked to a 3D component, the Catalog Browser will directly open the correct catalog.
In this case, the catalog path is mentioned, with possibly a part number, in the object electrical properties.
-
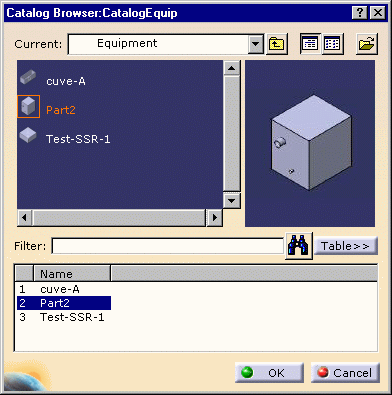
Select the 3D object you want to place.

-
Click OK then select the plane where you want the object to be placed.
The 3D object is added to the specification tree and placed in the geometry.