Before starting sketching, this task shows you how to:
Restoring the Toolbars' Positions
-
Select Tools > Customize... from the menu bar.
The Customize dialog box is displayed.
-
Click Restore position in the Toolbars tab.
A dialog box is displayed asking you to confirm the Restore operation.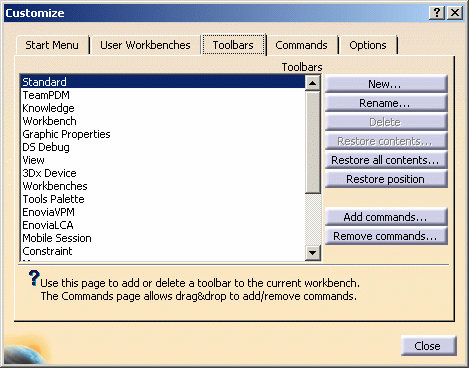
-
Click OK to validate.
-
Click Close.
All the Sketcher toolbars are now displayed at their original positions.
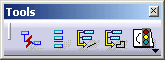
Using the Sketcher toolbars
The Sketcher toolbars let you:
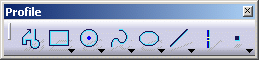
- draw predefined profiles. For this, use the Profile toolbar commands.
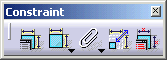
- set constraints. For this, use the Constraint toolbar commands.
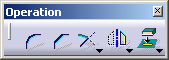
- perform operations on profiles. For this, use the Operation toolbar commands.
- perform operations on both 2D and 3D geometry. For this, use the Tools toolbar commands.
Using the mouse buttons in order to...
Select menus/commands/elements from the geometry area.
-
Click the left mouse button.
-
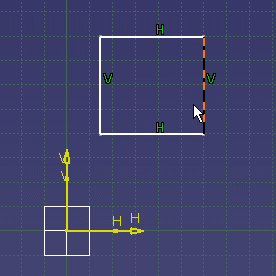
Select the desired element, for instance select a line from a rectangle.
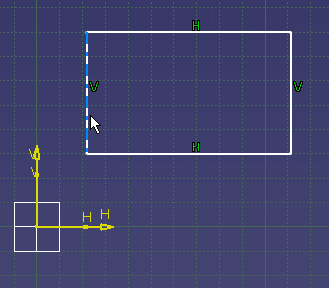
Multi-select elements from the geometry area
-
Click the left mouse button.
-
Select a first element.
-
Keep pressing the Ctrl key.
-
Select one after the other the wanted elements.
or
-
Press the left mouse button.
-
Drag the cursor over the elements to be selected.
-
Release the left mouse button.
The wanted elements are selected.
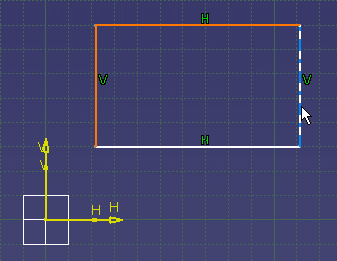
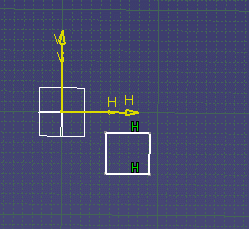
Drag elements in the geometry area
-
Select an element from the geometry area.
-
Keep pressing the left mouse button.
-
Drag the mouse to move the selected element.
or
-
Press the left mouse button.
-
Drag the cursor over the elements to be selected.
-
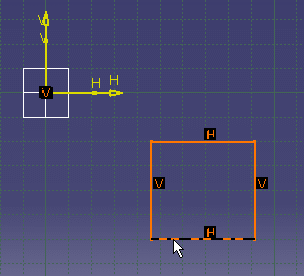
Move one of the rectangle line.
As you can notice the whole rectangle is moving.
Drag the whole geometry area
-
Keep pressing the middle mouse button.
-
Drag the cursor to move the whole geometry.
Re-center an indicated point
-
Click a point in the geometry area using the middle mouse button.
The indicated point is moved to the center of the window.
zoom in and out
-
Keep pressing the middle mouse button.
-
Press the right mouse button once.
-
Drag the cursor up to zoom in.

or
-
Drag the cursor down to zoom out.
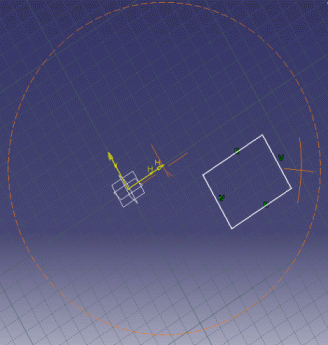
Rotate Elements in the Geometry Area
-
Keep pressing the middle mouse button.
-
Keep pressing the right mouse button.
-
Drag the cursor to rotate the geometry.
Now that you have seen how to use the Sketcher toolbars and how to use the mouse button, let's start creating: