This task shows you how to:
Using the Sketch Tools Toolbar
The Geometrical Constraint and Dimensional Constraints options are activated by default:
- Geometrical Constraint
 displays all detected geometrical constraints. This option is only
applicable when creating an object. Creating geometric constraint is
possible independently of this option.
 - Dimensional Constraint
 only displays distance constraints when the option is activated.
Create a rectangle with a corner.
Geometrical Constraints
-
Keep only Geometrical Constraint
 activated.
 -
Click Circle
 from the Profile toolbar.
 -
Select the corner center to define the one of the circle.
-
Drag the cursor to define the circle dimensions.
-
Click in the geometry when you are satisfied with the dimensions.
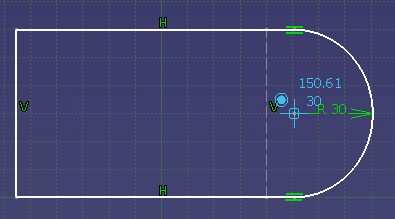
The circle is created and the geometrical constraints have been detected. These constraints can be visualized either in the geometry area or in the specification tree.
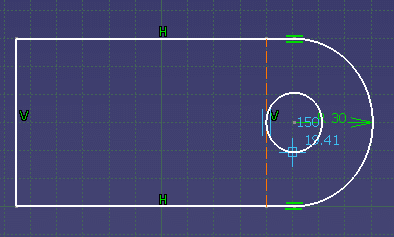
Optionally, select the circle and move it to see the tangency constraint is well applied.
-
Right-click the construction line and select Delete.
The construction line has been deleted as long as its associated geometry.
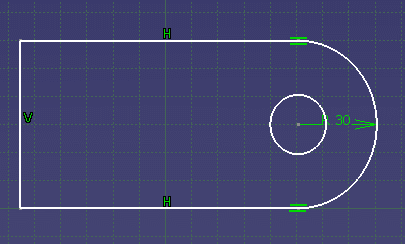
Dimensional Constraints
-
Keep only Dimensional Constraint
 activated.
 -
Click Circle
 in the Profiles toolbar.
 -
Select the corner center to define the one of the circle.
Note that this symbol is
displayed by the SmartPick as a coincidence between two points is
detected.
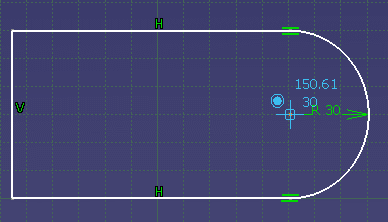
The Sketch tools toolbar expands.

-
Enter a radius value, for instance 20mm.
-
Press Enter.
The dimensional constraint is displayed in the geometry.
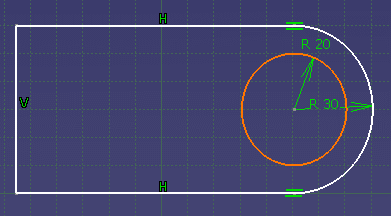
If you want to keep the dimensional constraints
displayed, Dimensional Constraint
![]() must be activated.
must be activated.
Use the Constraints Toolbar
-
Keep your sketch open.
-
Select the rectangle top line.
-
Click Constraint
 in the Constraints toolbar.
-
Click in the geometry to create the constraint.
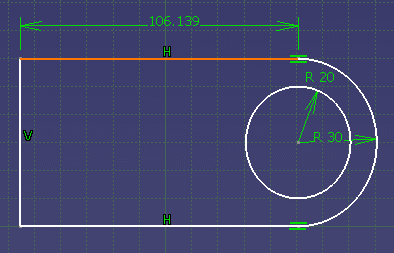
-
Select the rectangle left hand side line.
-
Click Constraint
 from the Constraints toolbar.
The geometry color is swapped to the purple color which means that it is over constraint.
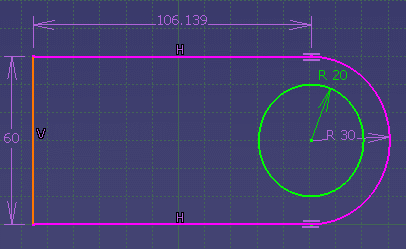
-
Click in the geometry to create the constraint.
-
Right-click the Radius constraint and select Delete.
The constraint is deleted and the geometry is no longer over-constrained.
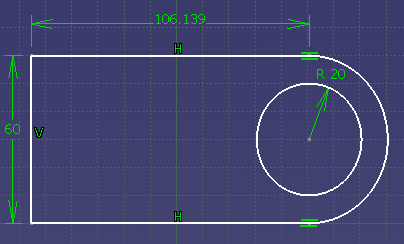
- You can also set constraints using Constraints Defined in Dialog
Box
 available in the Constraint toolbar. You just need to select the
constraints you wish to apply.
 - You can refer to Selecting Using a Filter and
Selecting Using Other Selection... Command in the
Infrastructure User's Guide to help you select the elements that you want to constrain.